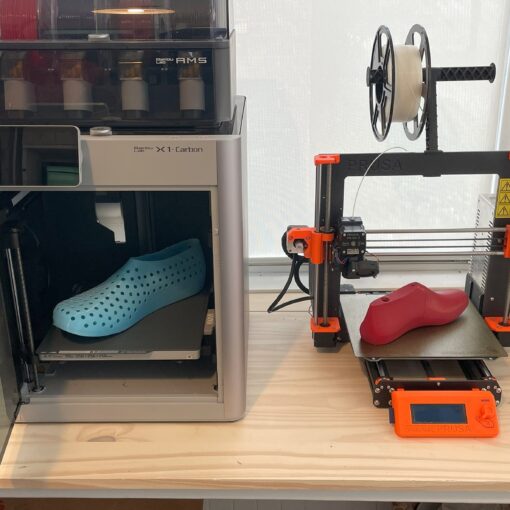
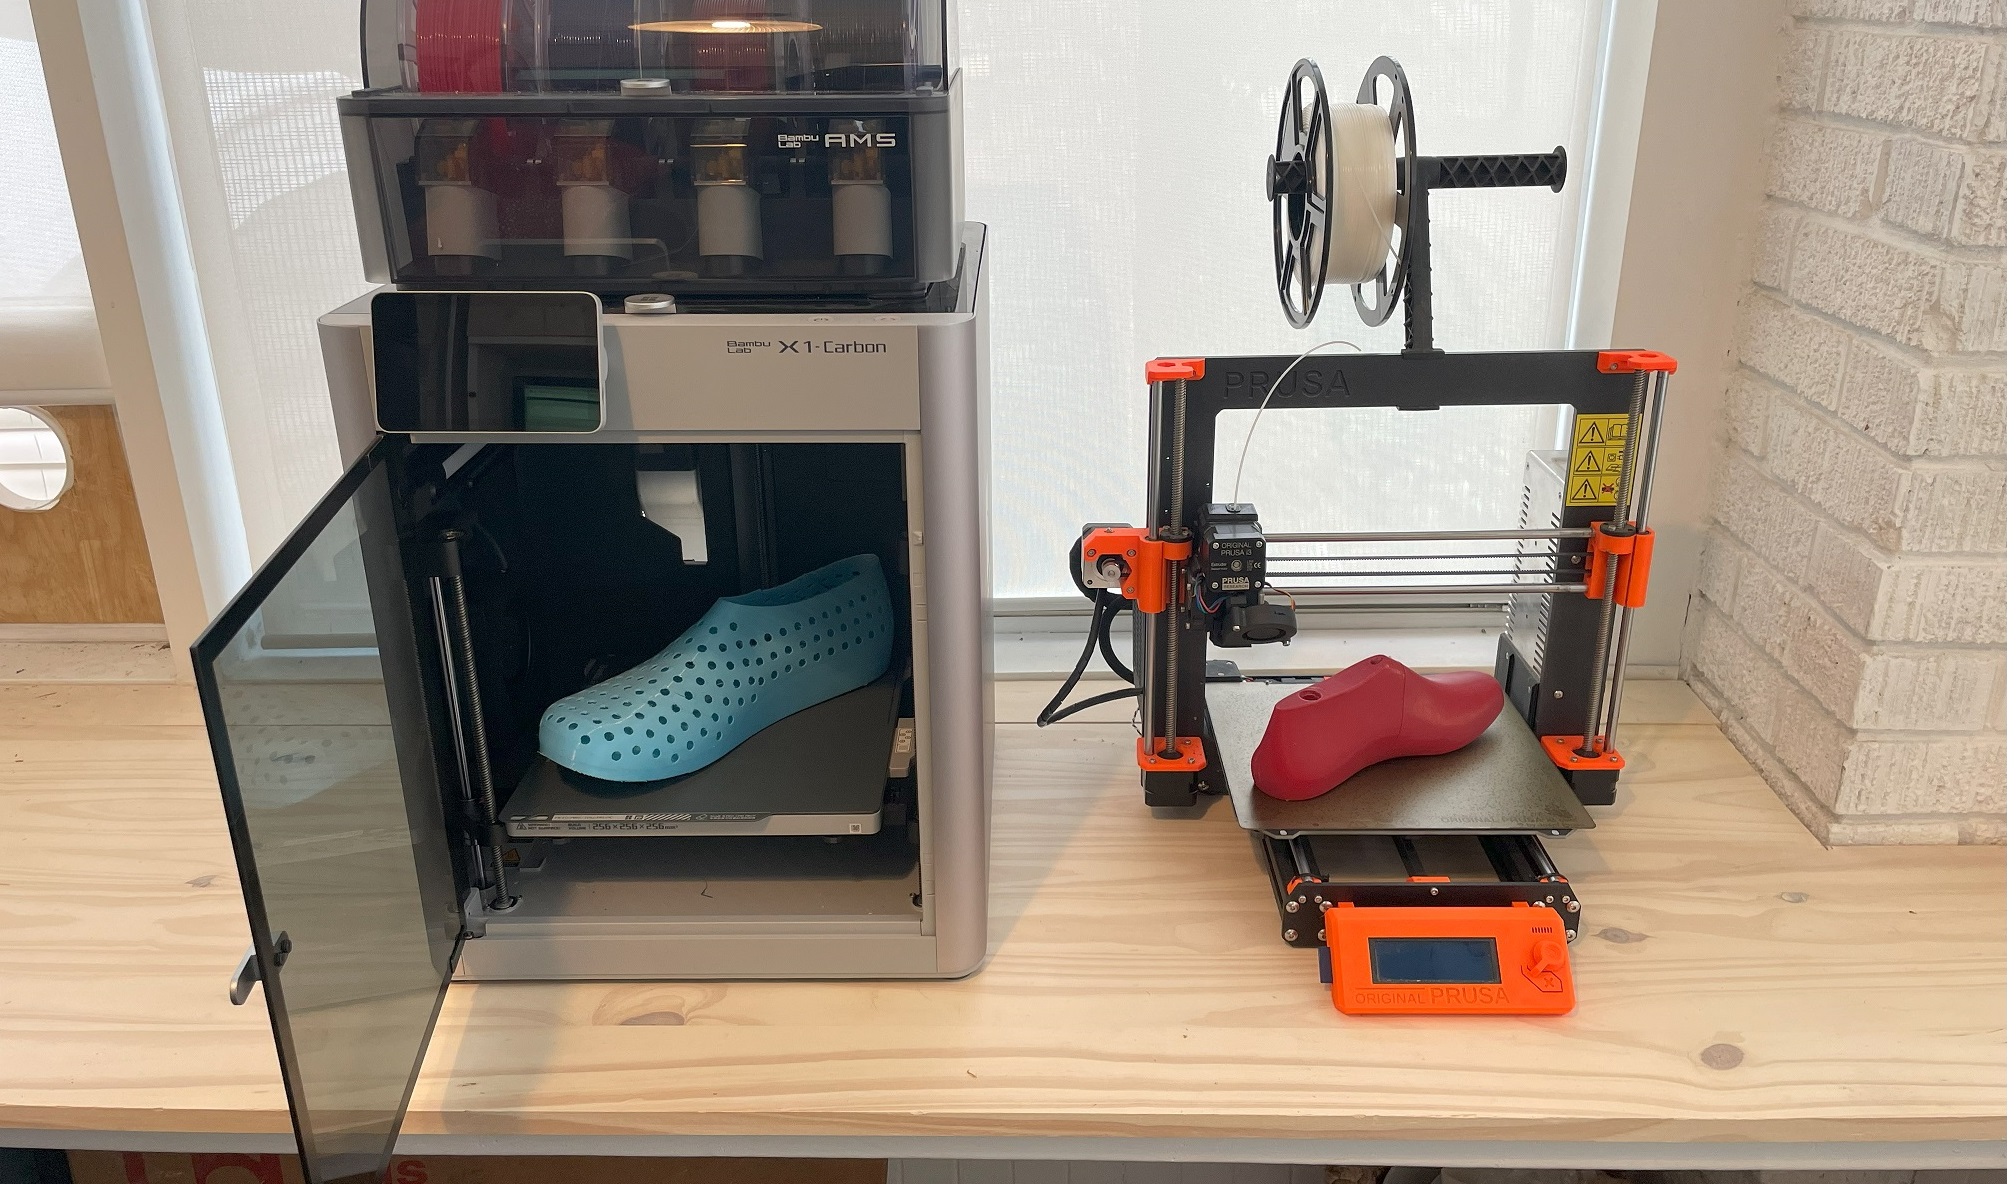
While it’s becoming more common to 3D print shoe lasts, many shoemakers aren’t yet aware of how easy and useful it is to 3D print shoe components too. In this 3DShoemaker tutorial, I’m going to provide some tips on 3D printing shoe components along with a quick demo. The 3D printer I’ll use is a Bambu Lab X1C, which I feel is currently the most ideal 3D printer for shoemakers.
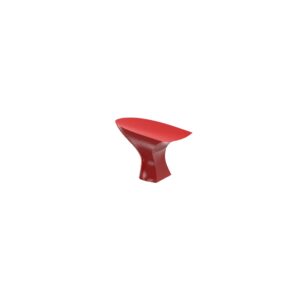
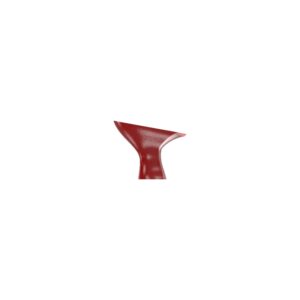
The first thing you’ll need is a 3D model of a component you want to 3D print. While these are now widely available on the web, finding them for a matching shoe last can be a bit tricky. That’s one advantage of ordering 3D component models from 3DShoemaker; they can be ordered to fit 3DShoemaker shoe lasts. Plus there is a huge range of customization possible. And if you want to adjust a design yourself, components can be purchased as parametric models that can be used in the 3DShoemaker plugin.
-

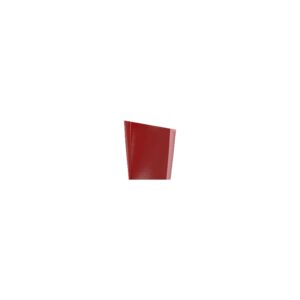
Women’s Block Heel
Select options This product has multiple variants. The options may be chosen on the product page -
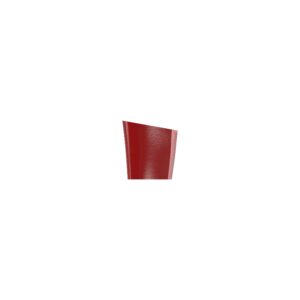
Women’s Chunky Heels
Select options This product has multiple variants. The options may be chosen on the product page -
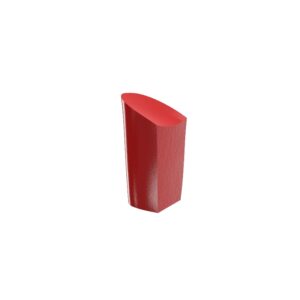
Women’s Chunky Heels – High
Select options This product has multiple variants. The options may be chosen on the product page -
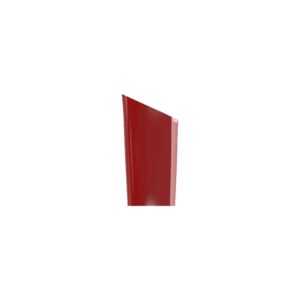
Women’s Louis Heels
Select options This product has multiple variants. The options may be chosen on the product page
The next thing you’ll want to decide on when 3D printing components is the material. There are a huge variety of materials that could do the job. The most common 3D printing material, PLA, I suggest not using to print the component. Its properties change more rapidly with time than other filaments and it’s also somewhat brittle. And for a weight bearing functional part, neither of these bodes well. On the other end of the spectrum are exotic materials, sometimes infused with fibers, like carbon fiber. I’m sure many of these filaments would do a great job. But they tend to be expensive. The ideal middle ground, in my opinion, is PETG. And given it’s a good material for 3D printing shoe lasts too, you might as well use it for components.
A couple other things to consider are wall thickness and infill. As with 3D printed shoe lasts, if you plan on doing any nailing, you’ll want at least a 5mm wall thickness. With that wall thickness, a 15% infill should result in sufficient strength for most footwear.
Overhangs are also something to be aware of. Anything beyond forty degrees tends to benefit from some kind of support. Any 3D printer can create supports from the same material used for the part. But this can be a pain to break away. So this is where it is handy to have a 3D printer that can do multiple materials. The ideal approach is to have a 3D printer with multiple print heads and print the supports with dissolvable filament. But a single nozzle multi material system like Bambu Lab’s AMS is a reasonable substitute. I say merely reasonable as the material swapping does lead to a large jump in print time and material waste. But if you are printing a batch of components in one go, this waste gets divided up by however many your are printing, so it could be a negligible amount. That being said, I do hope that Bambu Lab will eventually put out a tool changer printer.
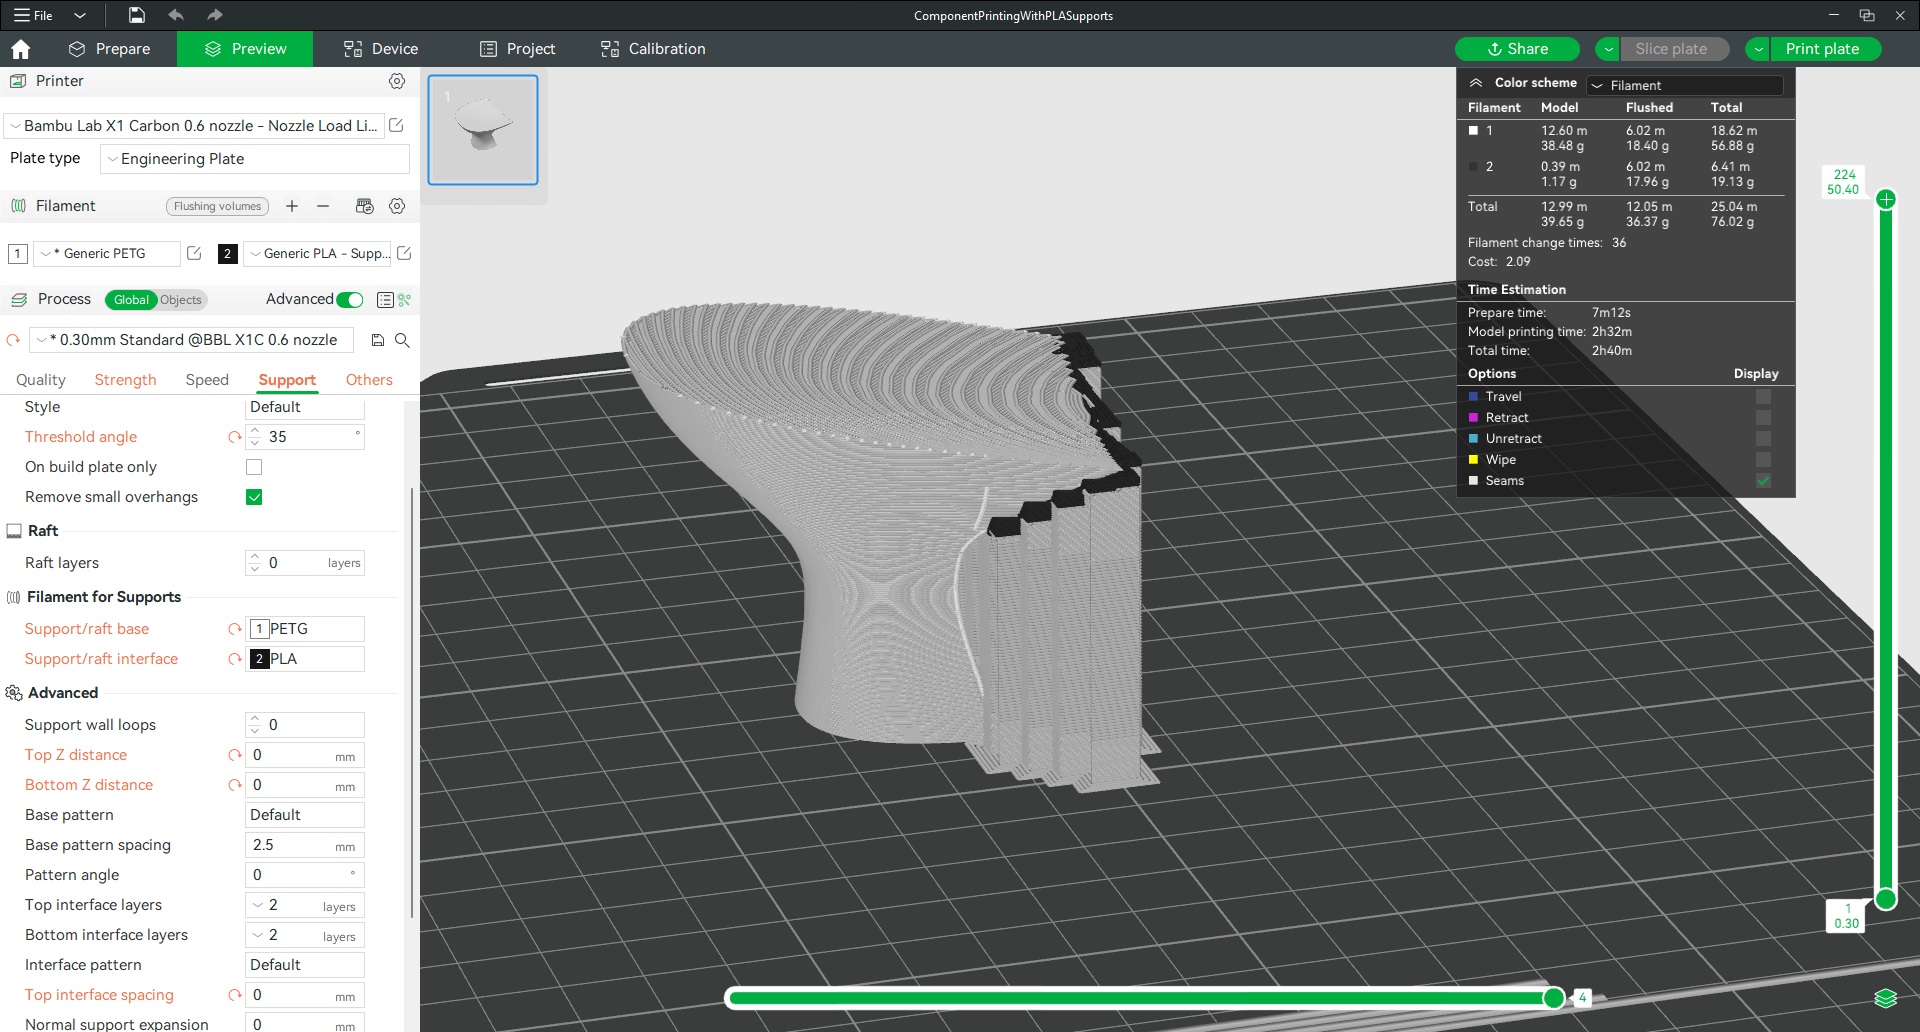
When printing supports on the X1C, I use PLA filament only for the support interface and PETG for everything else. Check out this thread to get more tips on supports print settings. And I find this chute door mod helps prevent failed prints when doing this. The one thing I would change in the demo print for this tutorial is the PLA support material color. It should be the same color as the component so as to make residue debris less apparent.
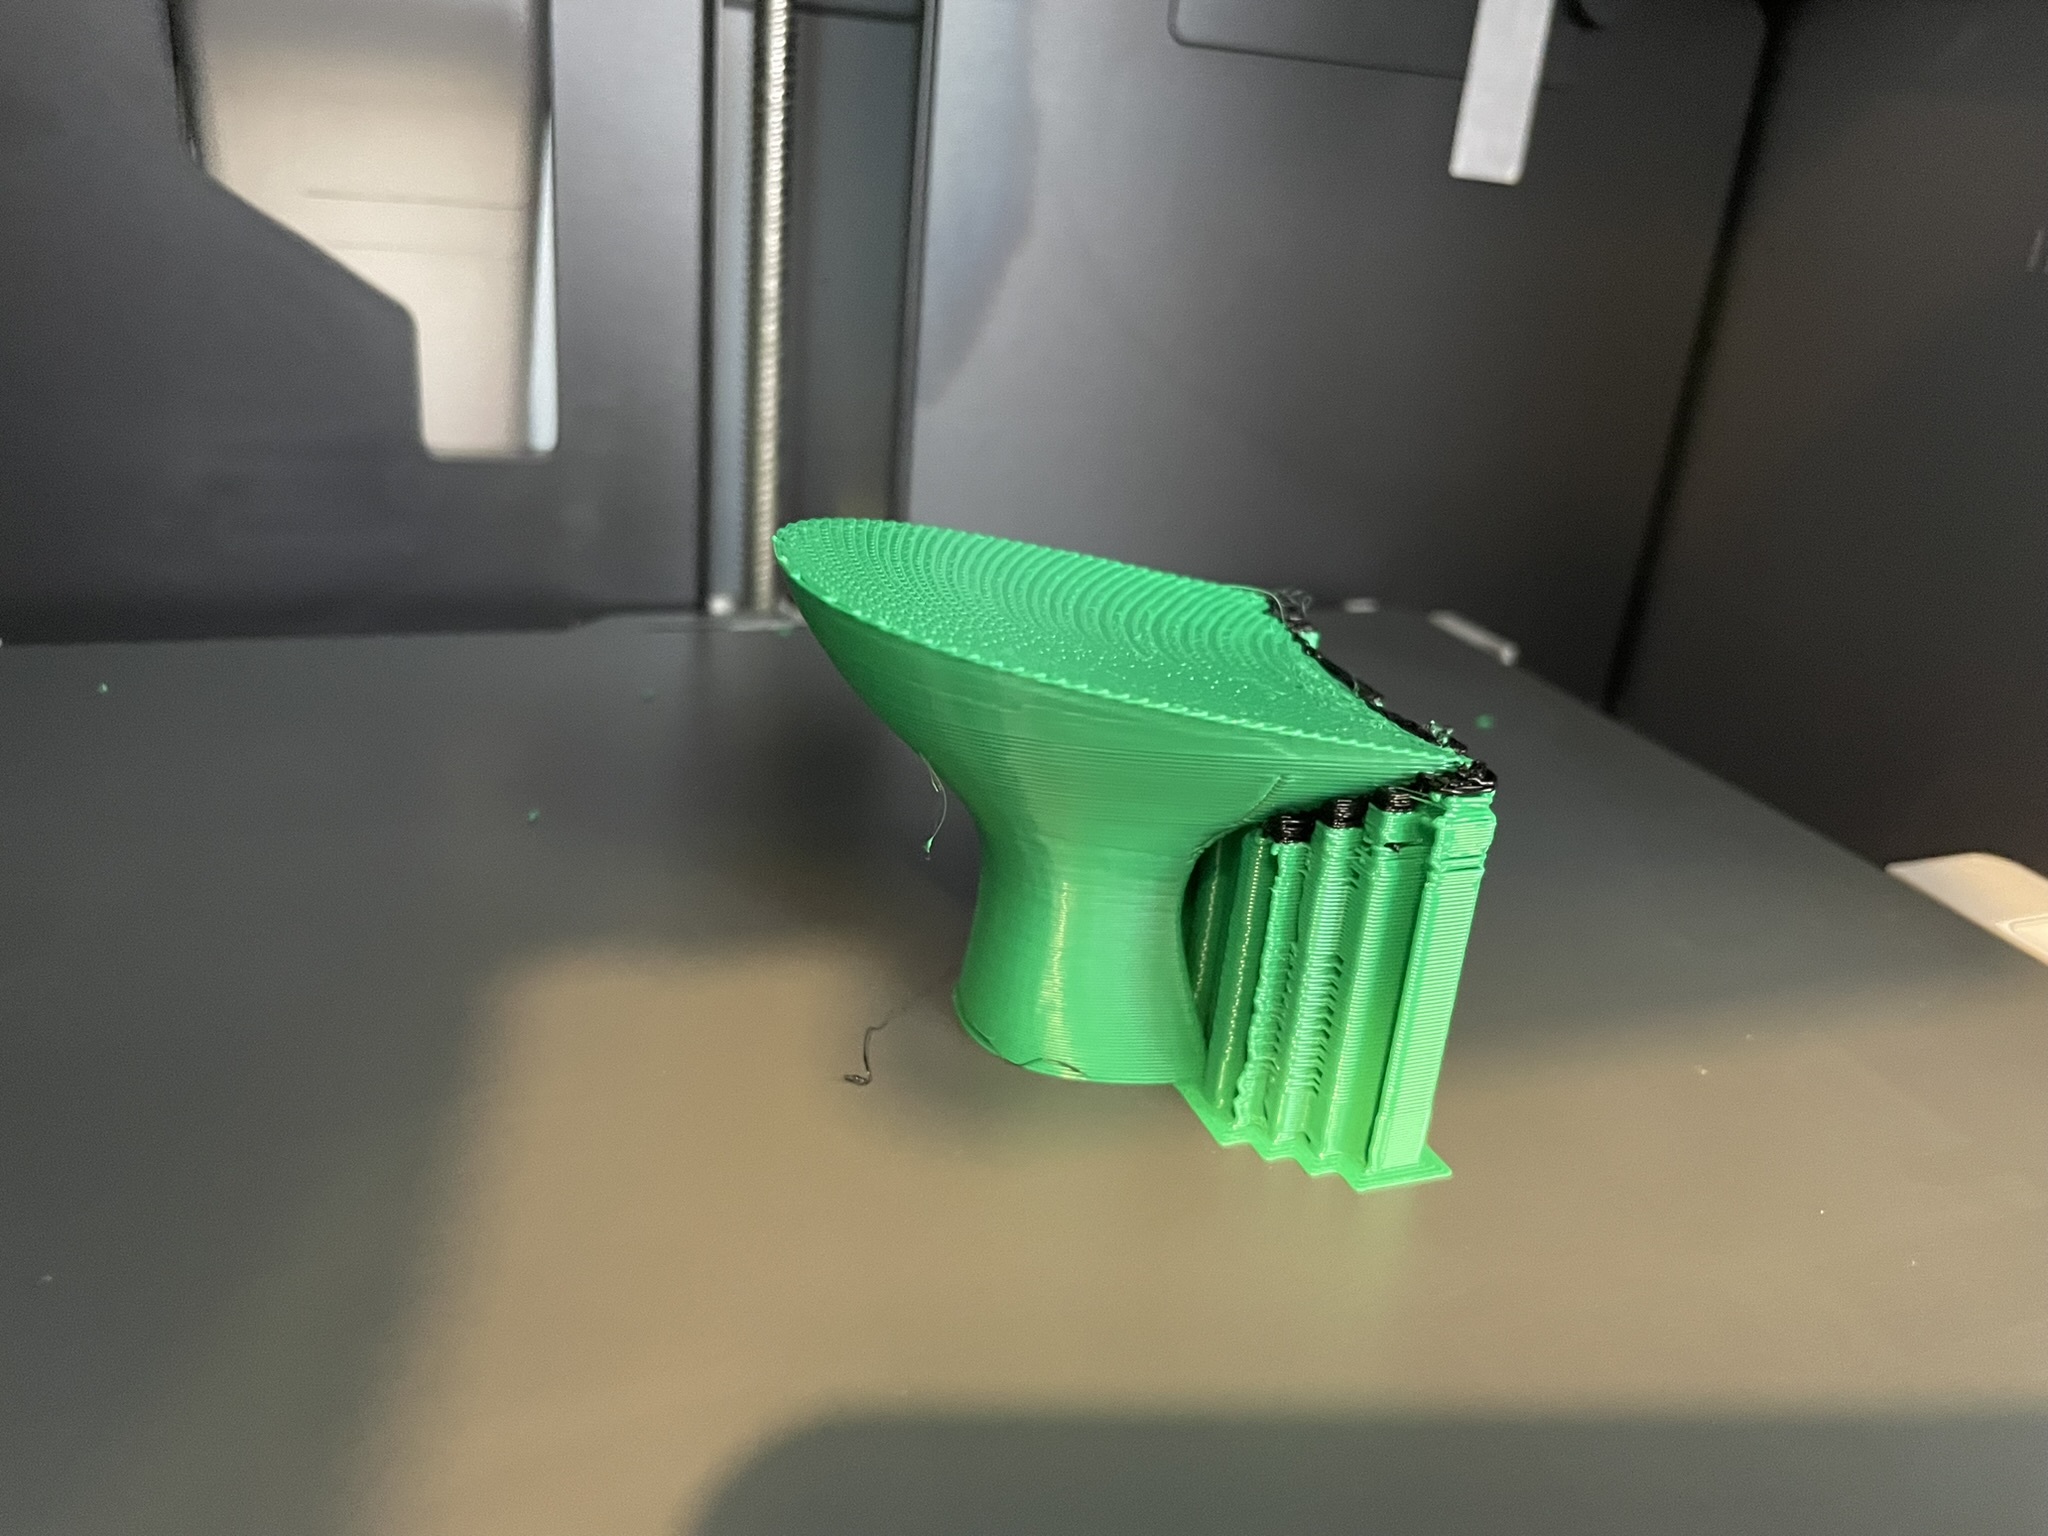
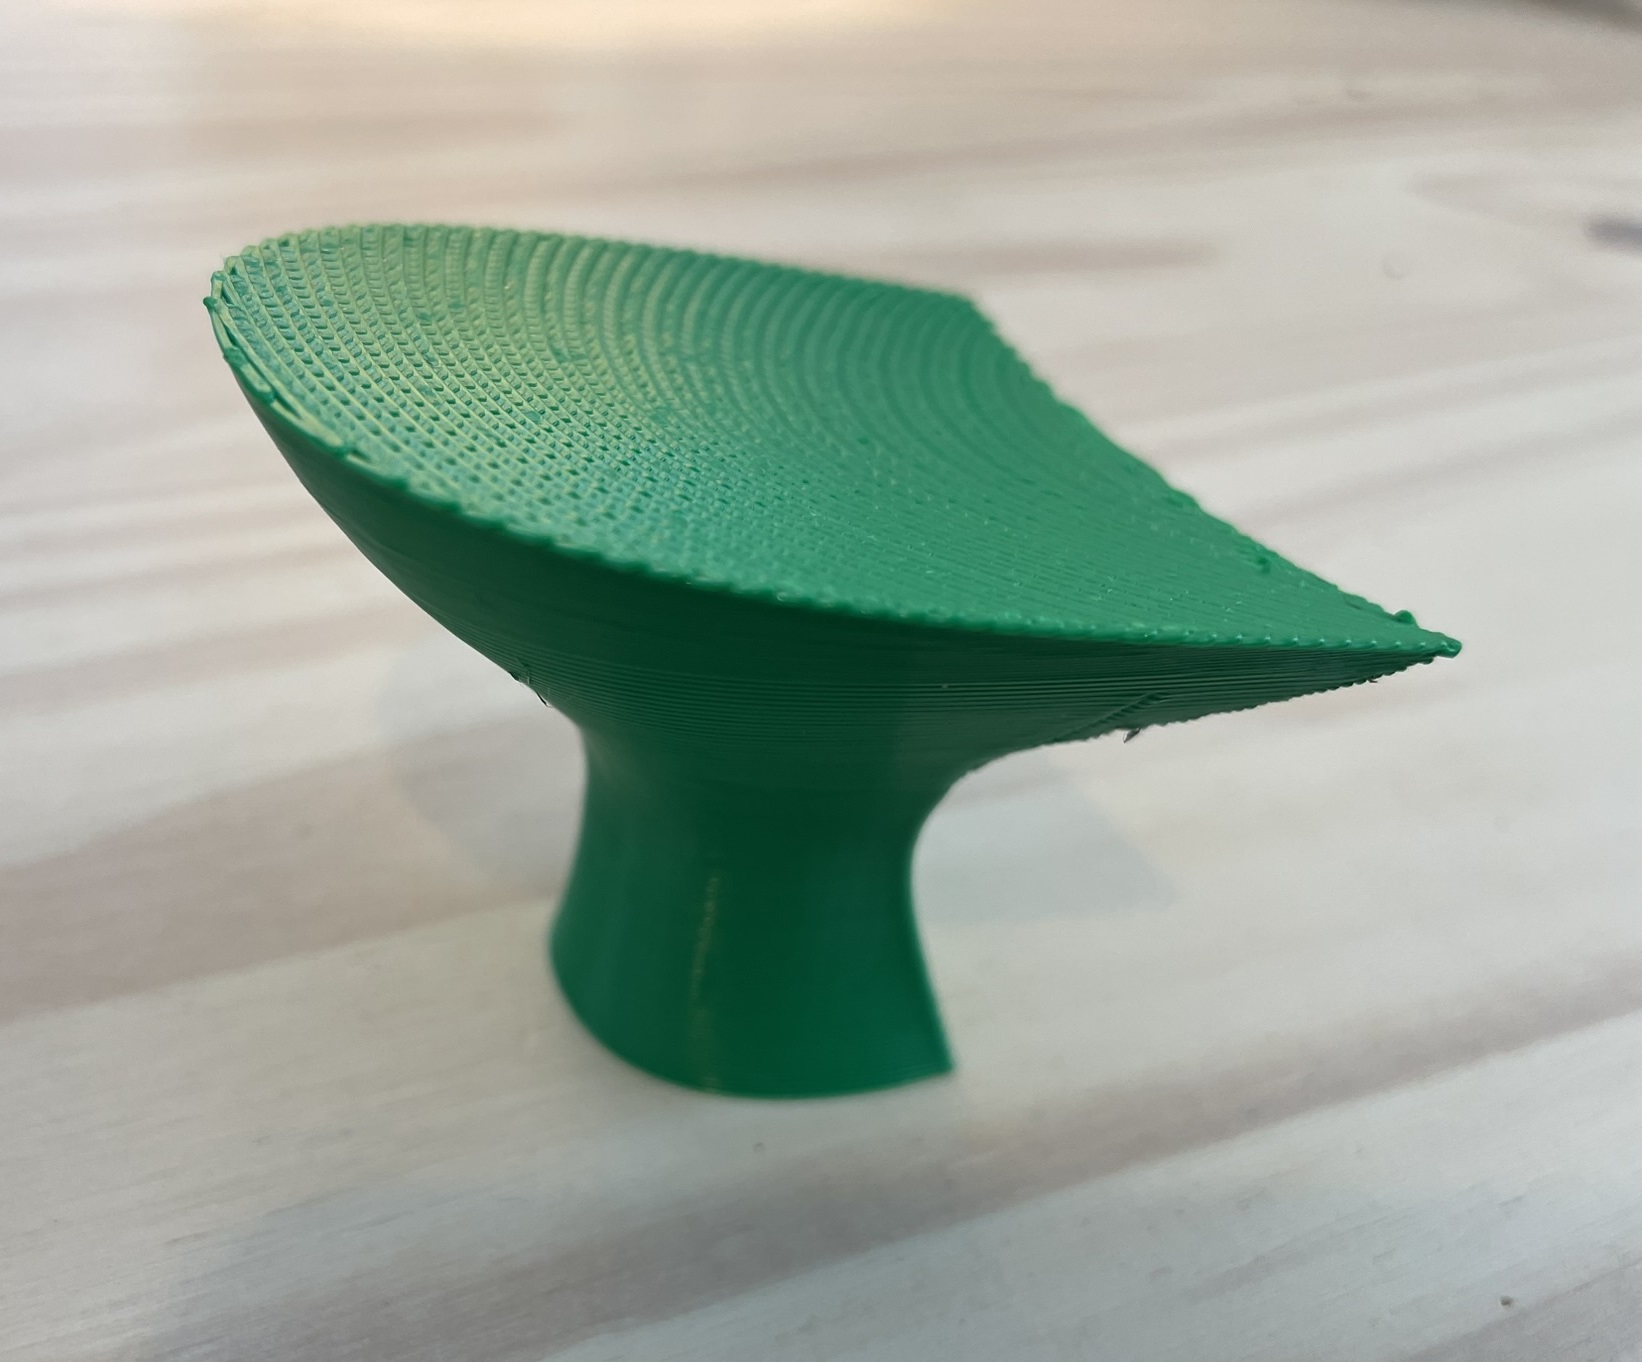
Once 3D printing is finished and supports are removed, you have yourself a fully functional shoe component.
That’s all for this 3DShoemaker tutorial. If you found it helpful, please subscribe. Thanks for reading.

