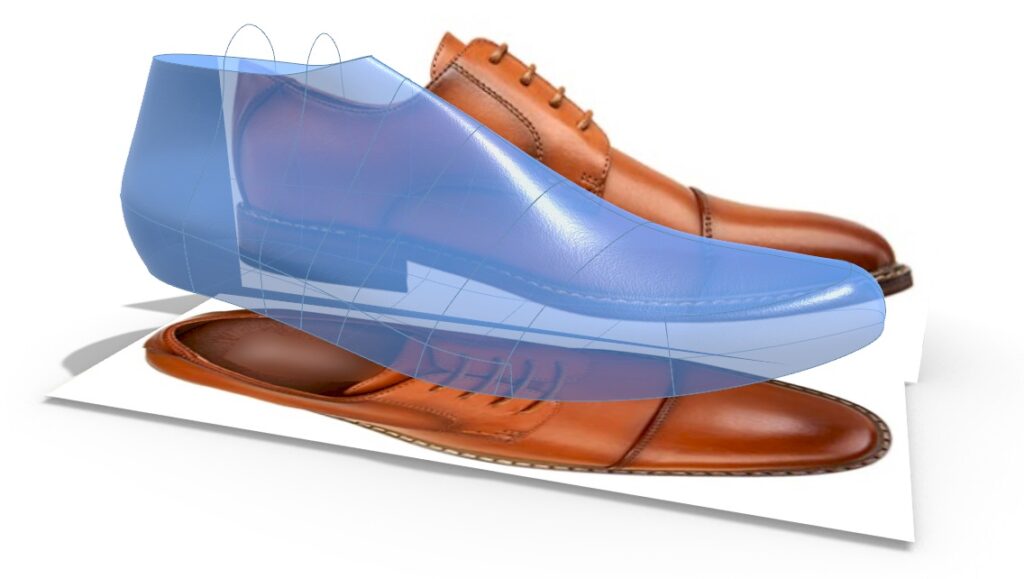
In my last couple 3DShoemaker tutorials, I showed how to morph shoemaking patterns from one shoe last to another, and also how to flatten them. But what if you don’t have any shoemaking patterns in the first place? In this tutorial, I’ll explain how you might go about drawing patterns in Rhino3D.
If you already have a firm idea in your head of the pattern you want to create, you can just start drawing on the shoe last immediately. But if you are working from some reference images, you could always import them into Rhino so you don’t have to keep glancing back and forth. If the latter, please see my tutorial on designing shoe lasts from references images to learn how best to work with them.
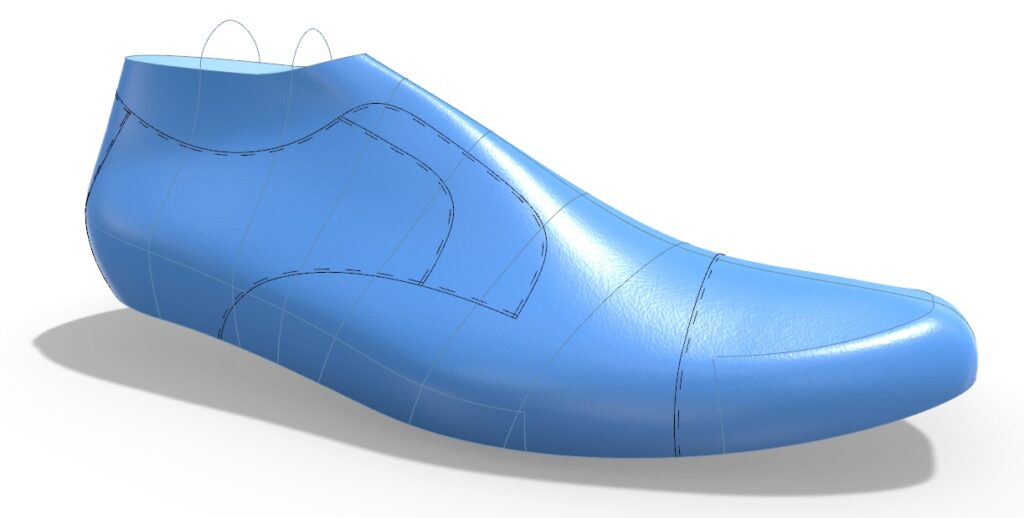
To draw on the shoe last, there aren’t any commands yet specific to 3DShoemaker. Rather, I suggest just using Rhino’s built in commands, namely ‘InterpCrv’. This allows you to pick points and have a curve interpolated through them. You want the points to be on the surface of the shoe last, which is actually a polysurface. So next type ‘PersistentOnPolySrf’ and select the various surfaces of the shoe last. The ‘persistent’ part is necessary because you’ll be picking more than one point and want to keep the selection requirements on.
Now that you have a curve interpolated through points on the shoe last polysurface, you’ll want to pull the entire curve down to the polysurface using the ‘Pull’ command. In cases where you are pulling to multiple surfaces, the curve will be split, so you’ll want to use the ‘join’ command to get back to one curve.
Drawing curves by picking points gets you a good start. But inevitably you will want to adjust the curve to get a better and smoother shape. Control points can be easily moved using the gumball in Rhino. And the ‘Smooth’ and ‘Fair’ commands are helpful for getting a smoother curve. Note that, after using these commands, you’ll again want to pull the curves to the surface and rejoin.
In some cases, you’ll want to mirror curves from medial to lateral or vice versa. This can be done with the ‘Mirror’ command, and once again followed by the ‘Pull’ and ‘Join’ commands. Other times you will want parallel curves, such as for stitch lines. It’s best to use ‘OffsetCrvOnSrf’ to achieve these.
To make your pattern more visually understandable, it’s a good idea to use different colors and line types, both of which can be set from the properties panel in Rhino.
One last tip, and this is a crucial one, is to lock your pattern layers when not doing flattening, as their contents can get deleted by 3DShoemaker otherwise. And save regularly.


