This tutorial covers morphing of shoemaking patterns from one shoe last to another.
Morphing is a new capability in the latest version of 3DShoemaker (V1.011 currently). It allows for the mapping of geometries from one shoe last to another. This is a huge time saver as it means accessory designs only need to be created one time to be made available for any given shoe last. This morphing capability should work with all geometries in Rhino or even other software. So far though, I only have it set up to work with curves for shoemaking patterns, which is the topic of this tutorial.
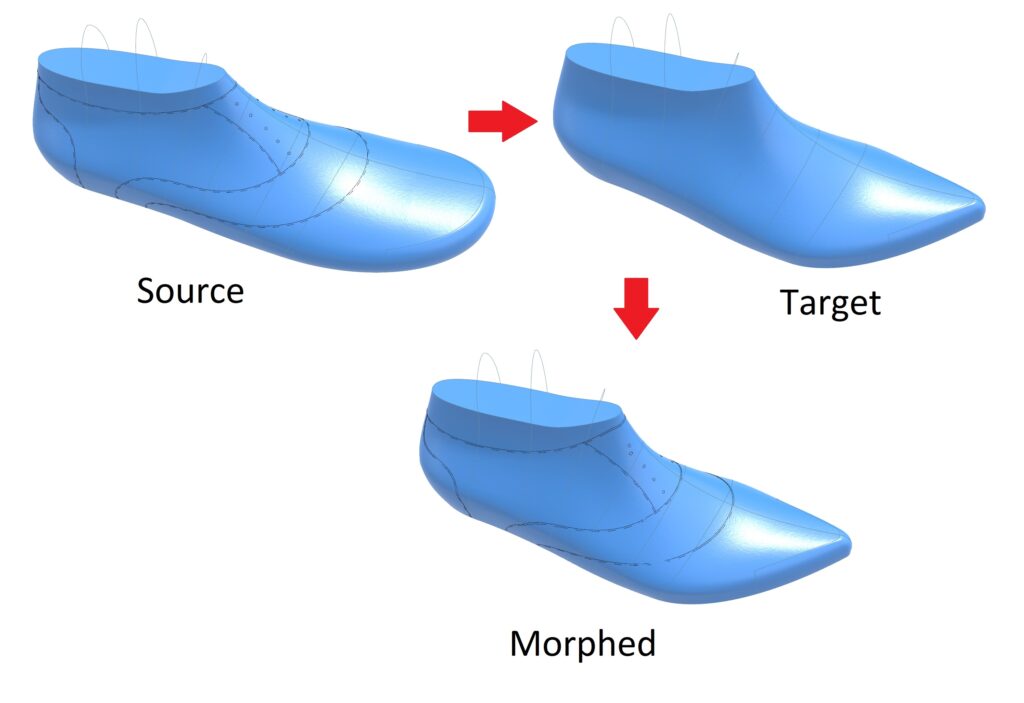
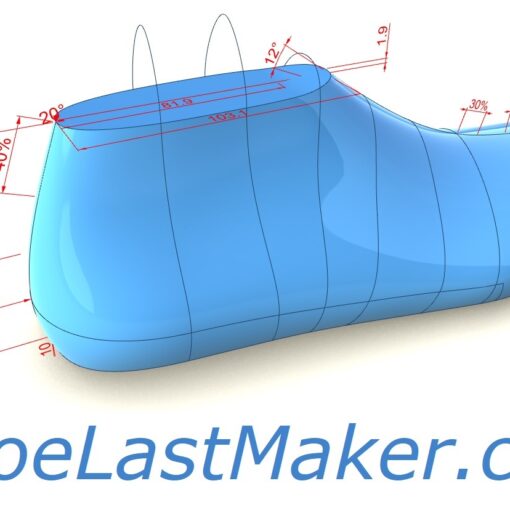
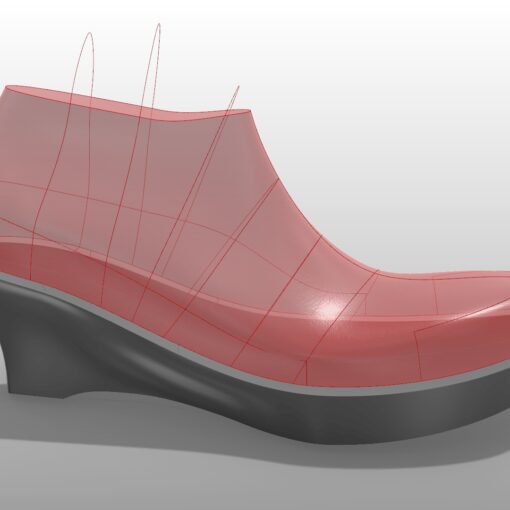
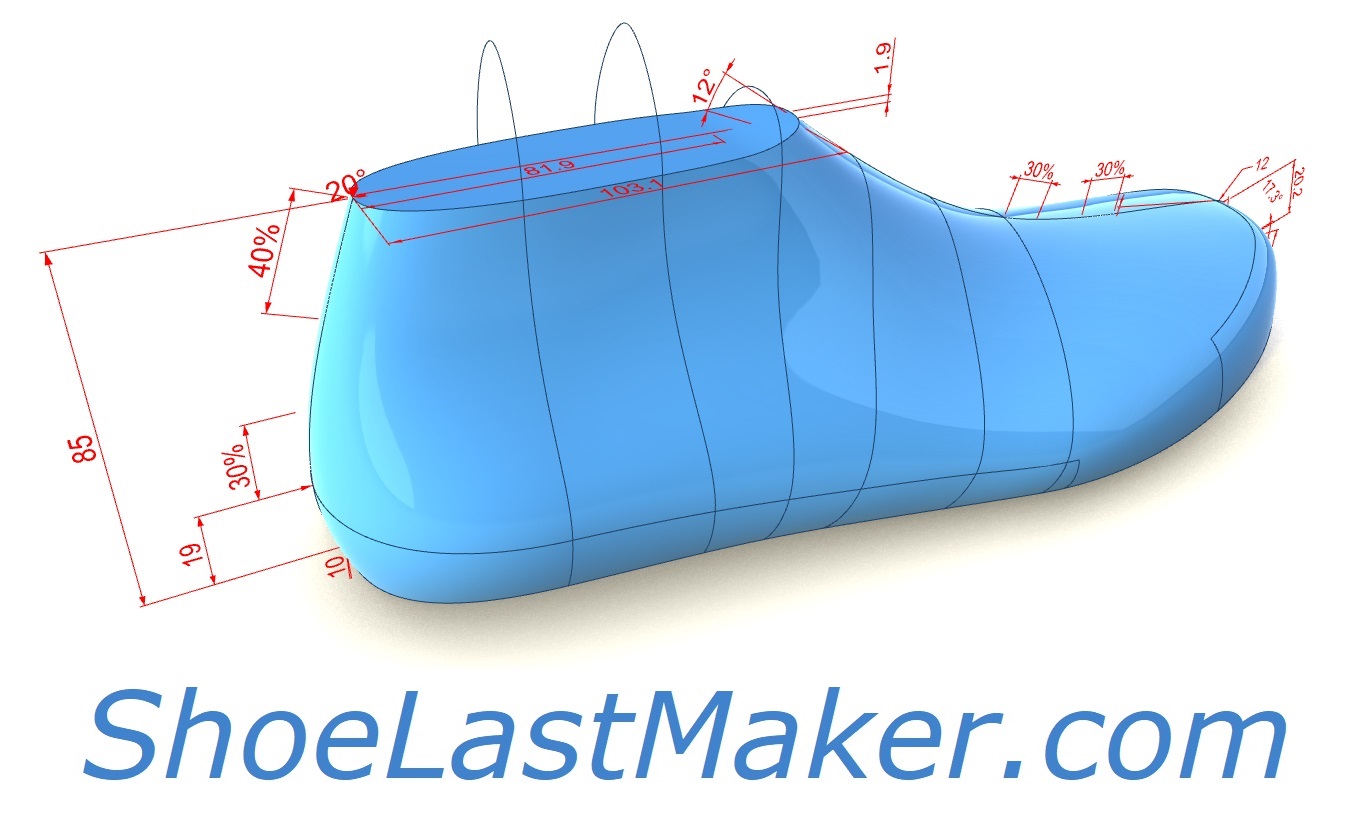
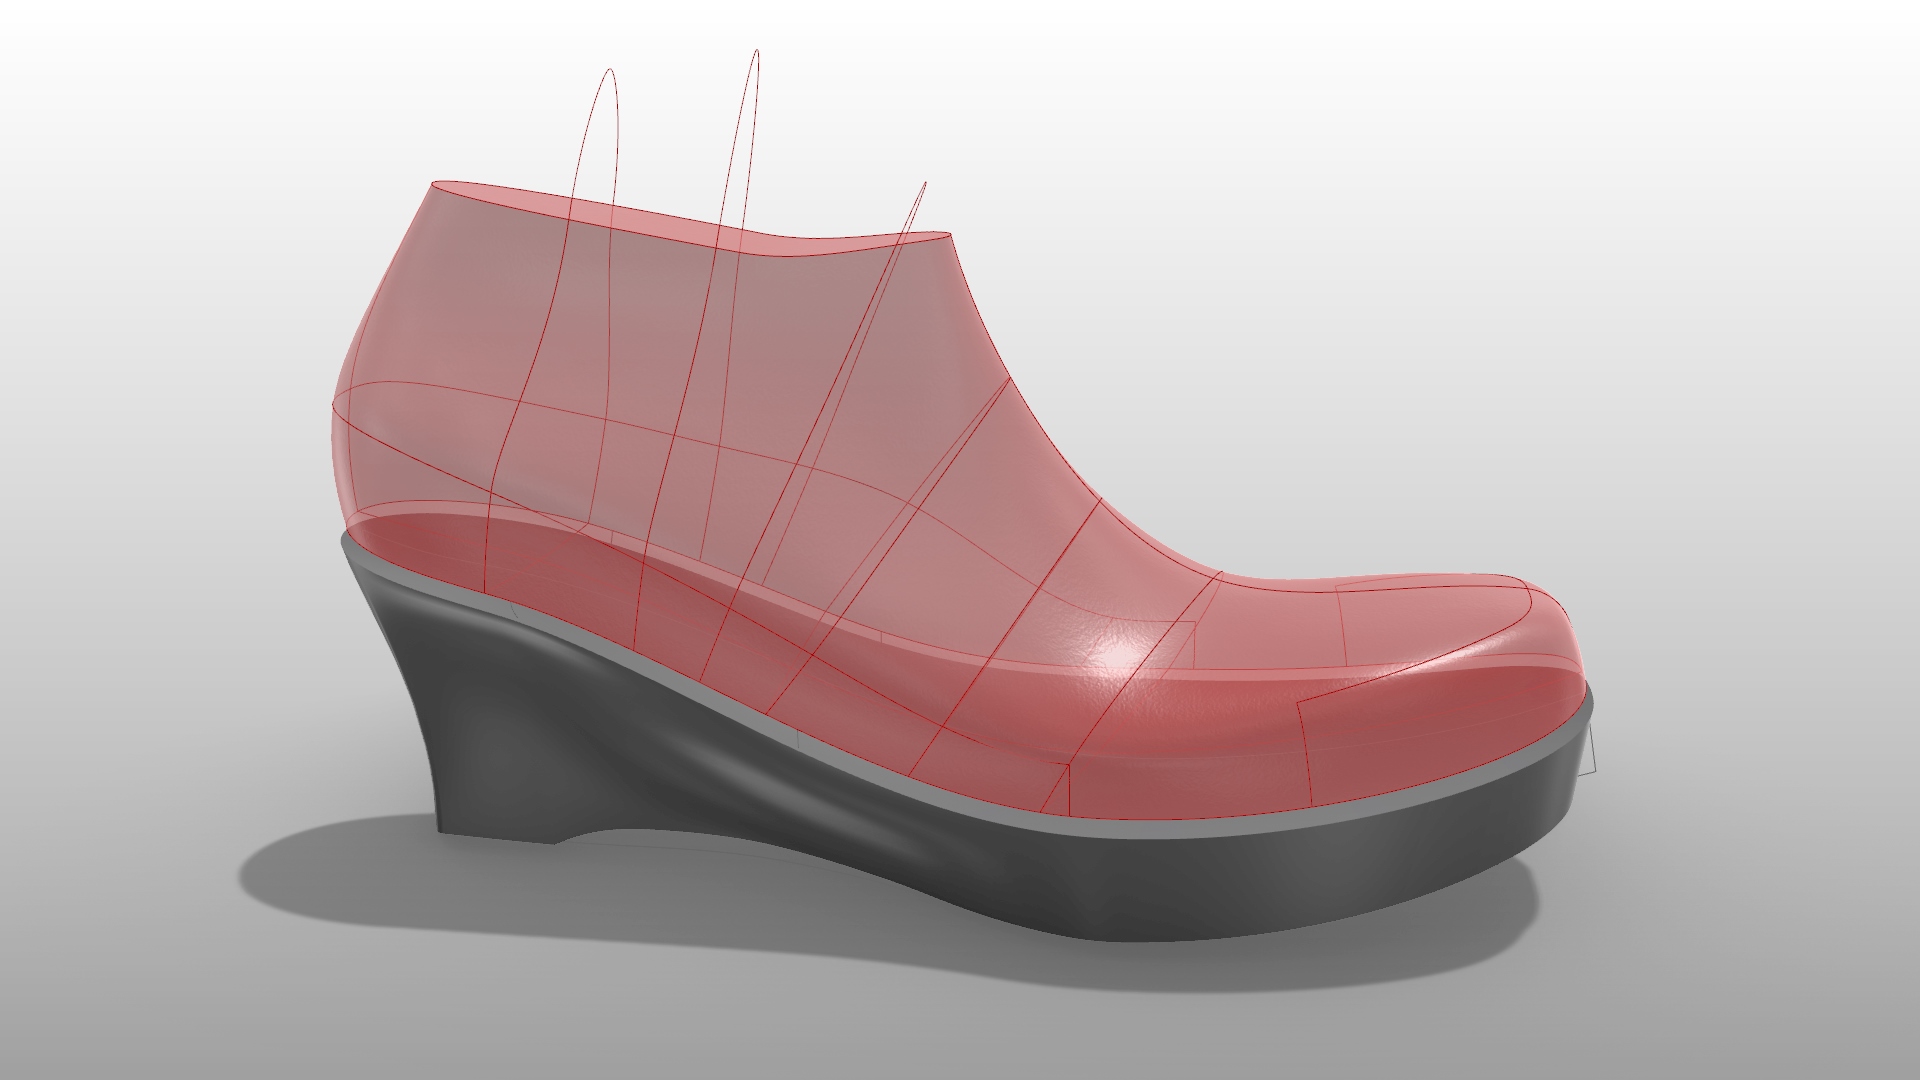
Assuming you’ve already drawn pattern curves on a parametric shoe last, the next step is to put the curves on a layer called “Morph” (make sure it is unlocked). Afterwards, you need to save the file, remembering where you saved it. This is the source data, essentially. Now, open the shoe last you want to bring the morphed data over to (or start a new file and build it). This is the target data. Press the Morph button in the side panel and a form with various inputs will come up.
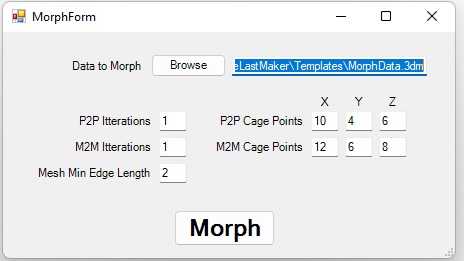
On the form you can browse for the source data, which is the file with the layer called “Morph” that you saved. There are also options for setting the iterations and lattice control point count. The iterations is the number of times the algorithm runs. More gives a more accurate result but at the cost of more computation time. Lattice control point count determines how many points in the x, y, and z directions the morphing cage is constructed with. Once again, more increases accuracy but slows things down. Both of these options are available for P2P (point to point) and M2M (mesh to mesh) steps. P2P steps morph division points on the source curves to corresponding division points on the target curves, bringing the geometry to be morphed along too. M2M steps do similarly but on vertices of meshed versions of the shoe lasts. M2M steps generally take longer but fewer tend to be necessary. And the edge length of the mesh, which is the next option, very much affects computation time. Lastly, there is a setting for whether or not morphed curves are pulled to the target last as a final step. In general, the default settings should work good in most cases.
Once you are satisfied with the settings, press the Morph button. The morphing process can take a fair bit of time to complete. The progress is reported in the command prompt.
Upon completion, you may notice that the morphed data isn’t quite perfect. For instance, curves may be a bit jagged and even a bit out of position in some cases. So some post processing may be necessary. Some of it will be automated in future versions. For now though, some helpful commands for post processing include: Rebuild (reduce control point count), Fair (smoothen curve), Pull (bring the patterns back to the shoe last surface).
Now that you have morphed patterns, the next step in your workflow is likely flattening the curves. I’ll cover this in the next tutorial. And later on I’ll circle back and cover morphing of other geometries.