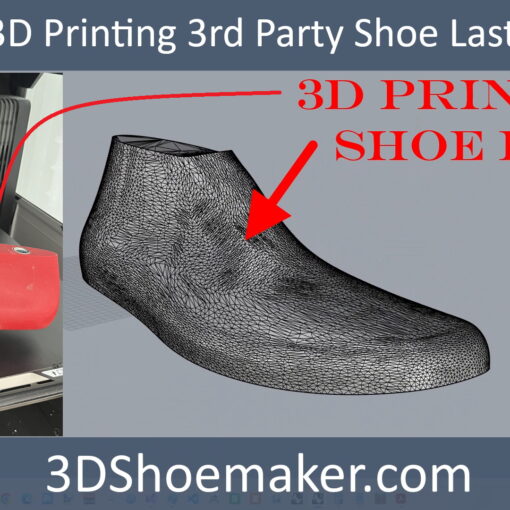
Hardware for assembling more robust 3D printed shoe lasts is now available for purchase here on 3DShoemaker.com. In this post, I’m going to tell you a bit more about it.
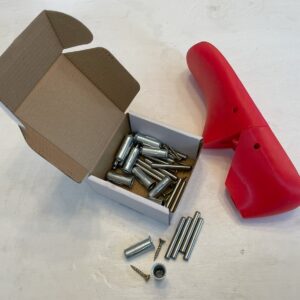
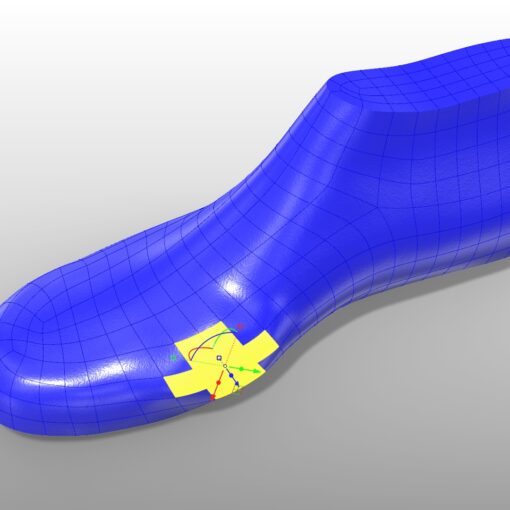
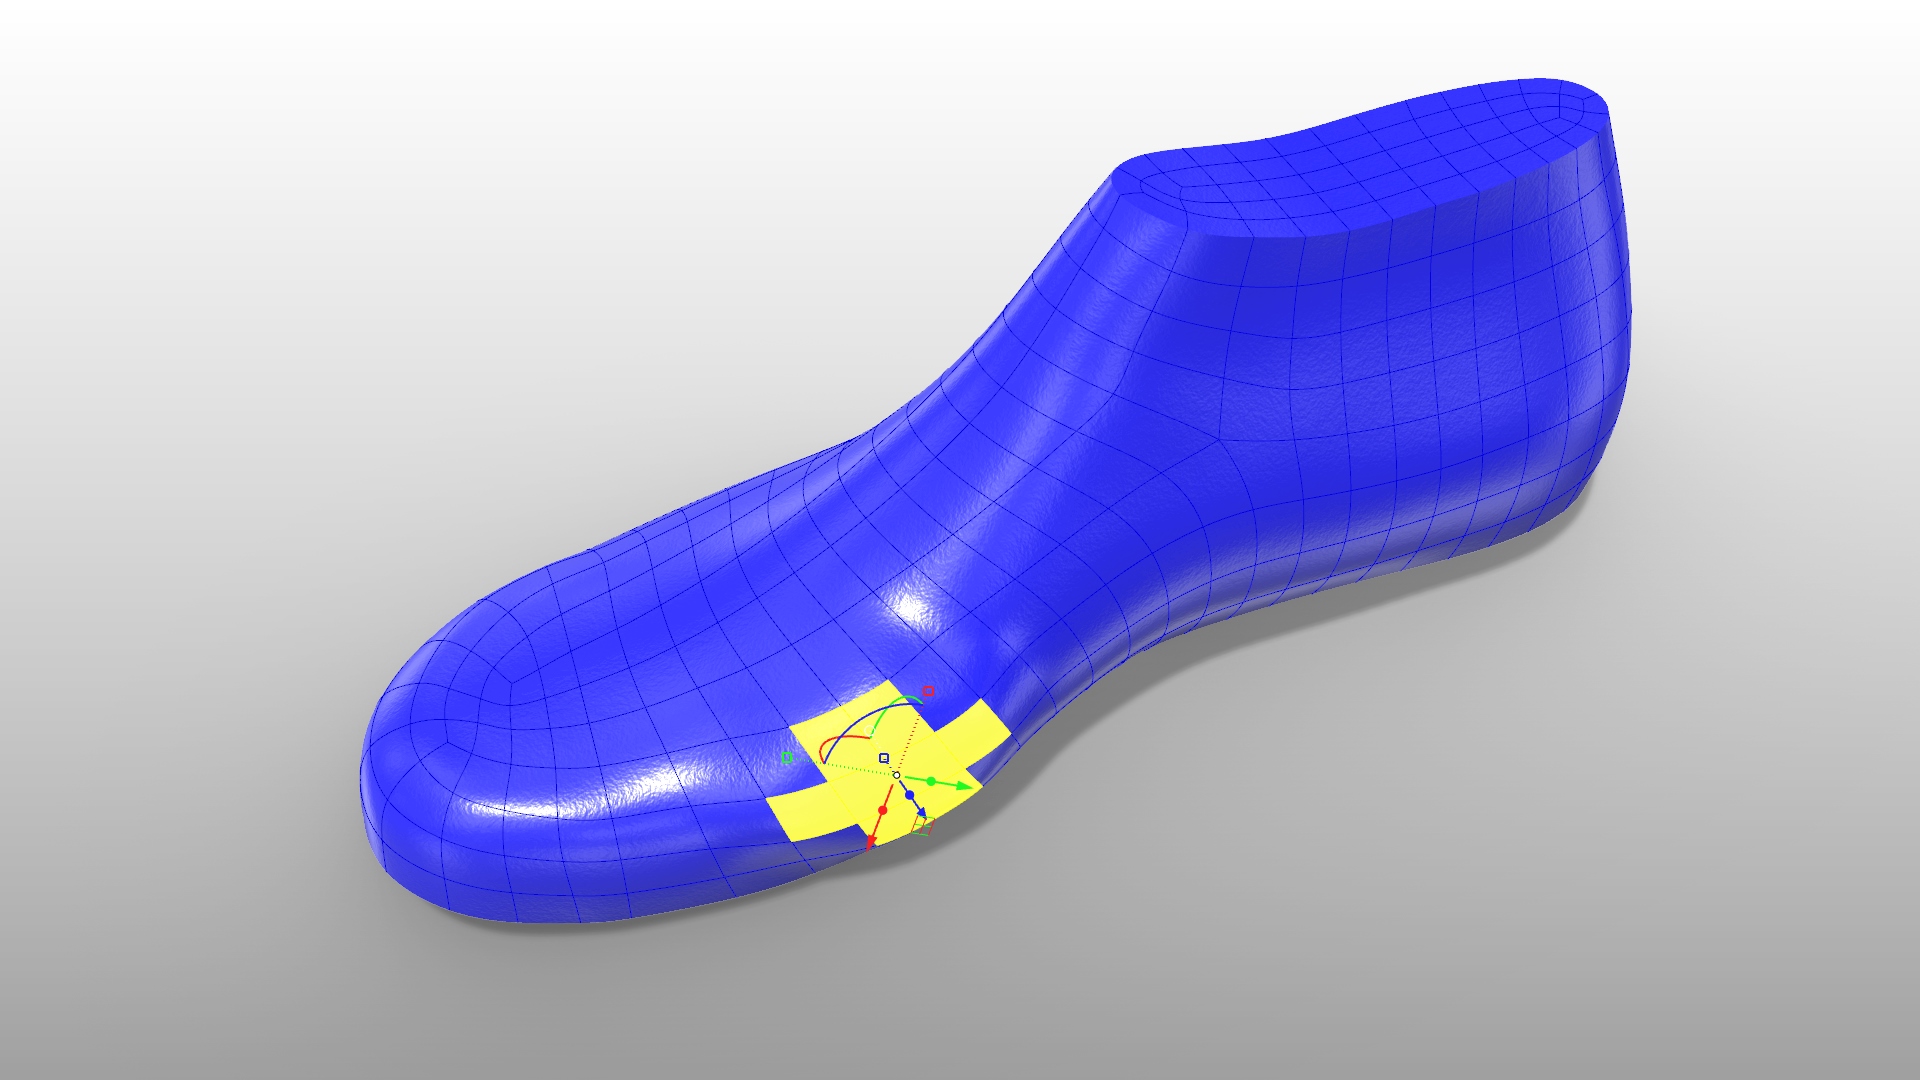
In my previous tutorial on 3D printing a shoe last with an alpha joint, I tried to make it as convenient as possible by only using screws commonly found at a local hardware store. While this worked okay, the alpha joint could be a lot stiffer with a ¼” dowel pin. Assembly with the dowel pin is pretty much the same as with the screws except you tap them into place with a hammer. A guide block can help set the initial penetration depth of the dowel pins so you don’t have to guess. The 3D files for the guide block as well as the discs and elliptical spring, for which I find the 5mm stretch works best, can be found here. These parts can be 3D printed separately in batches to save time. Note that there have been some slight changes to the alpha joint design and it’s best now to insert the elliptical spring into the front of the shoe last first rather than the back. This makes it possible to assemble without the handling screw.
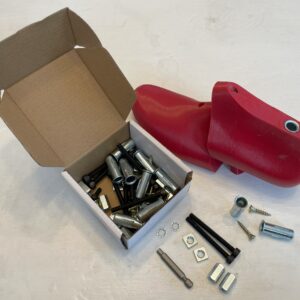
Hardware is also now available for the rail joint I previously demonstrated. This should be very helpful given some of the parts for it can be a bit tricky to source. Also note that the rail joint can also be used for 3D printing a fixed shoe last that does not open, the point being to avoid the need for support material when 3D printing. Just specify you want a fixed joint on the ordering form and then standard wood screws can be used to connect the front and back to the rail. Alternatively, a solid shoe last can be 3D printed using PLA as support for the PETG shoe last on a Bambu Lab printer with AMS same as I’ve shown for components and patterns.
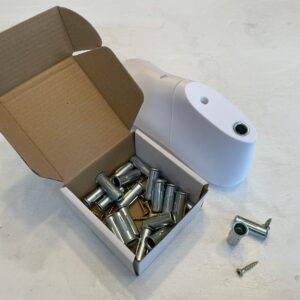
Finally, actual shoe last thimbles can also now be purchased here on 3DShoemaker.com. While the ½” copper pipe workaround I previously demonstrated was functional, it’s a nuisance to have to cut the pipe, and the actual shoe last thimble just makes it look more finished. The thimbles should be tapped in with a hammer and then fixed with the included screws. If you do end up getting some thimbles here on 3DShoemaker.com, make sure to choose the ‘Standard Thimble’ option when ordering shoe last 3D models so that the thimble will fit properly.
-
Shoe Last Thimble Hardware: 10 -100 Pairs
Select options This product has multiple variants. The options may be chosen on the product page
That’s all for this update, thanks for reading.

