One of the main questions regarding 3DShoemaker is how to import shoe lasts. Users often already have collections of shoe lasts and want to be able to parametrically edit them in 3DShoemaker. This can be done, but it requires that you first parameterize the shoe last. It is essentially reverse engineering a shoe last and it takes time and skill to complete. But once you have a good shoe last design parameterized, it can be used as a base style on which to build a complete library of shoe lasts. The resulting standardization is a core benefit behind the parametric design approach of 3DShoemaker. Parameterization of shoe lasts is the topic of this tutorial. The following is just one of many possible sequences to carry out this task.
- Build a new shoe last of the intended size and from the closest template you currently have.
- Import the existing shoe last file. It can be in stl, iges, obj, or other format. If it is within a Rhino 3DM file, make sure the plugin is paused first so as to not overwrite current session data.
- Create curves for the bottom edge and the top edge of the reference shoe last. If the reference data is surfaces (iges, step, etc.), then this part is just a matter of duplicating the surface edges. If it is a mesh (stl, obj, etc.), then you’ll likely want to use the Rhino command ExtractMeshEdges. For very imprecise edges, you can interpolate a curve while picking mesh vertices. Here is a useful conversion tool between various geometry file formats in case Rhino support is lacking.
- Create new layers with unique color coding for the imported shoe last and curves and populate them (otherwise the plugin will delete the data during the development process).
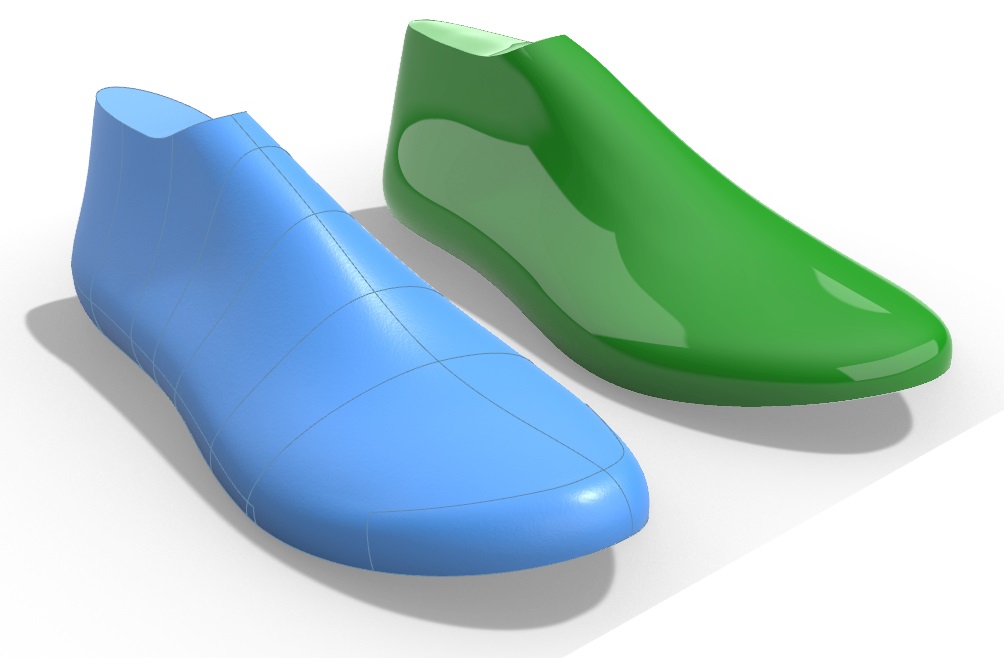
- Orient the imported data to properly align with the parametric model. The gumball is a useful tool for this and transparency helps too. This is a step you may want to repeat multiple times throughout the parameterization process as it can be difficult in some cases to get the correct orientation from the start.
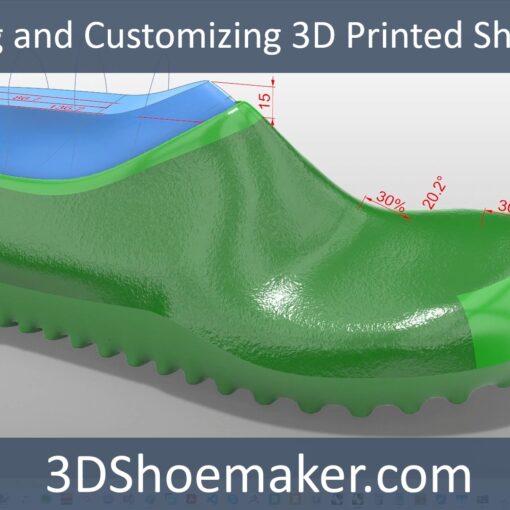
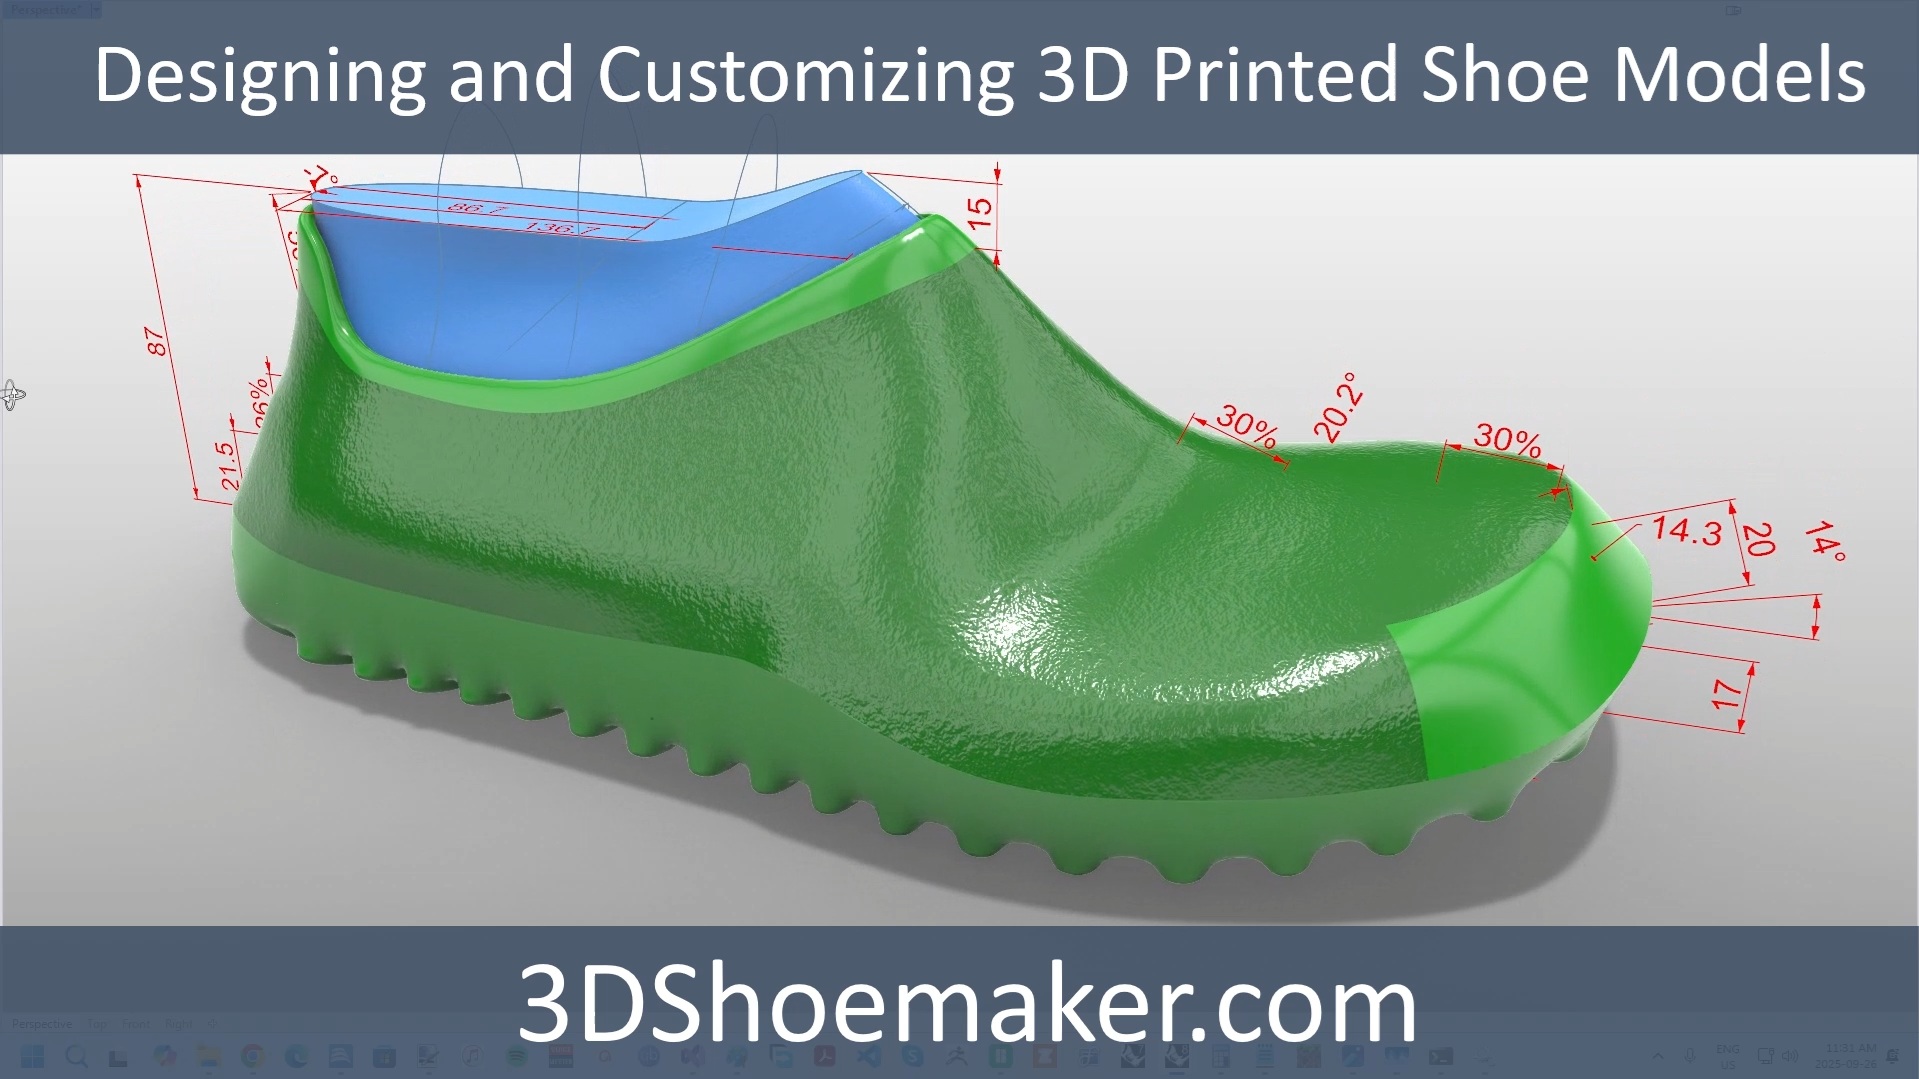
- Adjust the parametric curves one at a time in order to match the imported shoe last. It’s useful to turn on clipping planes for the curve being edited which clips both the parametric and imported shoe lasts at the editing plane. Below is a suggested order for adjusting the parametric curves. It may be necessary to repeat these steps multiple times if it’s necessary to more closely match the reference shoe last.
- Last bottom edge
- Last top edge
- Profile
- Cross sections
- Last body and toe wall curves from various views
- Any remaining curves
- Hide the reference last and focus on getting a good smooth final parametric shoe last with primary sizing measurements that make sense.
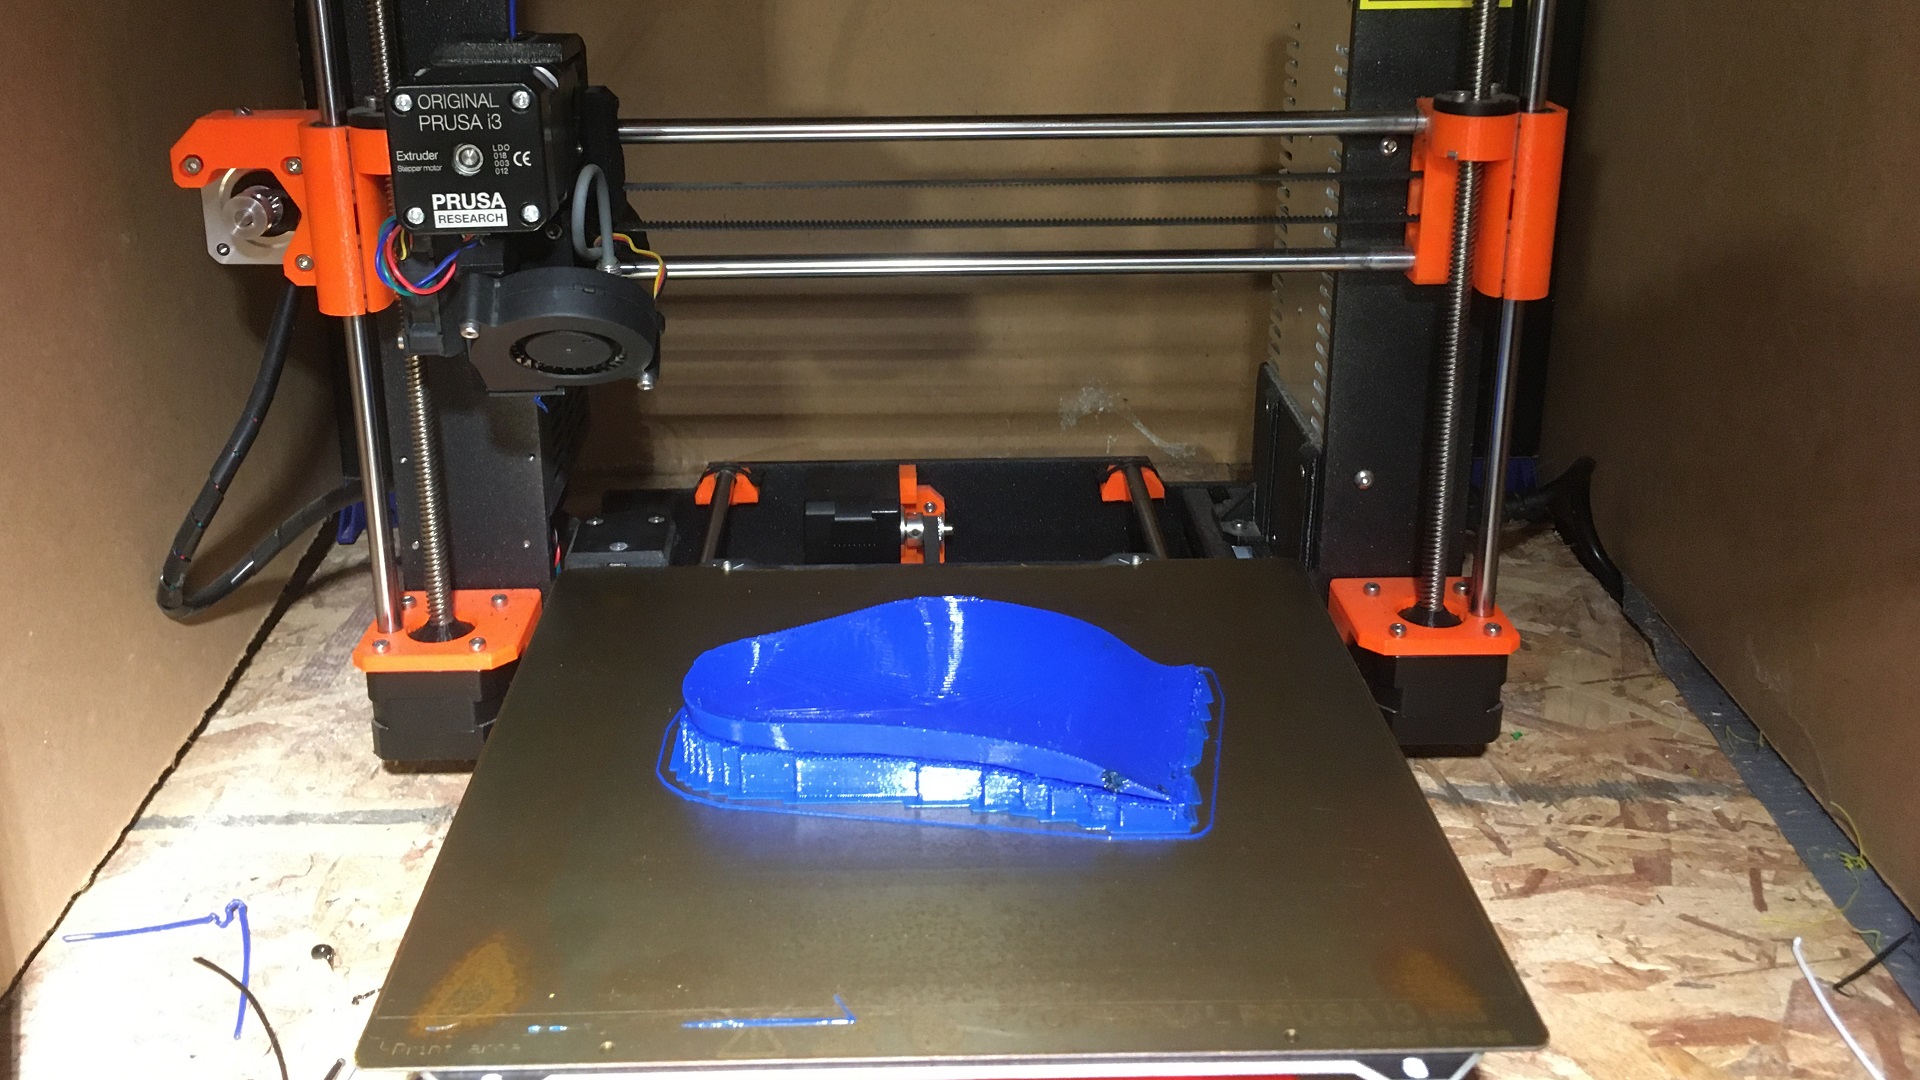
- Remove the reference data and save as a new template.
The final result will be a parametric shoe last that closely but not exactly matches the imported shoe last.
It is very important to save regularly during this process. Incremental save is very handy for this as it doesn’t overwrite previous save files which is important if issues arise. Also, make sure to keep an eye on the command prompt to see that the plugin data is being saved properly (a message saying plugin data not saved properly may come up if issues are encountered). Note this is this is a feature that will be released in the next version of 3DShoemaker.
Parametrizing shoe lasts is probably the most challenging part of 3DShoemaker. If it is something you would rather outsource, please contact us.
