This is what I like to call a shoe last rail joint. It’s a 3d printed alternative to common shoe last hinging systems. De-lasting with the rail joint is a smooth and easy process ideal for small scale shoemakers. And this style of shoe last joint also minimizes the risk of damaging the shoe. In this 3DShoemaker tutorial, I’m going to teach you how to assemble the rail joint.
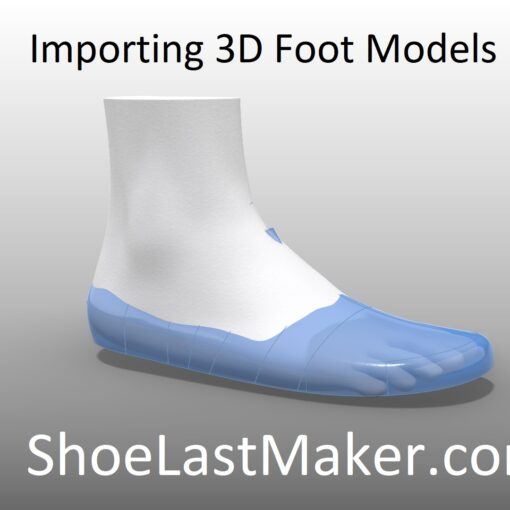
In an earlier tutorial, I showed how to order, 3D print, and assemble a shoe last with an alpha hinge. I highly recommend starting with the alpha hinge as it is easier to assemble and will be more familiar to most shoemakers. The tutorial for it is also more comprehensive, covering the ordering and slicing steps. In this tutorial on the rail joint, I’m just going to cover the assembly steps.
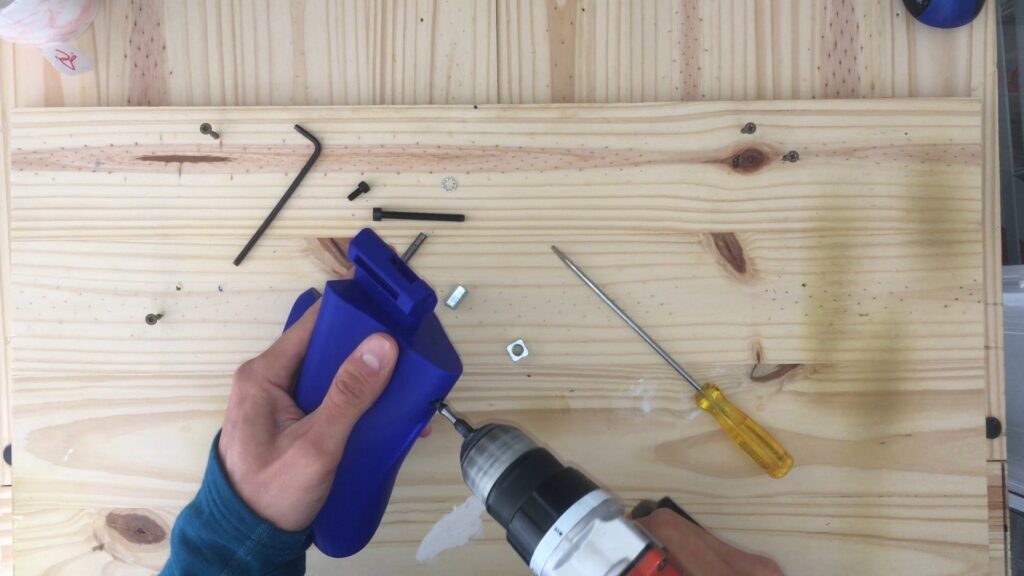
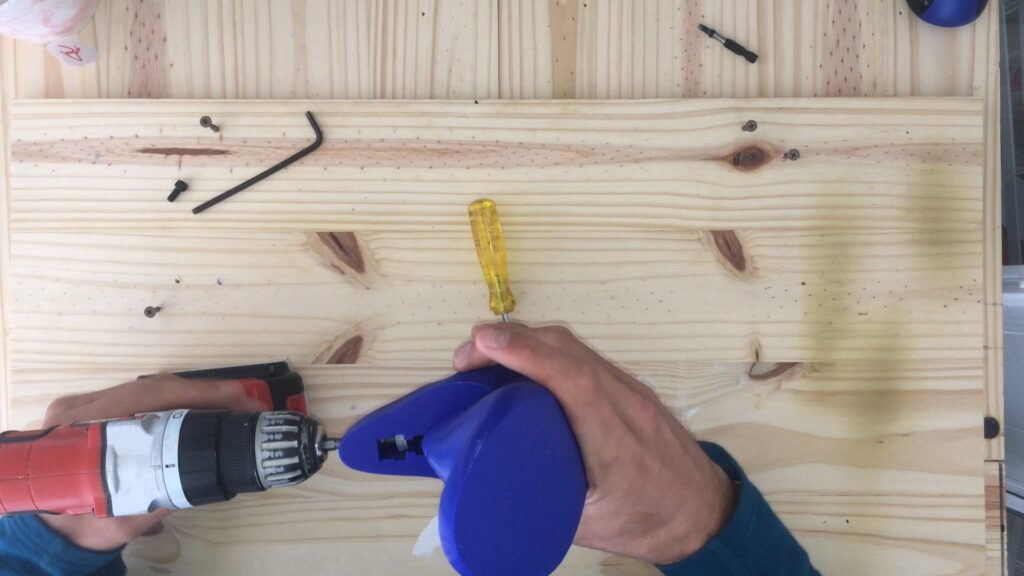
So how does a shoe last rail joint work, you might be wondering? The rail joint allows the back part of the shoe last to move forwards and upwards, effectively shortening the length of the shoe last and enabling it’s easy removal from an assembled shoe. There are other shoe last joints that work on a similar principle. But what is unique about the rail joint is that it is screw driven. Turning the screw clockwise causes the joint to close and turning it counter clockwise causes it to open. The screw can be turned manually with an Alen key but it is much better to use a cordless drill. A torque limiter is crucial to prevent overtightening.
Before continuing, it’s important to note that the rail joint does not work for all types of footwear. For instance, closed boots like cowboy boots leave no room for the back part of the shoe last to move in the upwards/forwards direction. For closed footwear, it’s better to use the alpha joint.
Required Hardware for the 3D Printed Shoe Last Rail Joint
Below is a picture of the required hardware for the rail joint.
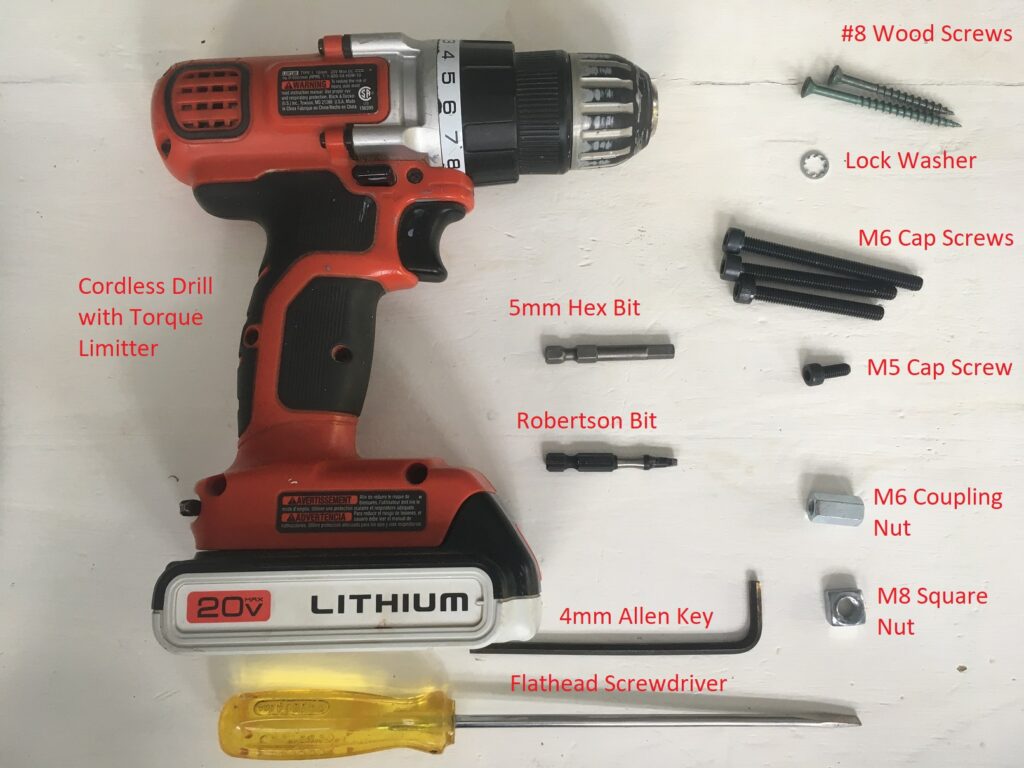
This hardware is fairly standard stuff you could probably get from most hardware suppliers, such as McMaster-Carr, Fastenal, Spaenar, and maybe even Amazon. The part numbers and links below are for Fastenal (except the cap screws which come from Spaenar given Fastenal doesn’t have fully threaded).
To open and close the joint, you’ll need a 5mm hex bit (Fastenal #0235275), or perhaps like these on Amazon. Or if you aren’t planning on using a cordless drill to operate the joint, you could just use a 5mm Alen key. The M5 Locking Screw takes a 4mm Alen key or hex bit.
The thimble can just be a 1/2″ copper pipe you find standard at most hardware stores.
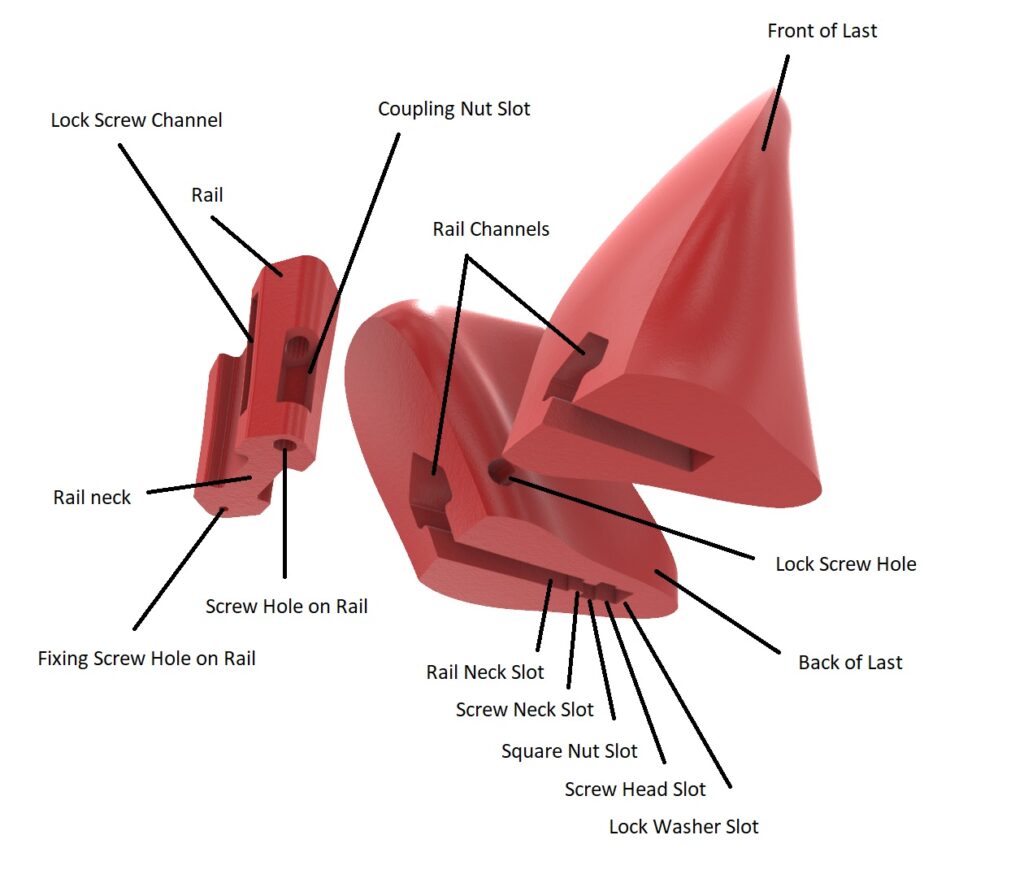
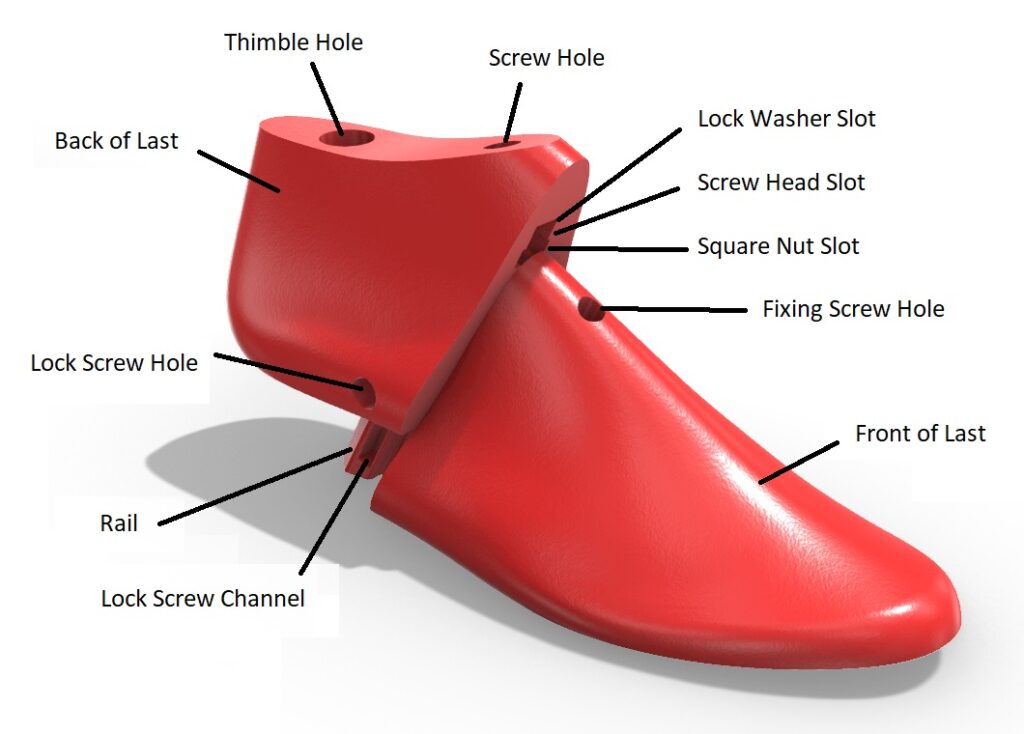
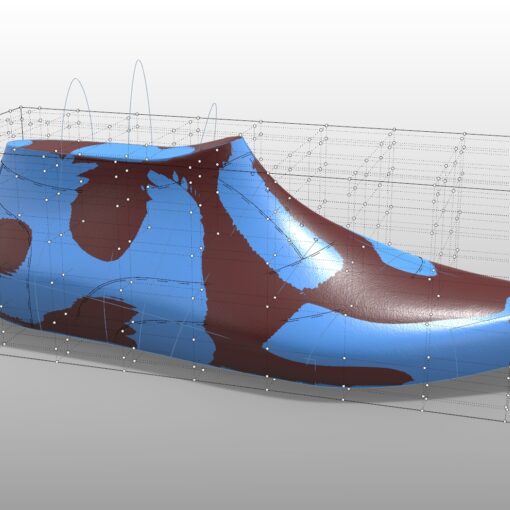
3D Printed Shoe Last Rail Joint Features
Below are some diagrams of the various features of the shoe last with rail joint shown before and after assembly.
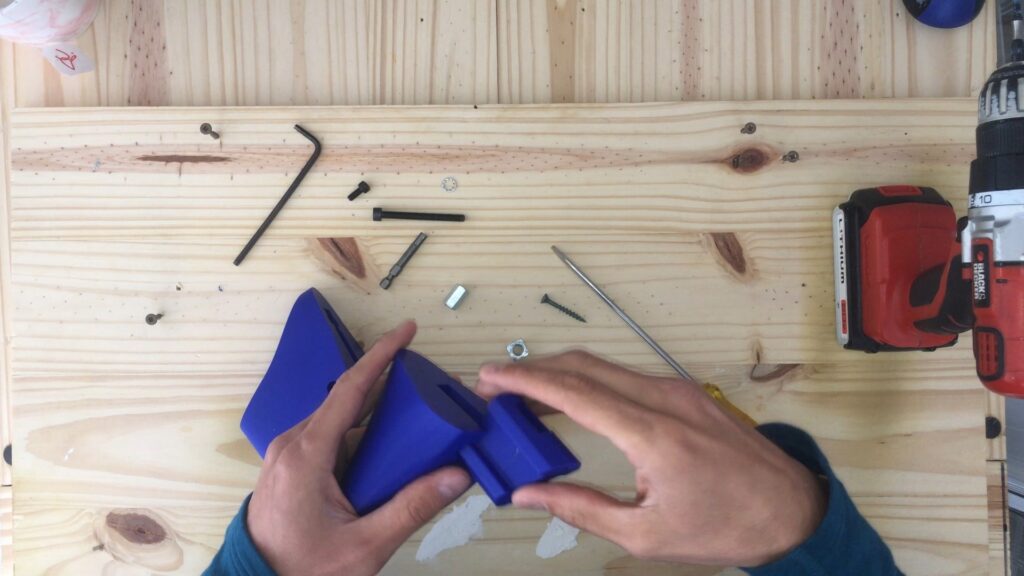
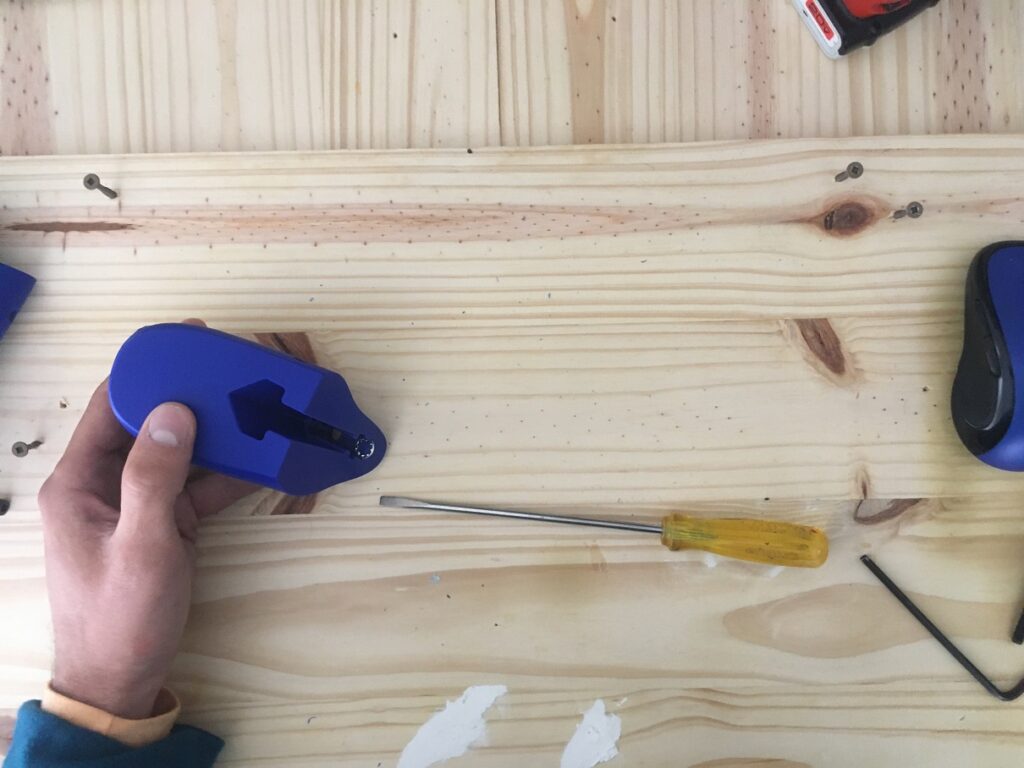
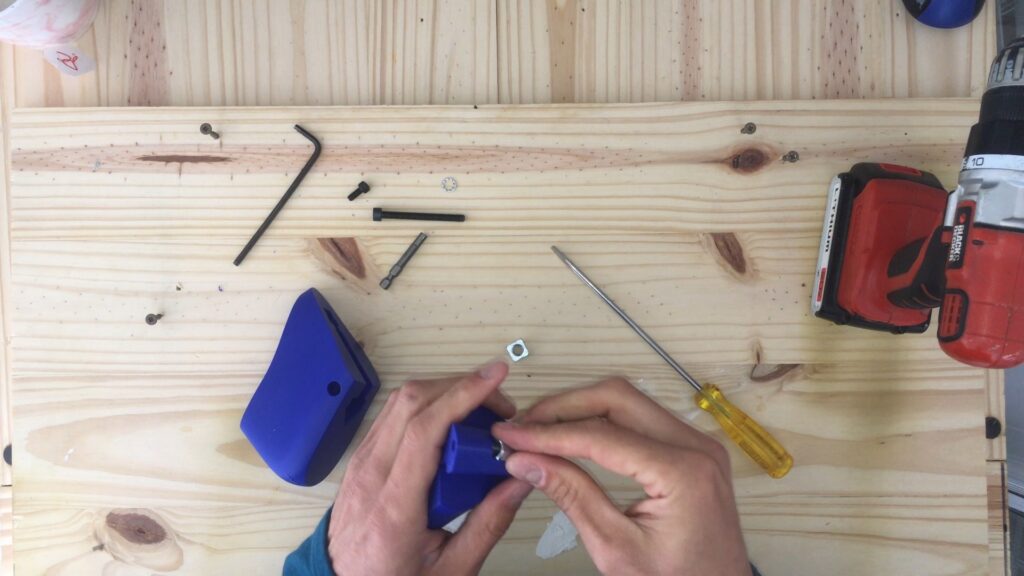
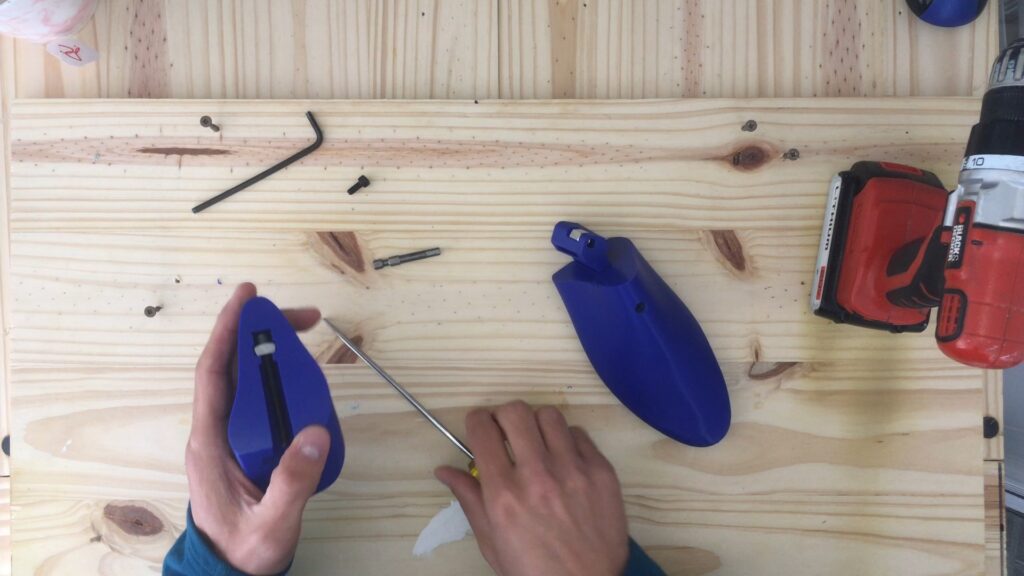
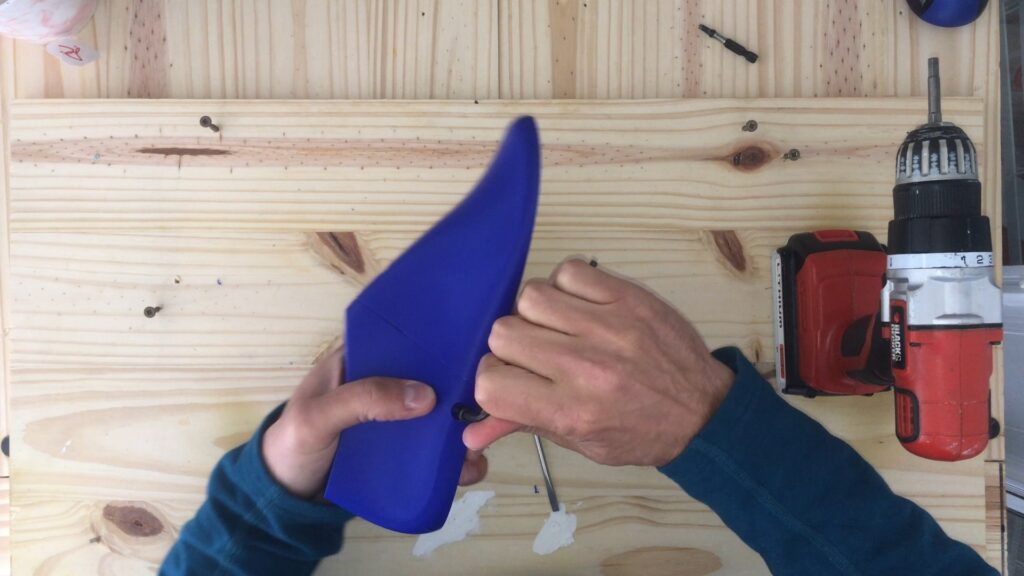
3D Printed Shoe Last Rail Joint Assembly
The following are the necessary steps to assemble the shoe last and rail joint.

That’s all for this 3DShoemaker tutorial. If you have any questions or comments you can leave these below or visit the contact page.
