Parametric orthotic and insole design is now possible in the the latest version of 3DShoemaker (V 1.007). What’s unique about this approach to orthotic and insole design is that it is fully integrated with the parametric shoe last design. This is an advantage over many existing approaches, as the geometry of the shoe last has a major impact on foot and orthotic/insole interaction. A fully parametric approach to both the shoe last and the orthotic and insole design is more scientific, and thereby has the potential to be superior. Before getting started with parametric orthotic and insole design, I do suggest first learning the basics of 3DShoemaker.

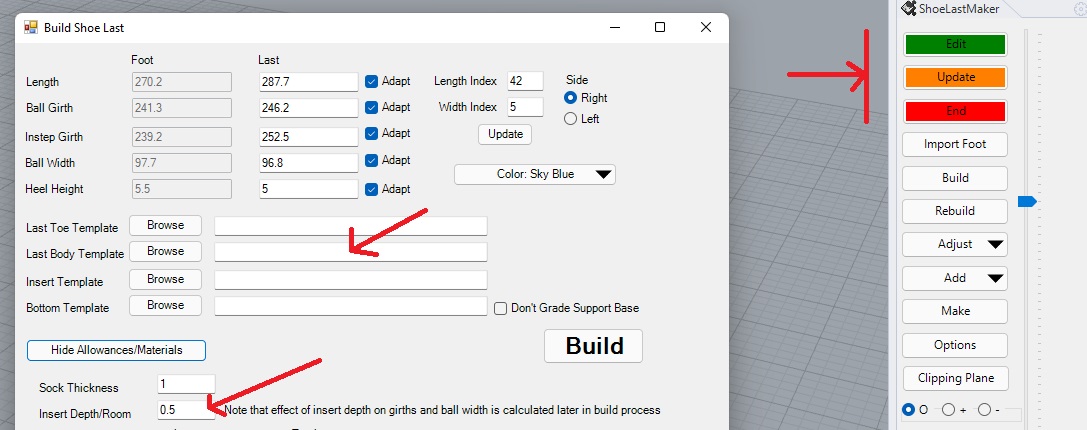
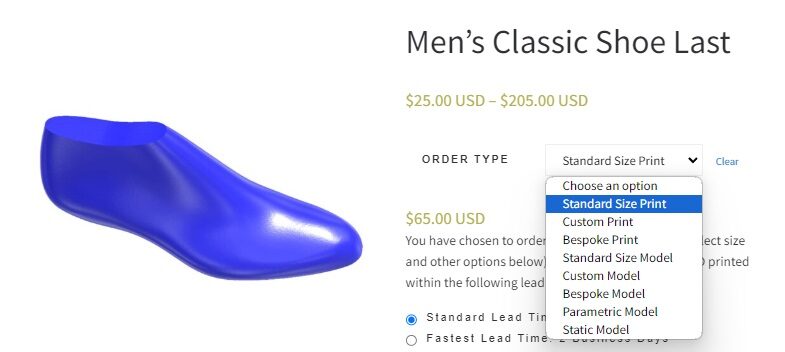
Various insert templates are available here. Currently, there are basic seed templates spanning the principal types, full length, 3/4 length, and shell. The various parameters can be adjusted the same as with shoe lasts (Edit, Update, End Edit buttons on the side panel). And as with shoe lasts, inserts can be saved as templates and used in new insole design sessions, speeding up the design process.
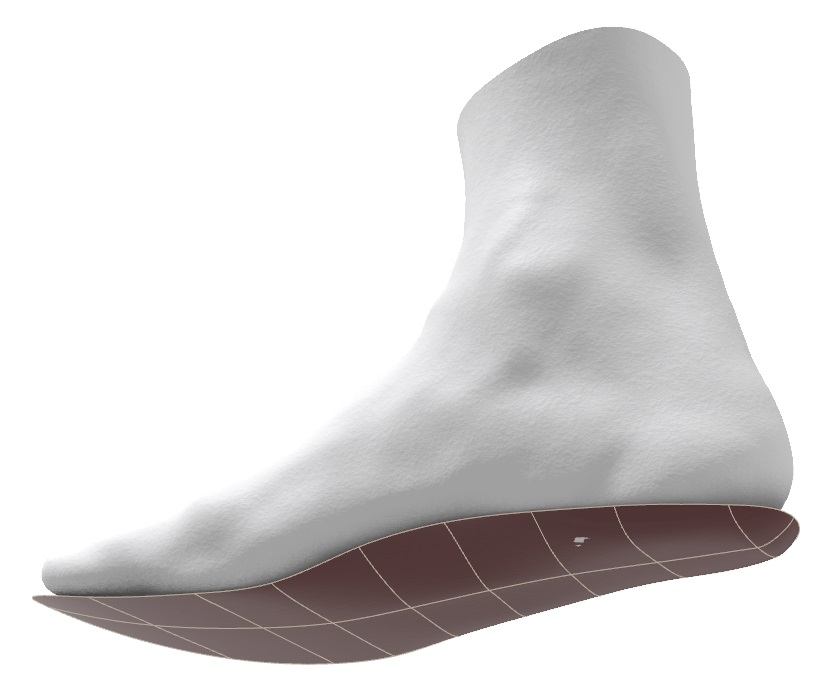
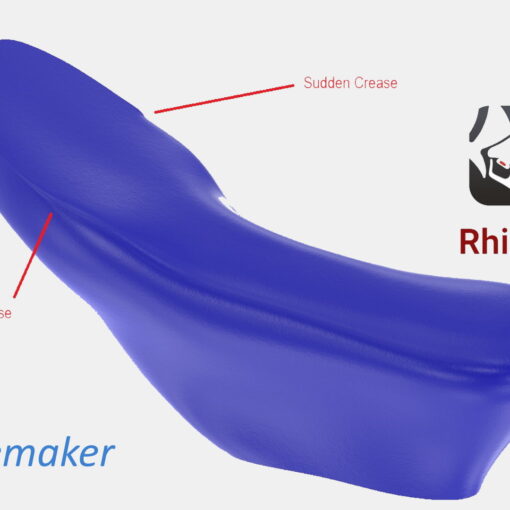
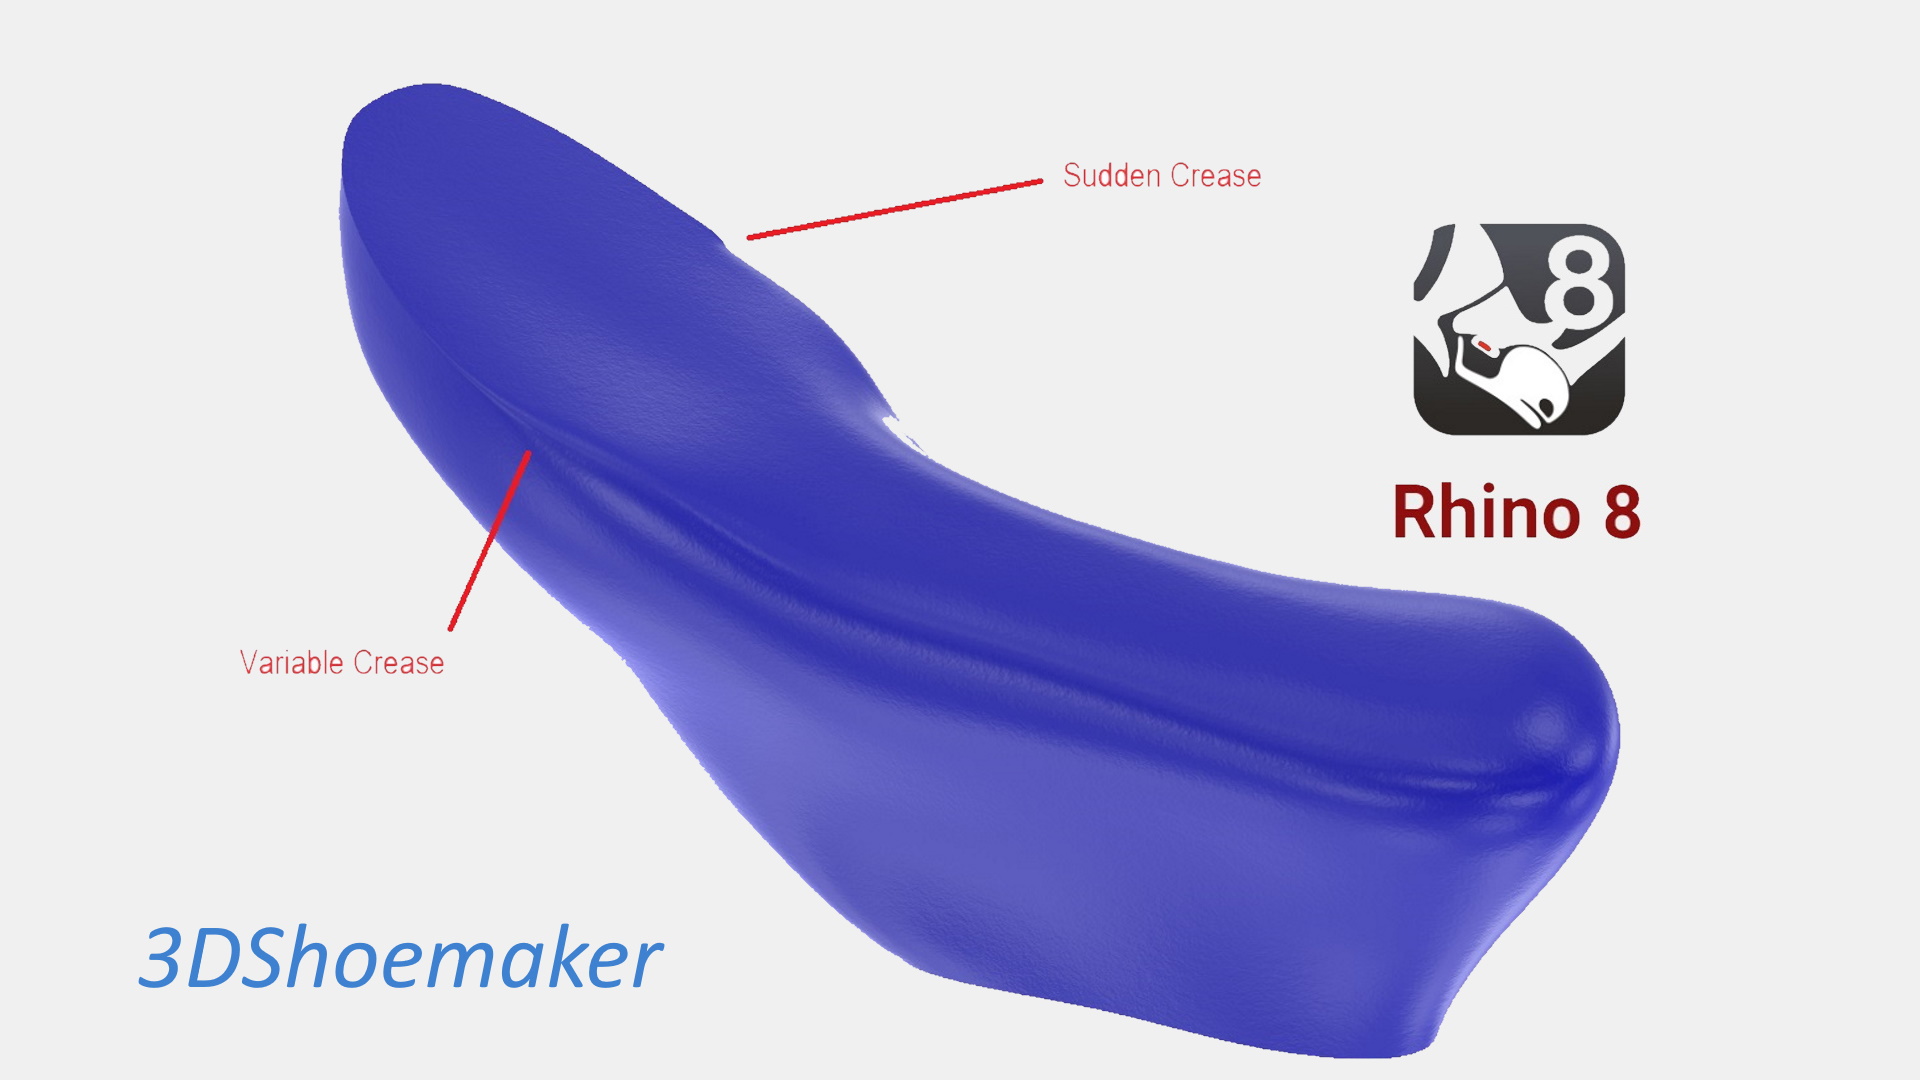
I see this parametric approach being useful for a variety of applications, ranging from stock insole design to custom orthotic design. Regarding the latter, I eventually plan to put in place functions to automatically modify the insert parameters to match the geometry of 3D foot models. For now though, there is a simple function to increase or decrease the arch height (access via the “Adjust” drop down in the side panel). And forefoot and rearfoot twist (posting) can be adjusted by editing the heel profile cross section (brings up the profile parameter editing view). Combining these functions with a variety of starter templates should allow for the accommodation/treatment of most subjects.
Another important function is adjustment of “Insert Depth”. All of the editable parameters are added on to this base depth when the insert is parametrically designed. That’s why many parameters will be near zero (avoid using zero as this is an issue for versioning in 3DShoemaker) despite having some thickness in the corresponding region. Note that adjusting “Room for Inserts” should be used in conjunction with this to ensure there is enough room in the shoe last for the insole or orthotic. And also note that Insert Depth and Insert Room can be initially set on the build in the Allowances/Materials section.
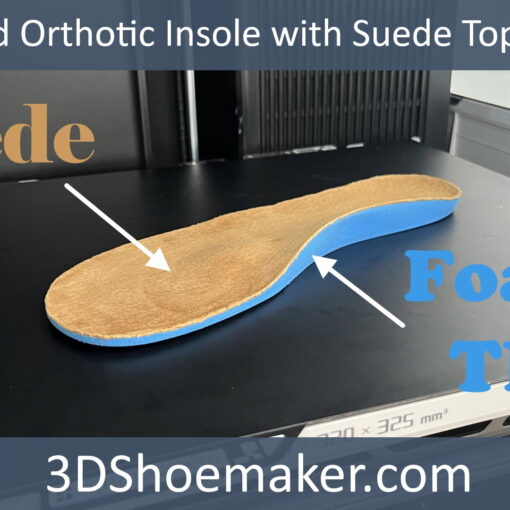
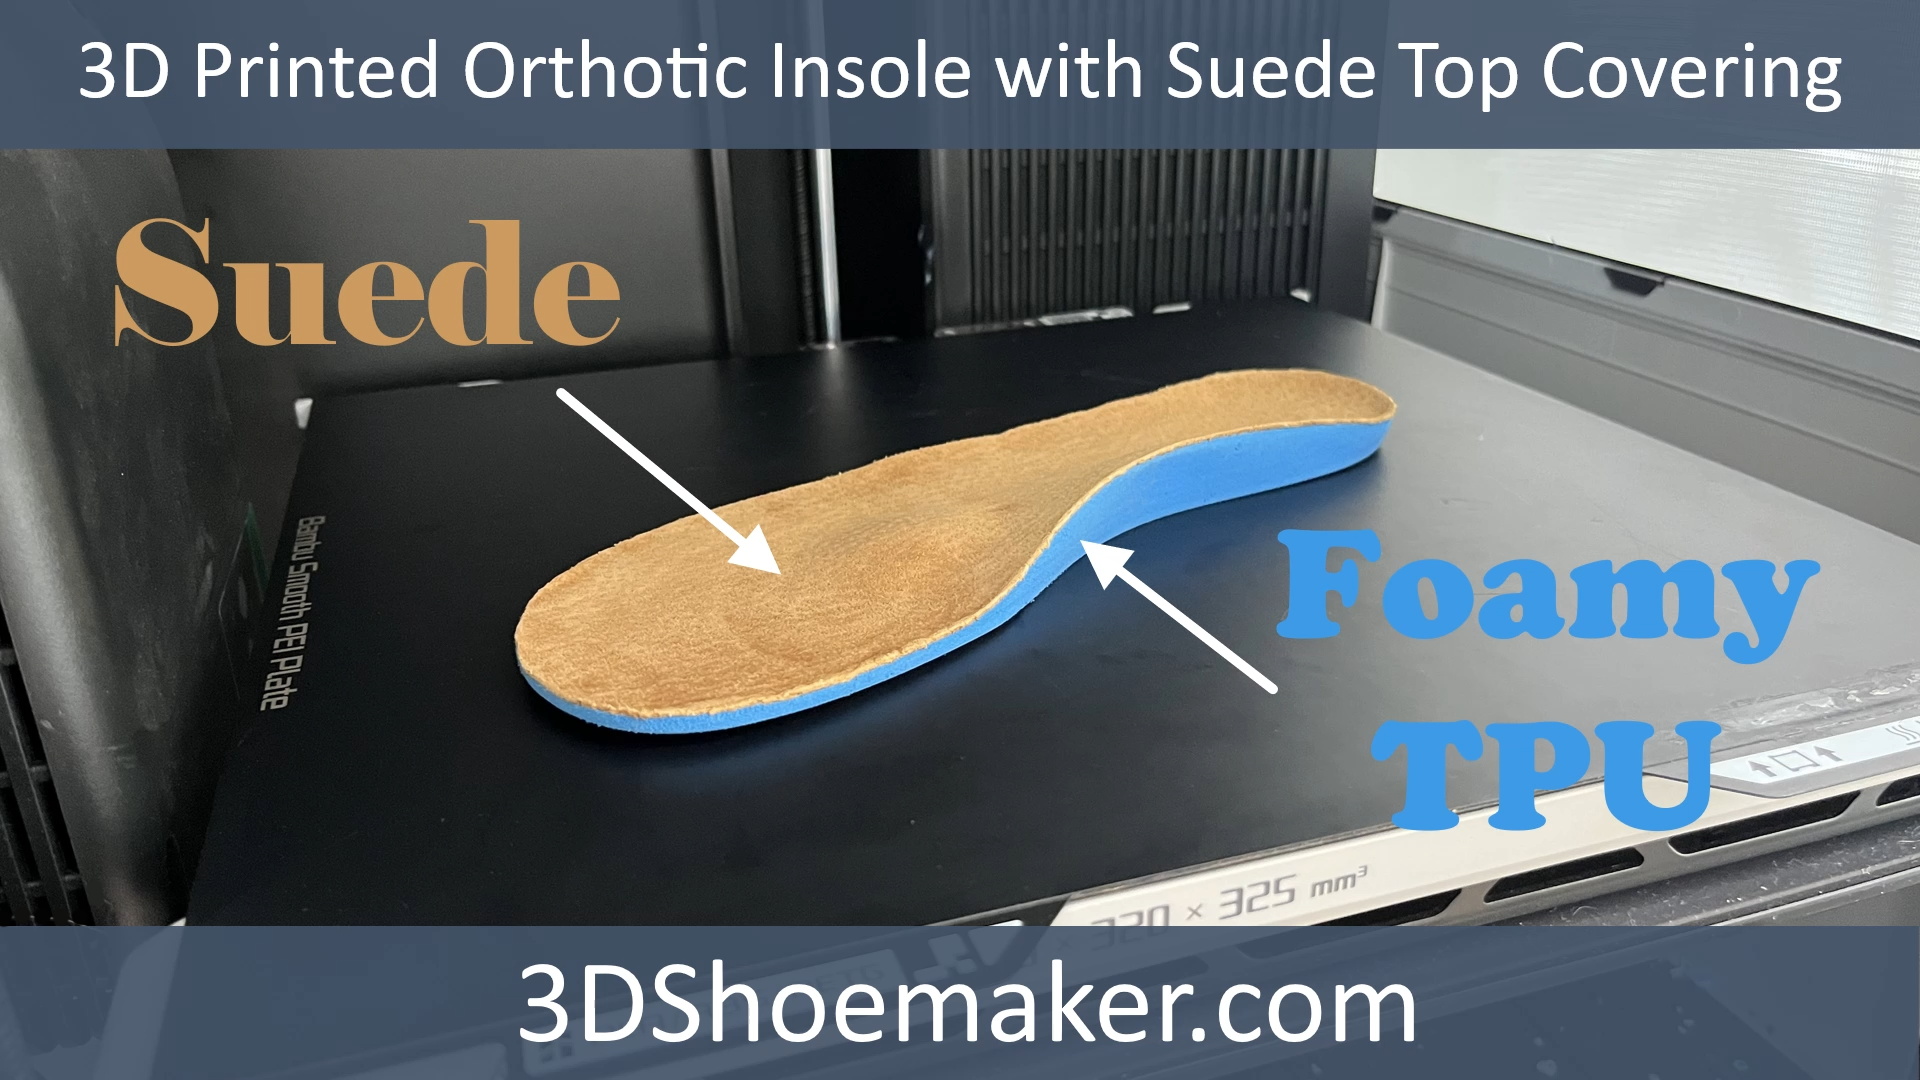
A variety of material thicknesses relating to insoles and orthotics can be changed via “Adjust” dropdown/”Material Thicknesses”, as described below. Note that these get saved with the geometry when you save to create a template.
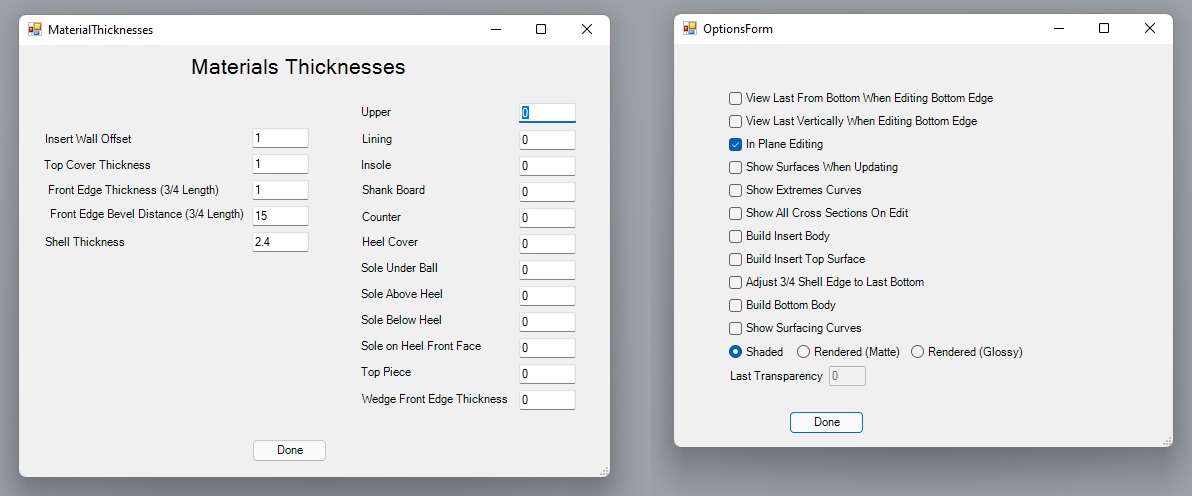
There are also some important options to be familiar with when working with inserts (access via “Options” button in side panel):
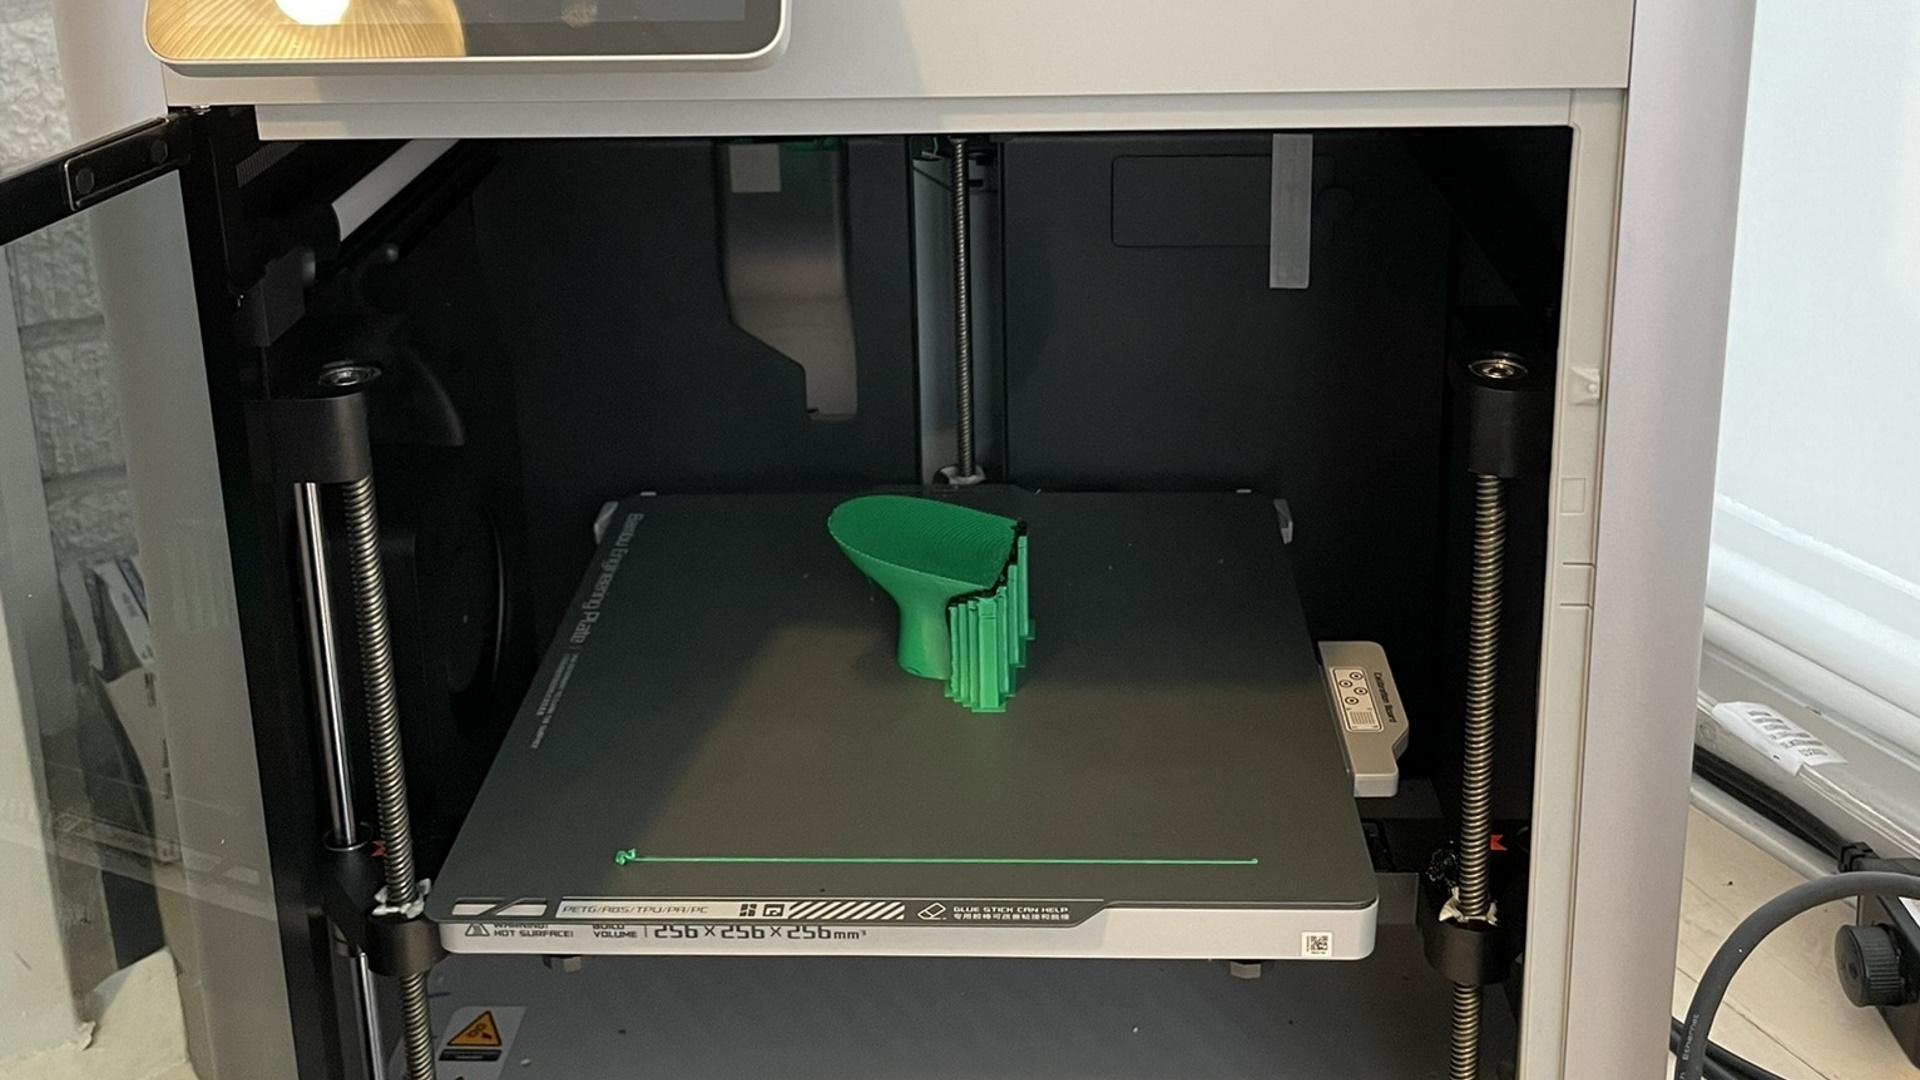
Lastly, I’ll reiterate that building the insert body does take a fair bit of computing time, particularly when adjusting the front edge of a 3/4 orthotic to the last bottom surface. So I highly recommend only building the insert body once you are satisfied with the top surface.
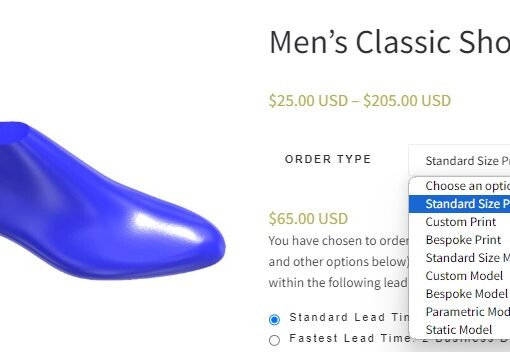
That’s all for the essentials of orthotic and insole design in 3DShoemaker. Make sure to watch the video to see it in action. In future posts, I’ll get more into the custom and bespoke side of orthotic design.