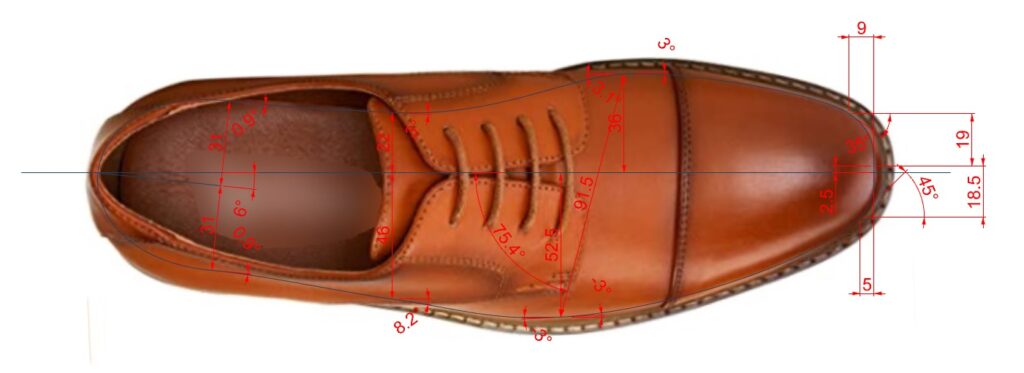
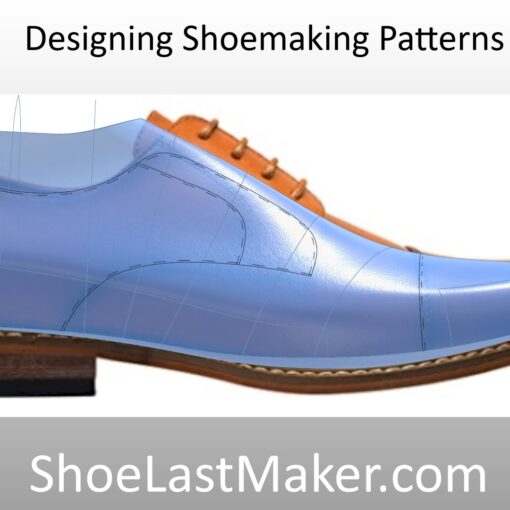
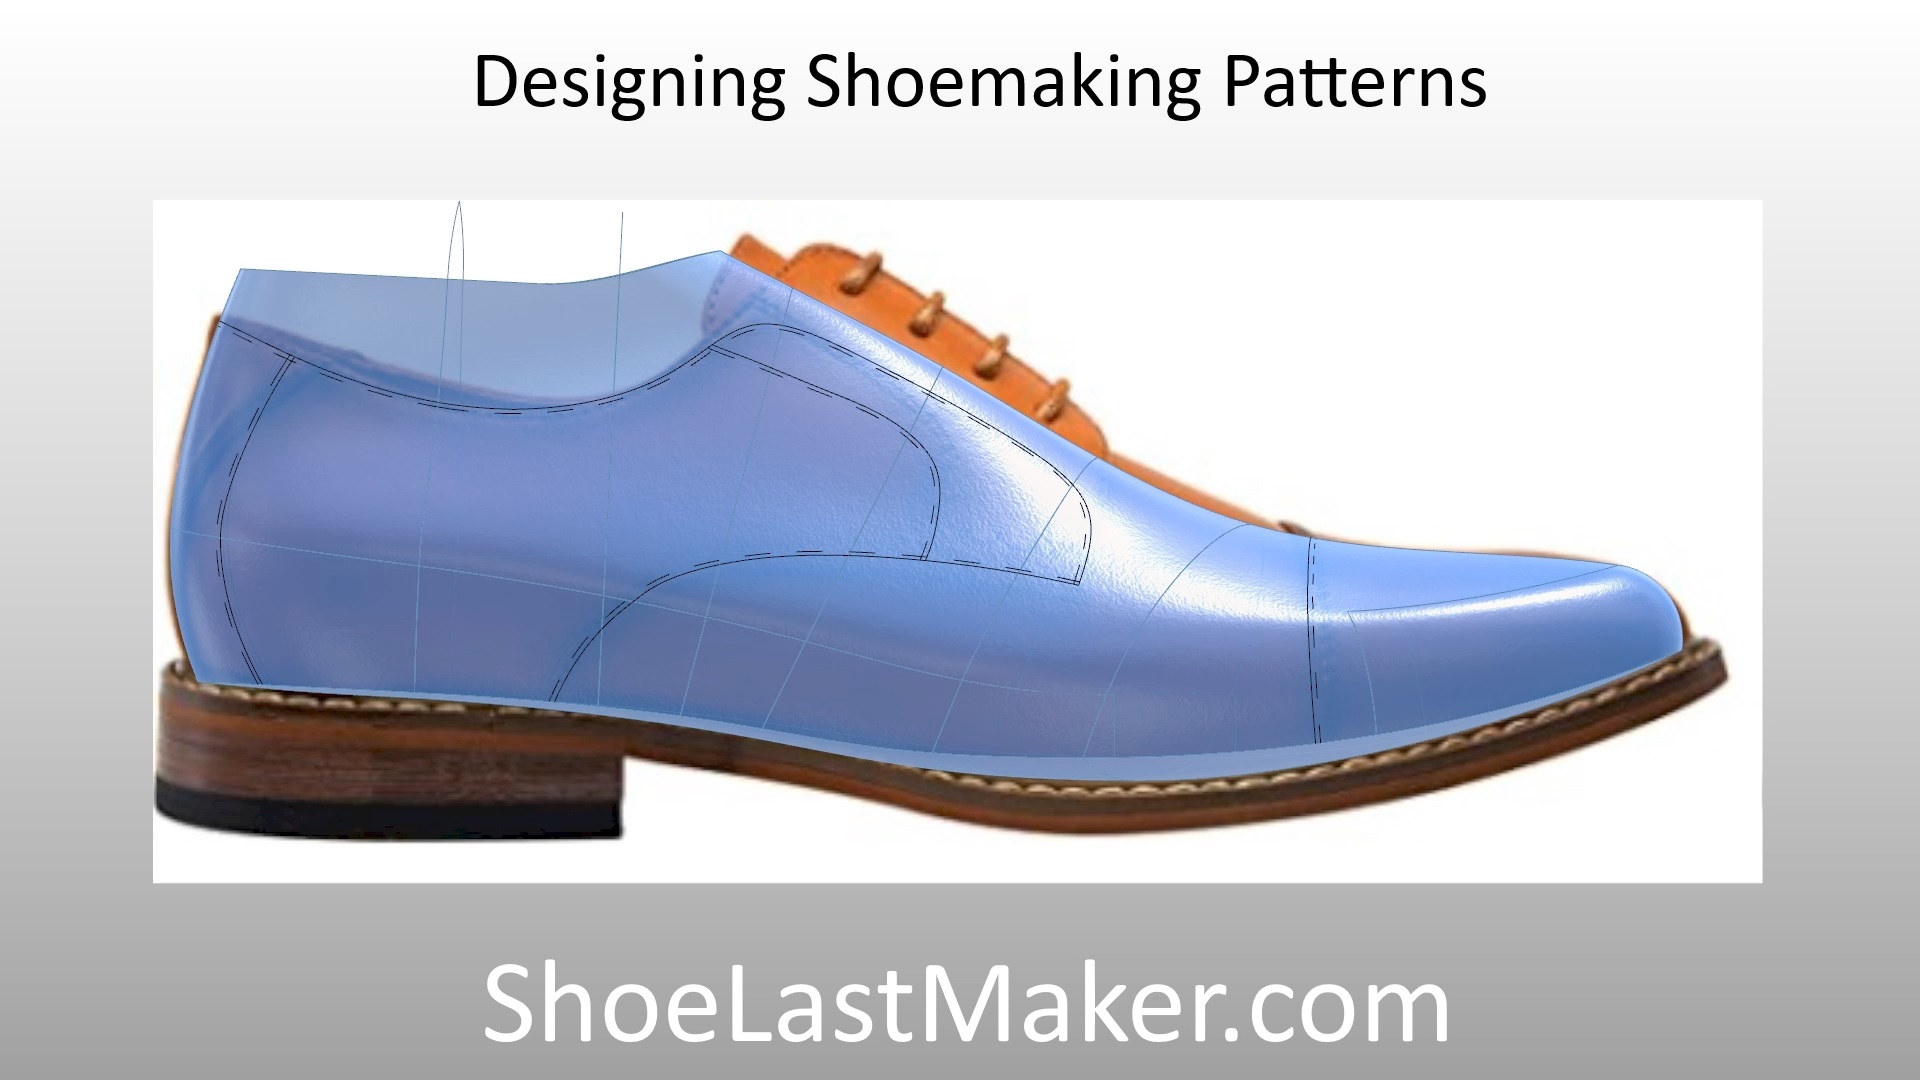
In this post I’m going to explain how to work with reference images when designing shoe lasts and components in 3DShoemaker.
Using reference images is a great way to simplify the design process. There is a virtually unlimited collection of footwear images on the web at your disposal, after all. But if you’ve tried to do this using normal techniques in Rhino, you probably kept loosing you images. The reason for this is that the 3DShoemaker plugin actually deletes objects each time the design is updated, and then adds the modified objects back to the doc.

The solution is to put the reference images on a separate layer and then lock that layer. And a tip I’d like to add is to not position the reference images on the cardinal planes but rather past or below them such that they are in the background behind the design curves.
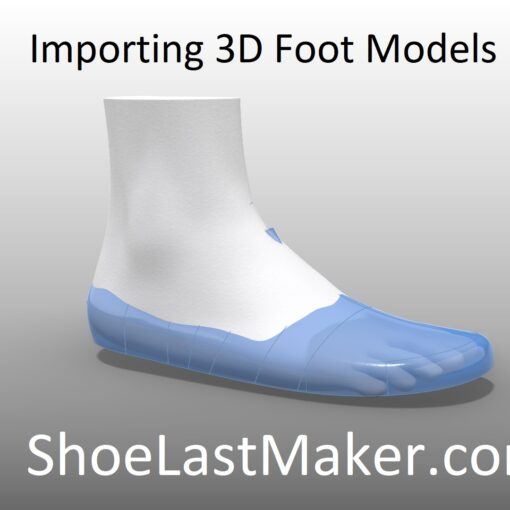
This same approach to working with reference images can be applied to 3D reference models as well. At some point I’ll do a tutorial specifically on that.
Here is a link to the final design: Men’s Oxford Shoe Last.

