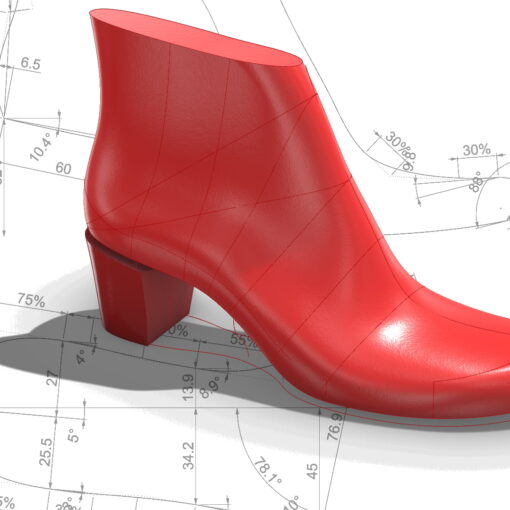
In this 3DShoemaker post, I’m going to cover the updated user interface (UI) for the 3DShoemaker plugin for Rhino 3D.
A while back I made an tutorial on getting started with 3DShoemaker that covered the basics of interacting with the UI. This update isn’t meant to be a replacement for that, but rather just an explanation of what’s been updated. So if you are new to 3DShoemaker, I suggest also having a look at that earlier tutorial.
The updated UI, which still takes the form of a panel within Rhino, is somewhat bigger given the additional controls. As such, it’s best to doc it not as a separate panel but rather as a tab within the panel containing standard tabs, like the Rhino properties tab.
Once you have the UI up, the first thing you’ll likely notice is that there are additional sliders. These are to adjust the transparency of the common objects in 3DShoemaker, namely the shoe last, inserts (orthotics and insoles), and components. Being able to adjust their transparency granularly and quickly is handy when trying to gauge the relationship between them. The clipping plane slider is still there, though no longer vertical but rather horizontal to align with the new visibility sliders. And clipping plane selection is now done via a drop-down menu.

There are also some new checkboxes to decide what types of dimensions are visible when doing parametric editing. They are represented by just single letters, but hovering the mouse cursor over them provides tooltips with the full name. And two more check boxes let you toggle whether surfaces are rebuilt when updating parameters and whether editing is done from a planar view or not. Finally, a few more checkboxes allow for toggling of visibility of the Morph and Flatten layers if present and toggling surfacing curves. In general, the middle section of the UI is dedicated to view controls.
The lower section of the UI contains the measurements of the foot and shoe last. While these measurements were previously available via editing the foot or shoe last curves, it is handier to be able to see all of the primary ones simultaneously and on the fly. Note the third column of measurements titled ‘Alt’ are alternative shoe last measurements. In some cases like shoe last length, there are multiple definitions. These alternative measurements will be the focus of a future update.
The upper section of the UI is for performing tasks. The colored buttons are for functionality within the confines of the parametric framework, whereas the non coloured buttons are more for post-processing after parametric editing is complete. The green, yellow, red, and black buttons are for starting parametric editing of a curve, updating parameters, stopping parametric editing, and pausing parametric editing, respectively. The Build button brings up a form for building lasts and components. That form has also been updated, mainly with a more direct approach to choosing size and width across various sizing systems. And the form that comes up when pressing the options button has also been organized with tabs. Looking back at the UI panel, note that all of the buttons on the top half of the UI were previously available in the old UI, except for one, and that is the sculpt button.
Sculpting is a powerful new tool for laying up, removing, and smoothing material of shoe lasts, orthotics, and components. Orthopedic shoemakers in particular will appreciate this new tool. Sculpting will be the topic of the next tutorial.
