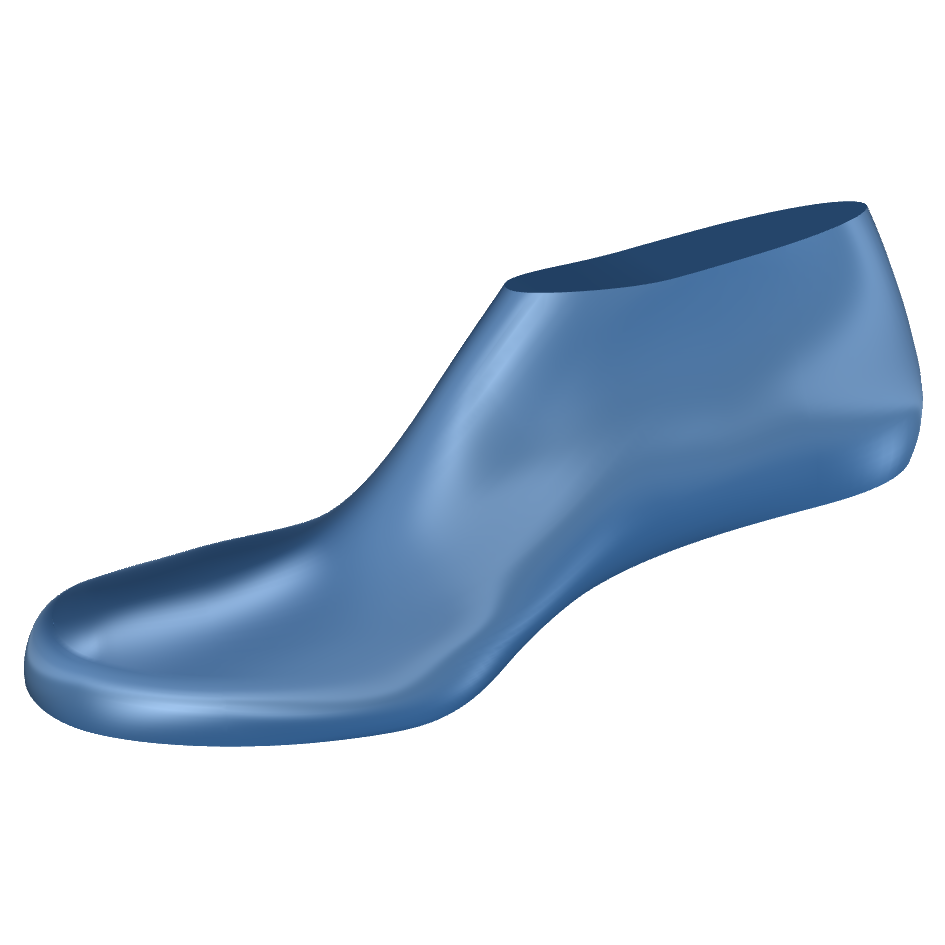
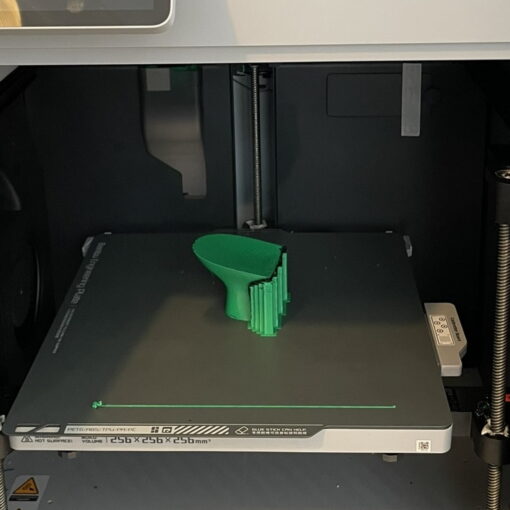
The focus of this 3DShoemaker tutorial is morphing shoe components from one shoe last to another. Essentially, once a component, such as a cupsole, is designed for one shoe last, it can be automatically adjusted to fit another shoe last similarly. This saves considerable development time and even makes it possible to have complex components readily available even for custom and orthopedic footwear. This combined with the new sculpting tools in 3DShoemaker creates a robust workflow for custom and orthopedic shoemakers. In addition to components, the updated morphing tool in version 8.2 of 3DShoemaker can even handle fully 3D printable shoe geometries.

In a previous tutorial, I showed how shoemaking pattern curves can be morphed from one shoe last to another. The earlier version of the morphing tool used could also, in theory, map three dimensional geometries between shoe lasts. However, given how much the geometry of components, such as cup soles, extends beyond the bounds of shoe lasts, results weren’t satisfactory. The updated morphing tool in 3DShoemaker solves this by mapping geometries between component bodies rather than shoe last bodies themselves.

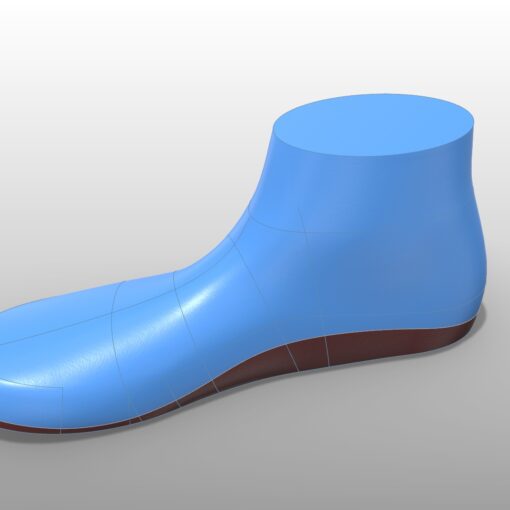
Component bodies in 3DShoemaker are basically just offset versions of SubD shoe lasts except with bottoms taking the form of the outsole surface rather than the insole surface. The parameters defining the component body with respect to the shoe last body can be found in the Adjust/Material Thicknesses menu. Component bodies need to be designed for both the source shoe last (the original one with a cup sole or other component already designed for it) and the target shoe last (the one to receive the component). Note that the morphing algorithm can work on target shoe lasts and components that have been sculpted, which should prove handy for orthopedic shoemakers.

The geometry of the cup sole or other component needs to be in the source shoe last file on a layer called ‘Morph’. Then, in the target shoe last file, the Morph button can be pressed and the source file can be selected in the form that comes up. The option for morphing between components needs to be selected, and the cage density and iterations for morphing can be adjusted. Finally, press the Morph button to get things going. Morphing can take up considerable computational resources, particularly for detailed models, so you want to have a competent computer. Using lower poly mesh data rather than NURBS or SubD geometry can help speed things up. Updates on the morphing step are provided in the command prompt. Once morphing is complete, the clipping plane tool is useful for studying the results to make sure adequate cage density and iterations were used.

Post processing operations can then be done to the morphed component. For example, I like to morph component geometries that are filled in on the inside such that the target shoe can be subtracted to get the final result. The advantage of this is that the inside of the component geometry ends up being exactly the shape of the target shoe last and not subject to any deficiencies of the morphing algorithm. The disadvantage is that wall thicknesses might not be perfectly uniform. But with sufficient cage density and iterations, it can come quite close. By subtracting the target shoe last after the fact, it can also first be trimmed by a custom orthotic surface to get a highly customized component. And if a gap between the component and shoe last is required for upper materials, this can be achieved by first offsetting the SubD shoe last by the exact desired amount.

One tip to keep in mind is that the target and source shoe lasts shouldn’t have different parameterization approaches. To ensure they are similar, open the options form for each and check the Parameterization tab to confirm the same options are checked. In general, morphing works best if the shoe lasts just have different fits rather than extensive style differences. The target and source bodies should also not be identical as the morphing algorithm may not be able to distinguish between them. And a final tip is that if you are working on a target for a left foot, then the source should be for the left foot too. The same applies for the right side.
To get started with morphing components between shoe lasts, you’ll need to have the Pro edition of 3DShoemaker. You can then build a component body by clicking ‘Include Component’ on the build form. You’ll also need to choose to build the component body on on the Options form Build tab as well as the SubD option. Once you have a component body, you can use it as a starting point for creating your detailed component using the built in tools in Rhino or other CAD software. Alternatively, you can purchase ready made components on 3DShoemaker, the first available being this cupsole. In an upcoming tutorial, I’ll do some case studies on specific components, which will include how to 3D print them.
One of the things you might have noticed during this tutorial is the update user interface. I’ll talk about that more in the next update followed by a tutorial on the new sculpting tools.


