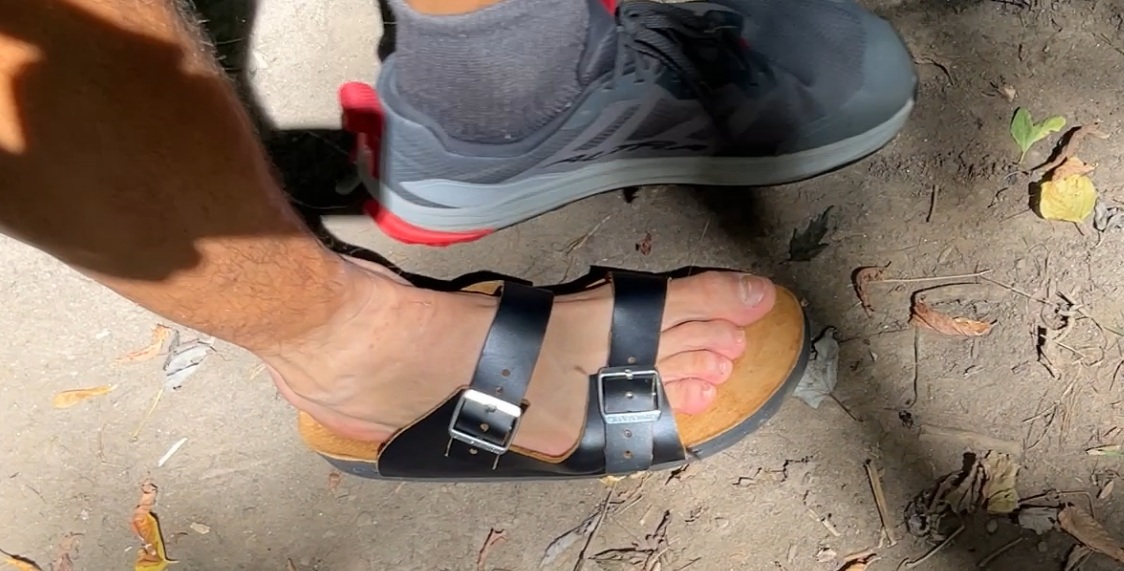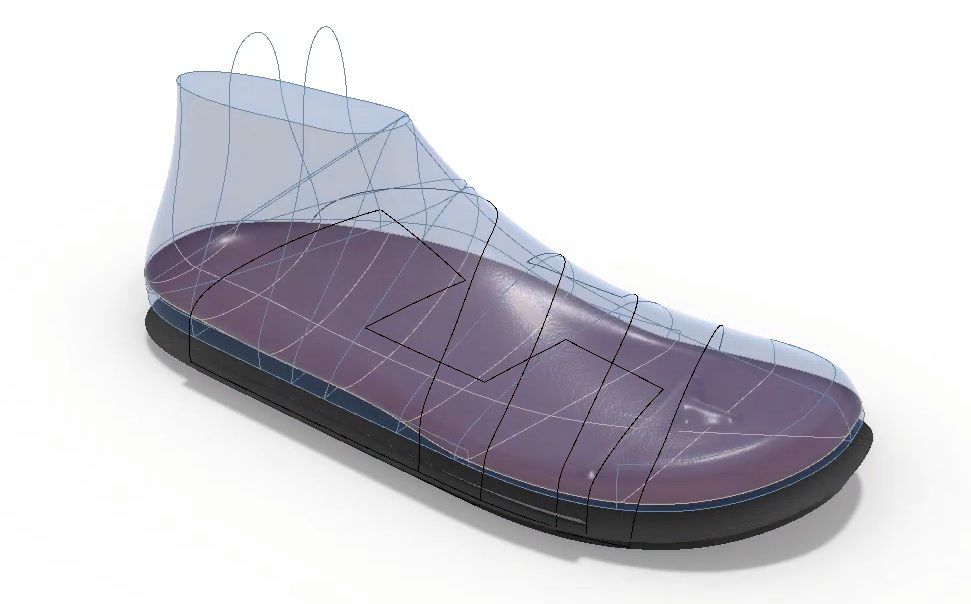
In this 3DShoemaker post I’m going to introduce a custom sandal that can be made without a shoe last. 3D printed foaming TPU is used for the complex 3D geometries of the sandal optionally including the tread, while the footbed cover and upper are natural leathers that envelope the foot. The DIY assembly approach I demonstrate will be most applicable to hobbyists. But pros could of course extrapolate this with vacuum presses and so on. Highly customizable sandal bodies, both digital models and physical 3D printed samples, as well as patterns for this design are available on 3DShoemaker.com. And for those looking to purchase completed sandals, I hope to list shoemakers capable of making these. Finally, there is also a parametric model for those using the 3DShoemaker plugin for Rhino, but I’ll save that topic for my next post.
This kind of custom sandal made without a shoe last was actually the first shoemaking project I ever worked on. It was about 20 years ago and I was CNC milling the footbeds. The business side of the project never materialized. But it’s always been at the back of my mind ever since. So I’ve finally decided to revive it in higher tech form. This time around though, I want to keep to more of a support role for other shoemakers. That being said, if you are someone simply looking to purchase the actual sandals themselves, I am hoping to list shoemakers capable of making them.
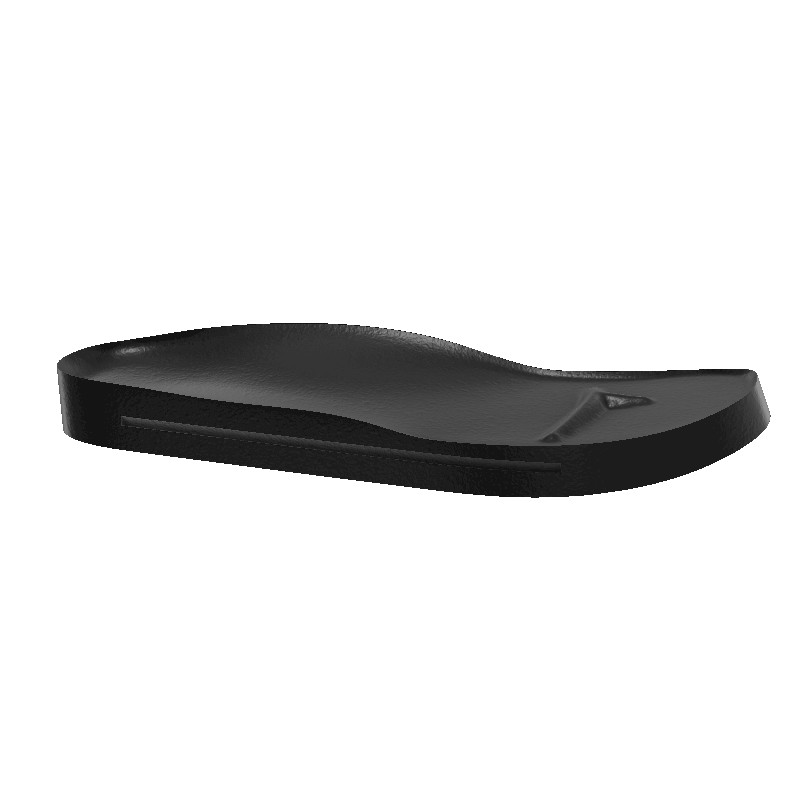
The most important thing I can provide is the sandal body itself. This is available as both digital models and physical 3D printed samples by selecting the Order Type. Then in the Features section of the ordering form, under the Midsole/Outsole drop down, you’ll select the Sandal Body option. You likely also want to specify no shoe last, as that is the big cost saving aspect of this design in the first place. A huge range of sizes and widths may be ordered. To help with selecting one, toggle the ‘Sizing Info’ slider where specs are provided along with links for printable sizing outlines. You can also request customizations, which I’ll touch on later.
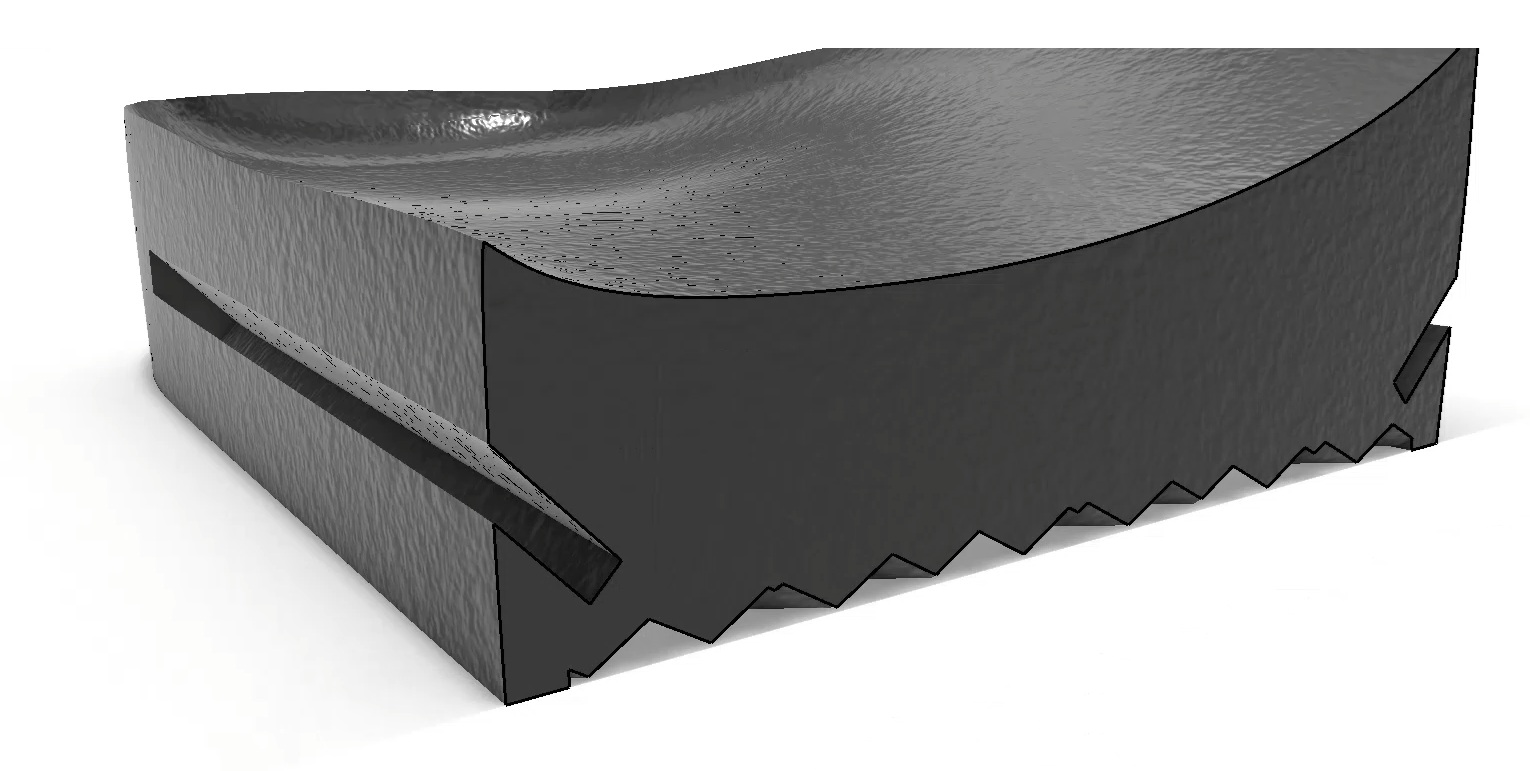
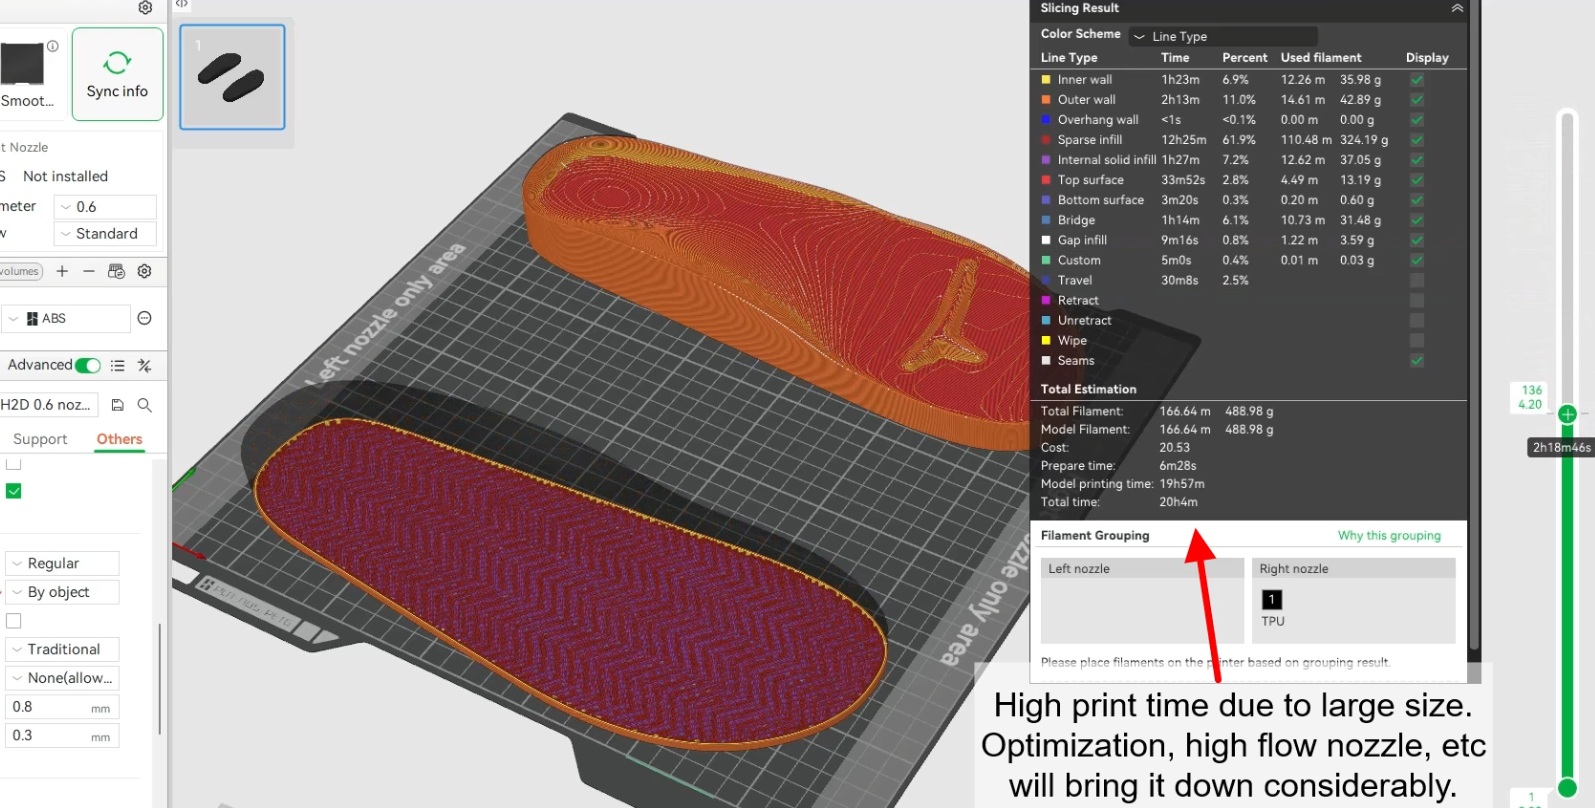
One potentially huge advantage of 3D printing rather than CNC machining the sandal body is that it can also encompass the tread, greatly simplifying assembly. This does necessitate an alternative upper attachment then conventional sandwiching. The solution I’ve come up with is to have insertion slots via modifiers. These are diagonal so as to not require support material when printing horizontally. To further facilitate unsupported horizontal printing, a V-shaped herringbone tread is used and toe spring is removed by default. A horizontal print orientation really is best for optimizing print speed and eliminating wasted support filament.
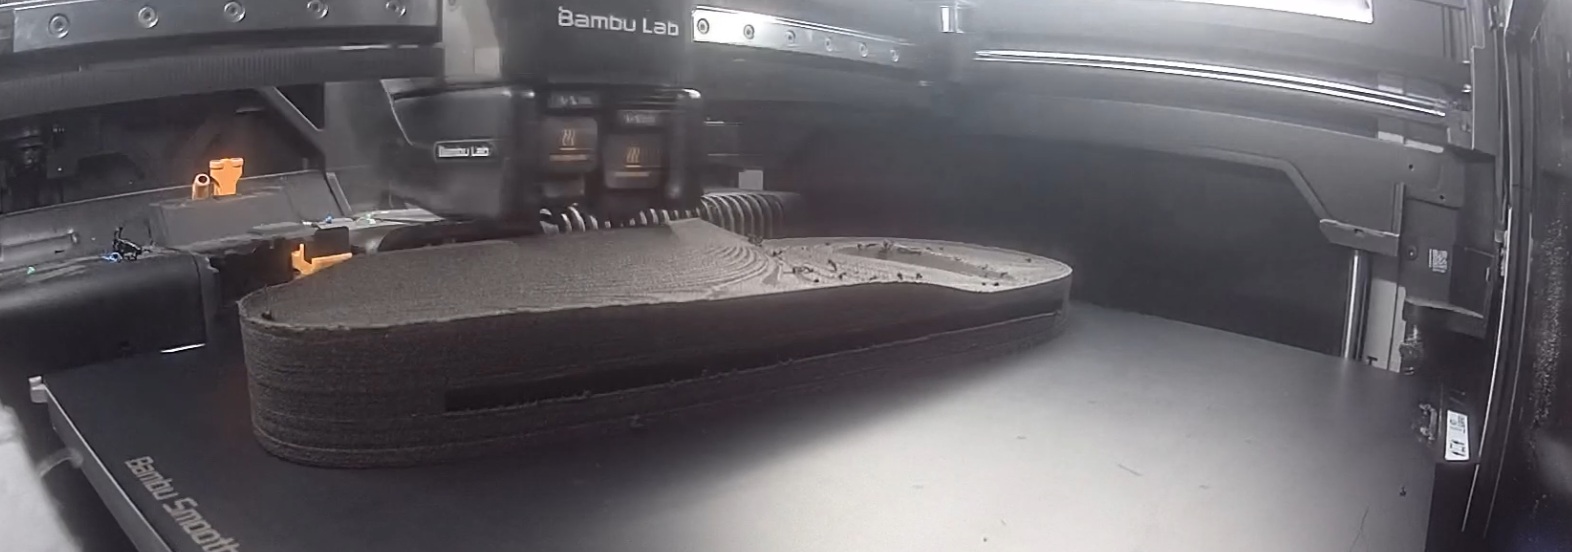
I think the main criticism of a fully printed sandal body will relate to the suitability of a 3D printed material as a sole. And I do agree it won’t be as durable and grippy as traditional extruded sheet soling material. That being said, I think most shoemakers will be surprised just how far along foaming TPUs have come in this regard. There are plenty of brands now using it for the entirety of the shoe. My own 3D printed clog design, built off the foaming TPU I’ll link to in the description, is well along the way of proving the test of time. But for anyone wanting to go the traditional route, the outsole 3D model body can just be left out of the print, as well as the slot modifier.
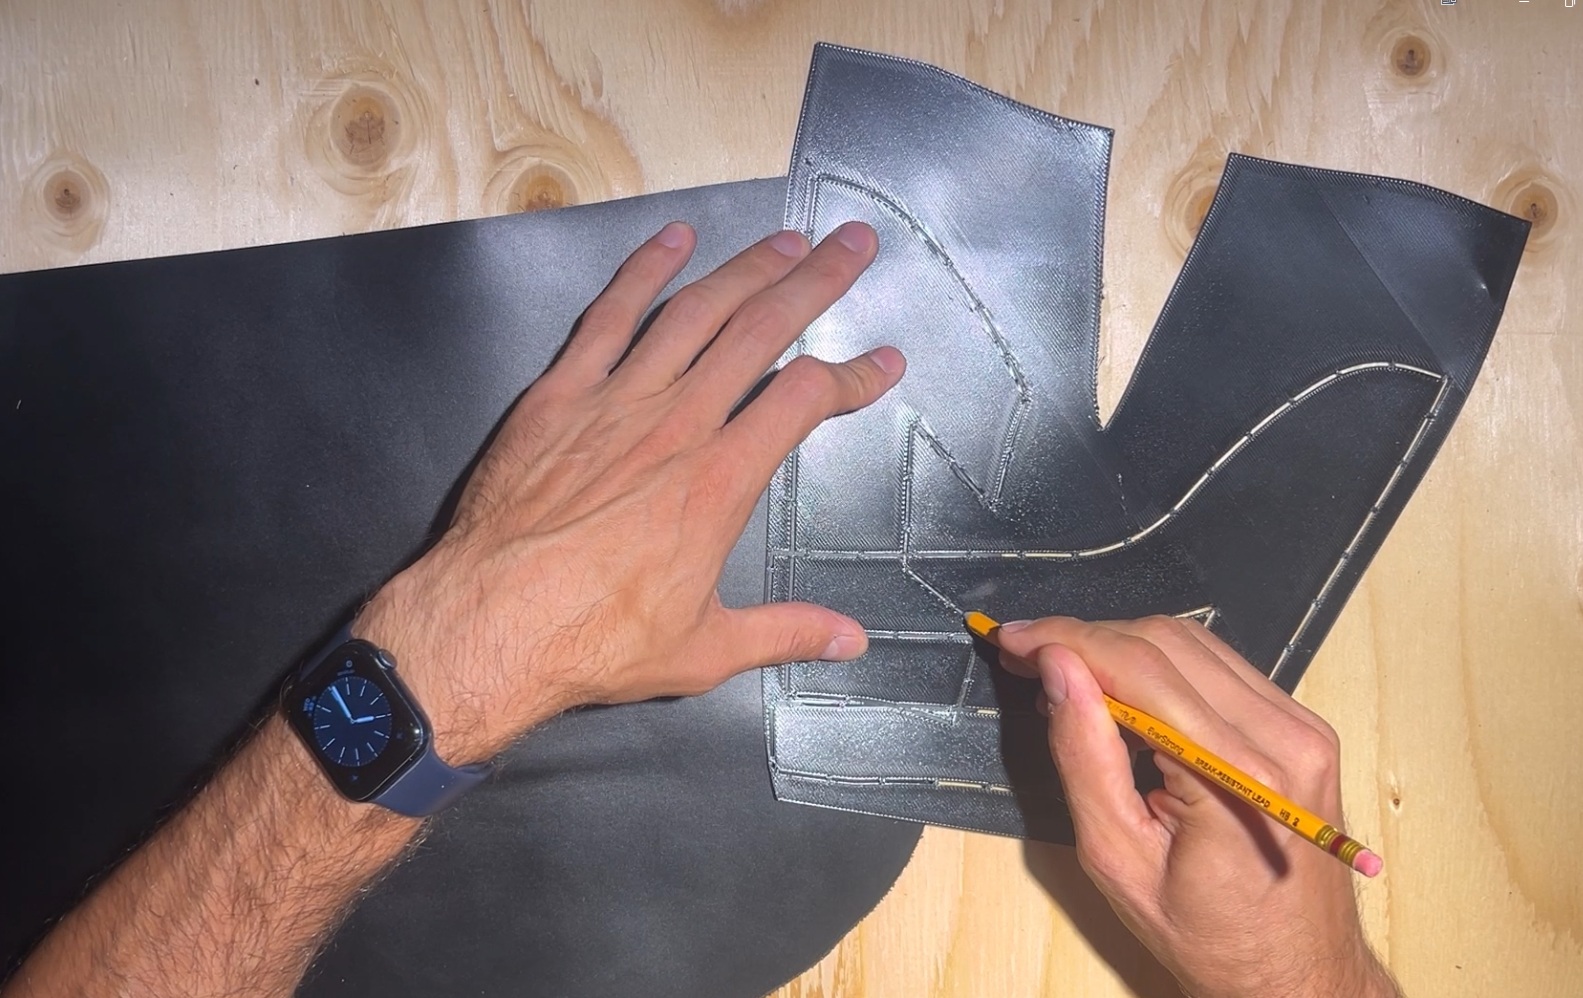
In addition to the sandal body, upper pattern layouts are also now available on 3DShoemaker.com. They come as pdf, dwg, or stl. Once printed, the pattern curves can be cut out and traced or stenciled. Allowances, akin to lasting allowances, should be added to allow for sandwiching the upper between the sandal body and outsole or for inserting into the slot provided if going the complete sandal unit route. The straps are graded with the rest of the sandal, but can of course be adjusted afterwards to suit a particular buckle. Alternatively, Velcro can be used to avoid strap width adjustments entirely. If you are wanting to do a sandal upper pattern design of your own making, then to assist with this you might order the flattened full upper forms. But there is a bit of a trick to designing uppers for shoemaking without a shoe last. I’ll get into that in my next post in the context of the 3DShoemaker plugin for Rhino.
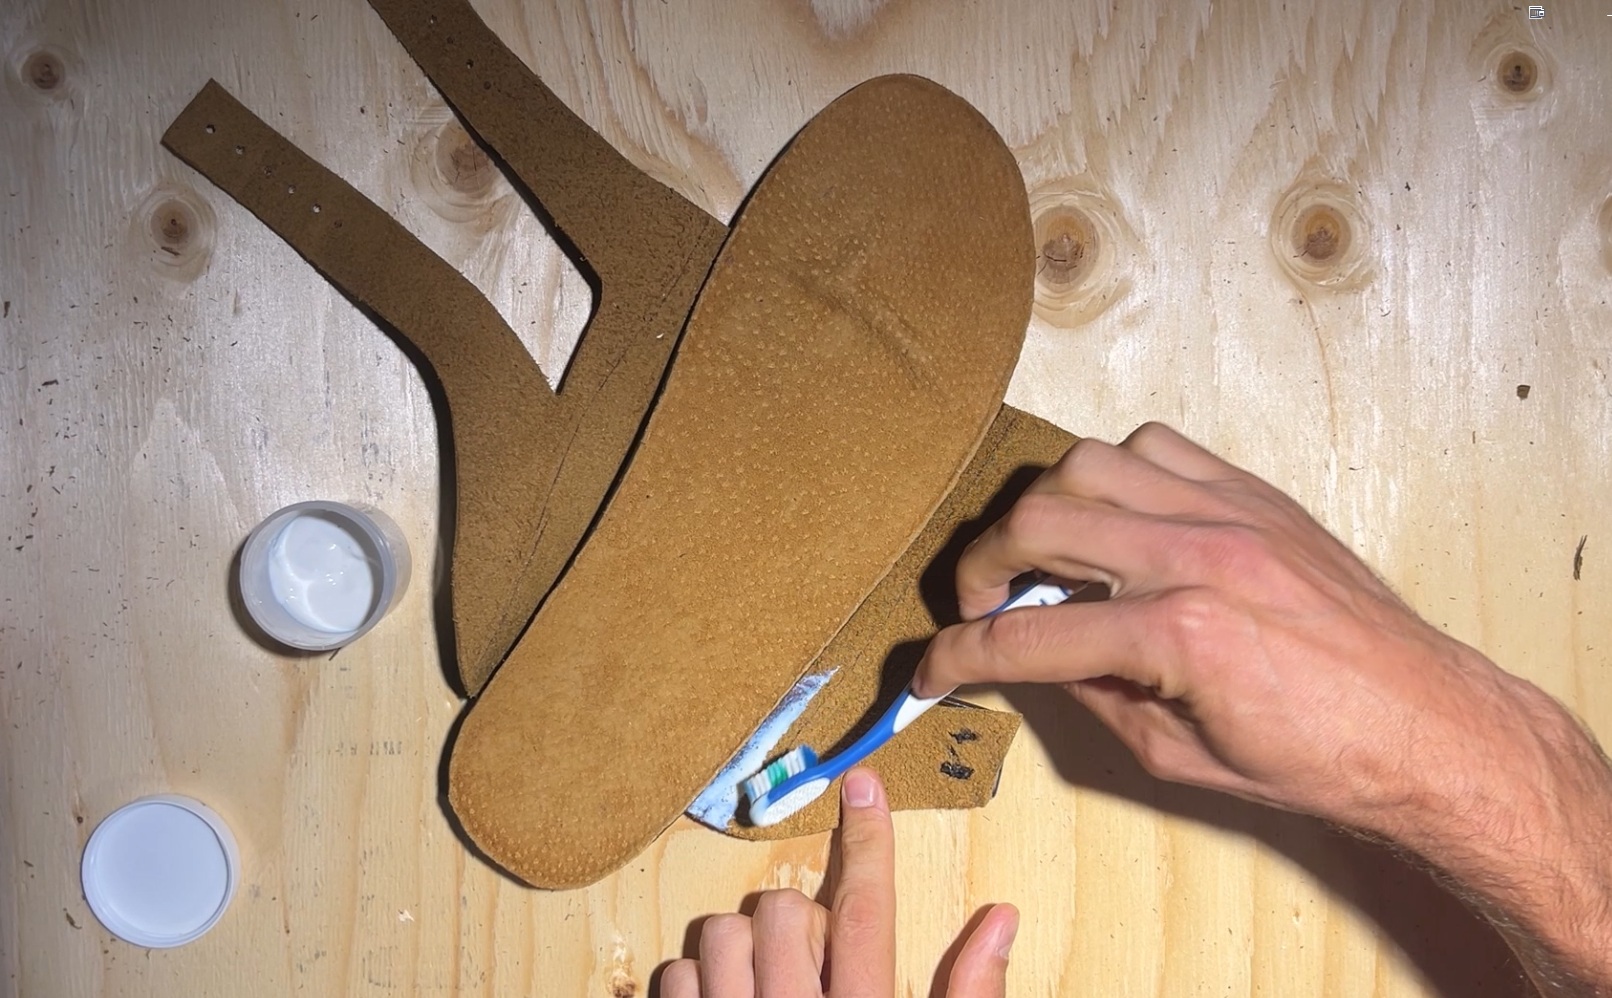
For assembly, anyone doing this professionally will likely have a vacuum press, CNC leather cutter, etc. But the approach I’m prototyping with will be accessible to just about any hobbyist. I attach the suede top cover with Renia Aquilim 315 water based contact cement and a foam sandwich approach as I previously demonstrated for 3D printed orthotic insoles. I use scissors to cut the leather, a punch for the buckle holes, and an awl and waxed polyester thread for buckle attachment. Then I use some Shoe Goo to fix the straps into the slots followed by the Aquilim for sidewall attachment. The leather I’m using has been oil tanned and is 6-7oz which is about 2.8mm thick. It is stiff enough to nicely hold the shape but still formable. Anyone doing this professional might consider stitching on a liner for a smoother interior.
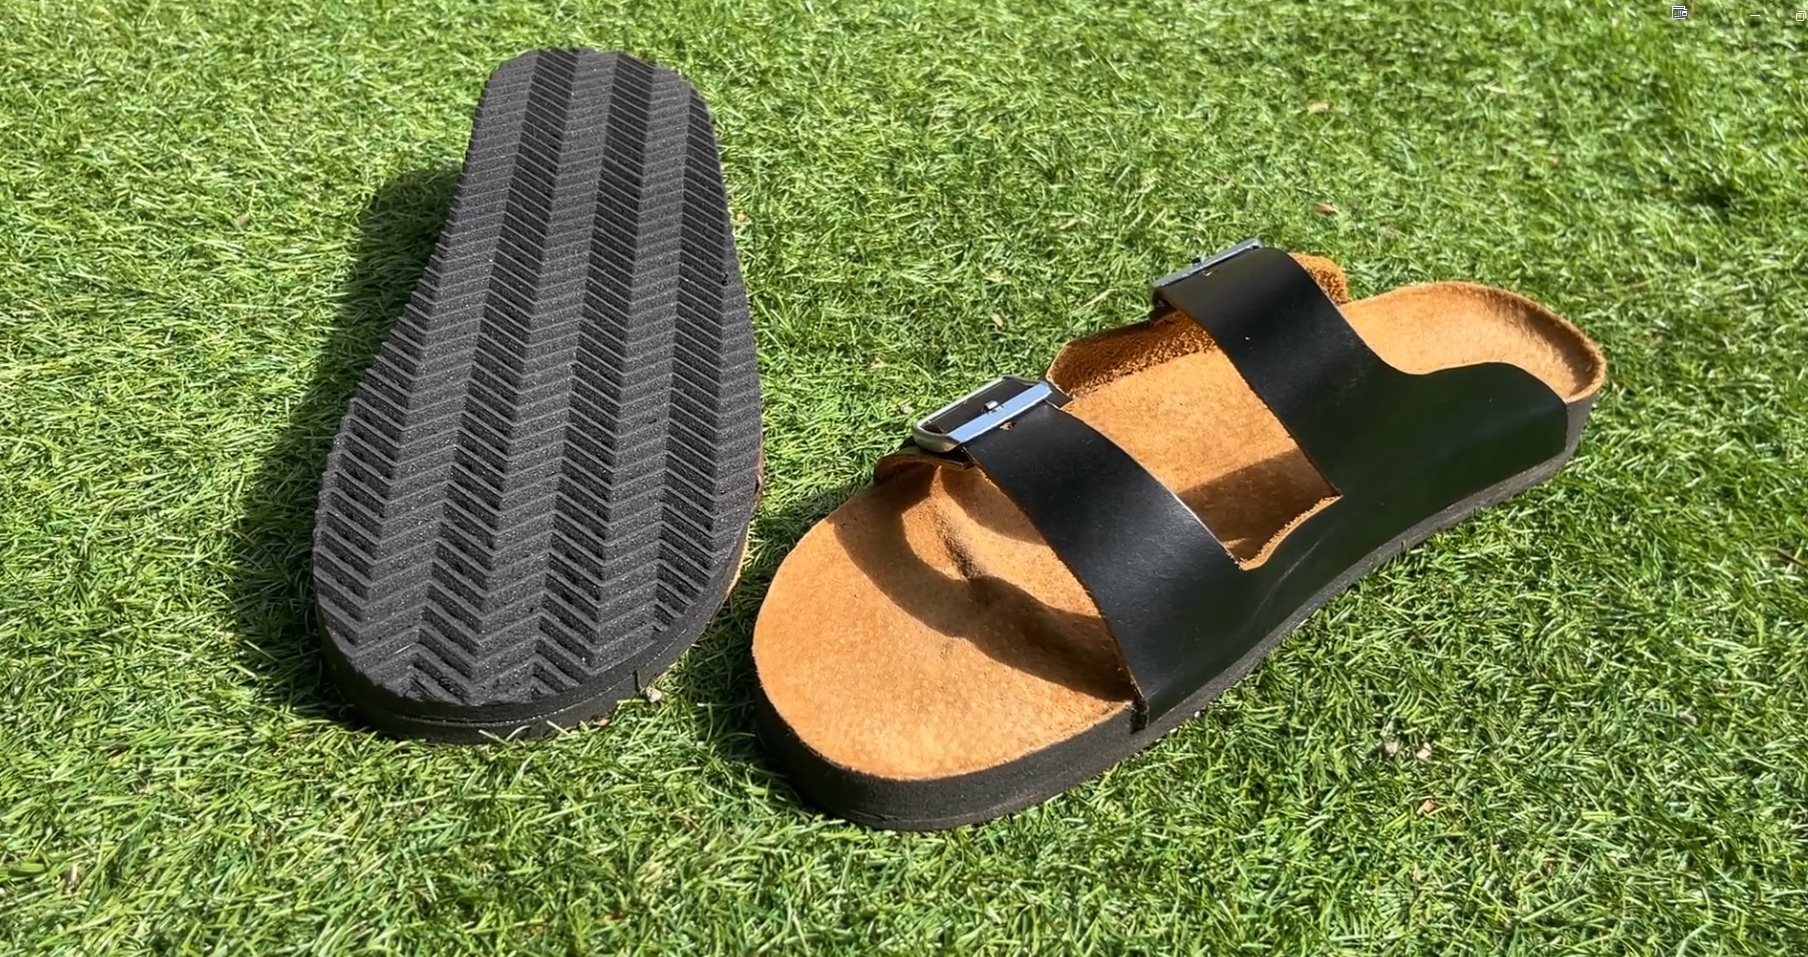
The prototype I’ve made is for my own foot. As you can see I have a very long great toe. So I’ve reduced the arch length by a size while keeping to a size 13 length. These kinds of adjustments can be done in the Fit Customization section of the ordering form. I’ve also gone up from the default low arch to a medium arch which can be done in the Features section. If you need more footbed customization, this can be done on the separate custom insole product page. Then their are design adjustments that can be requested including heel height and platform thickness, and things like alternative upper designs which may be part of a future update. And of course there is a whole other level of customization that can be achieved by those using the 3DShoemaker plugin for Rhino. That will be the topic of my next post.