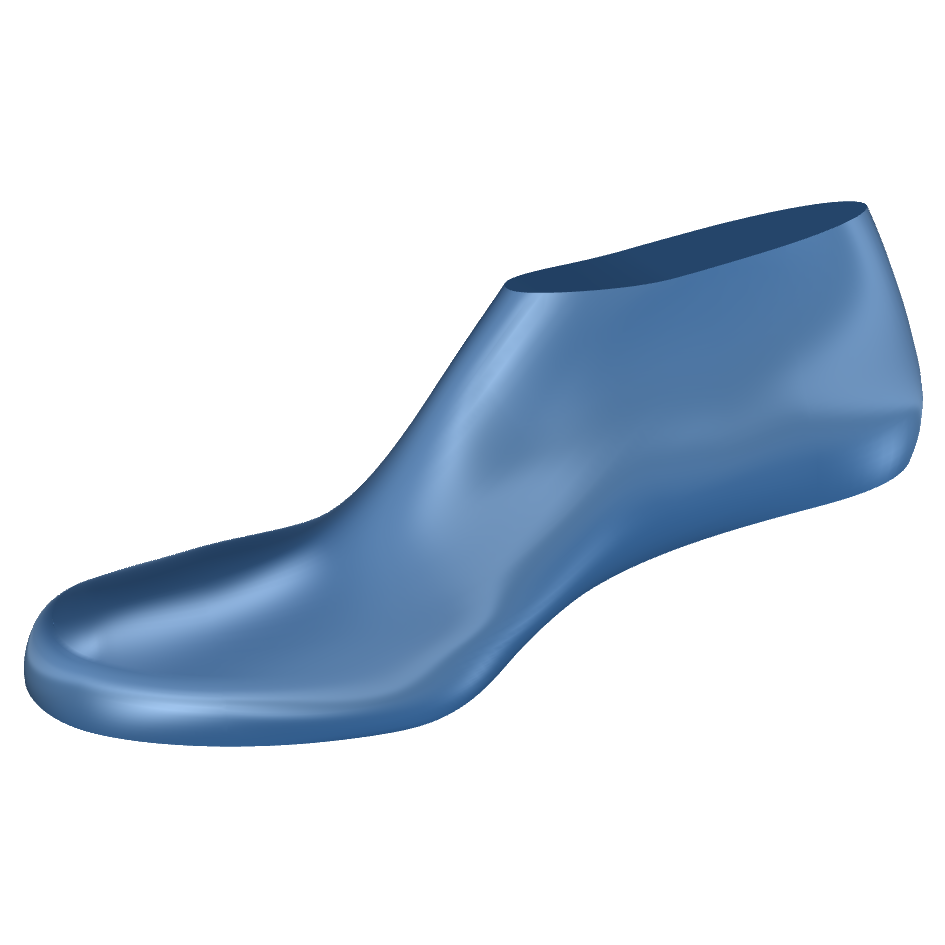
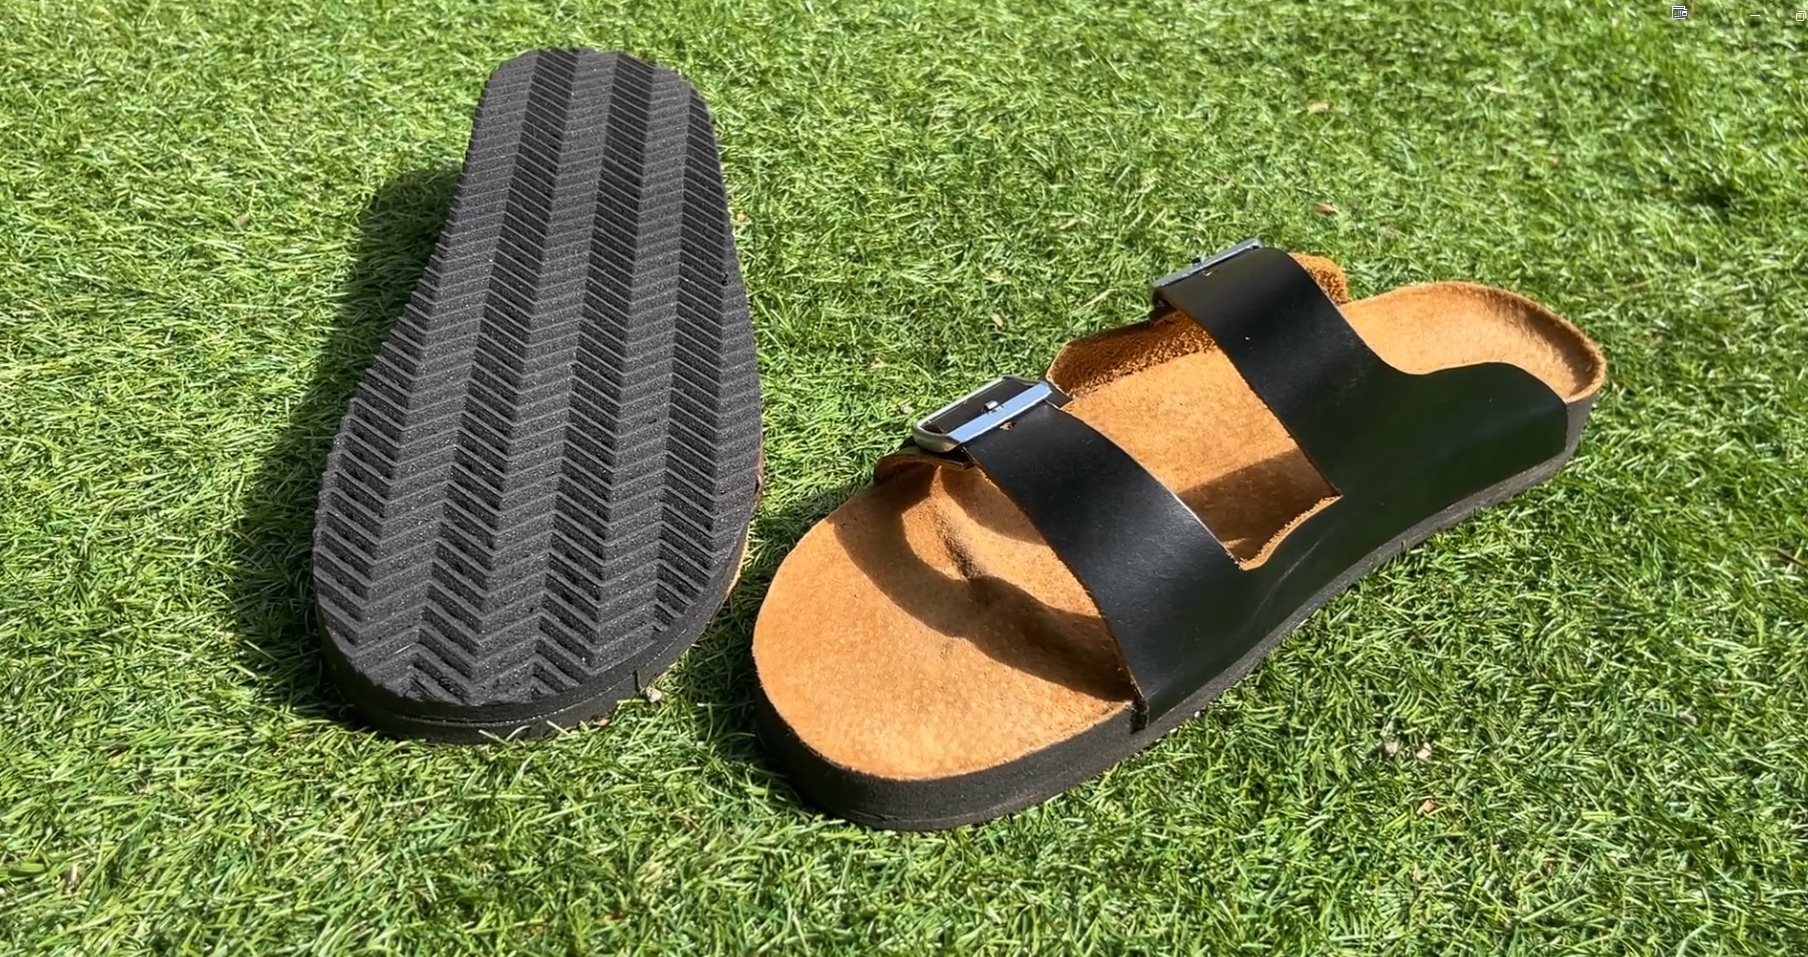
In this 3DShoemaker tutorial I’m to get into the CAD side of the custom sandals I introduced in my previous post. If you haven’t seen that post, I highly recommend checking it out first. I demonstrate how a 3D printed body and tread can be paired with leather footbed cover and upper all while skipping a physical shoe last. The current post is more for those wanting to do advanced customizations and possibly create new designs. It will also be generally relevant to users of the 3DShoemaker plugin for Rhino, as I introduce some new features that had to be developed in order to make this project possible.
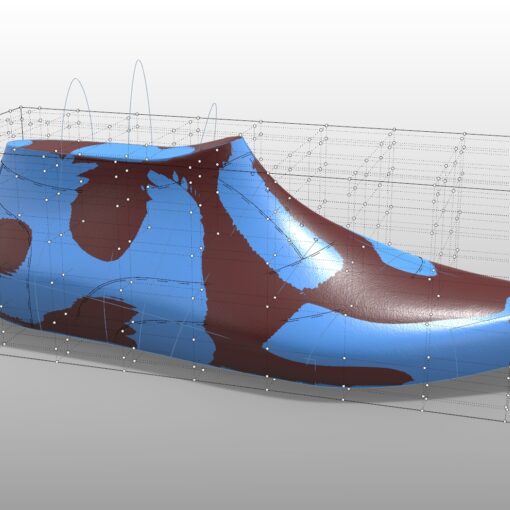
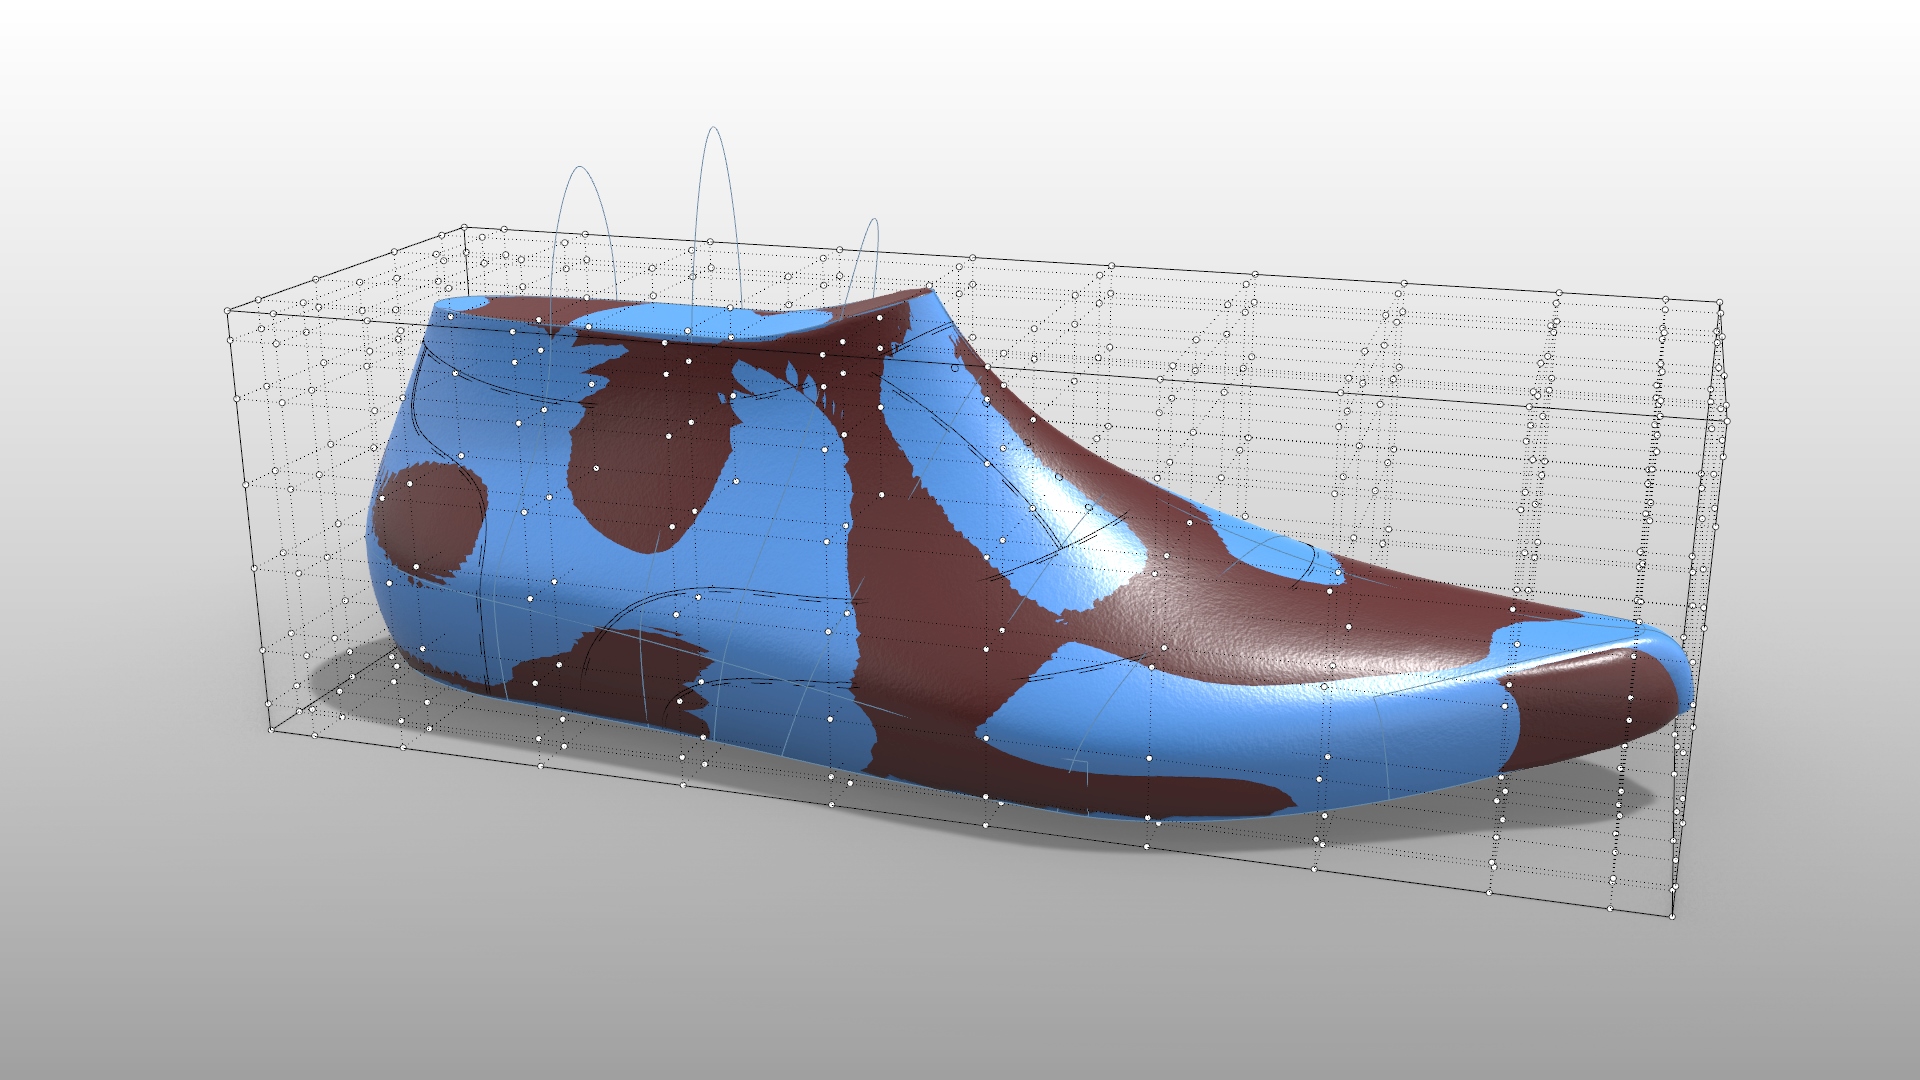
Here we are with the 3DShoemaker side panel loaded up in Rhino 8. If you are doing bespoke sandals, the first step will be to hit the import button to bring in a foot model, as I’ve covered in other posts. Otherwise, skip straight to doing a new build. On the Build form, you’ll want to populate all four template fields with a sandal template either from 3DShoeamker.com or one you’ve assembled. Then once the build is complete, you’ll delete any non parametric geometry brought over from the templates. At this point, any additional adjustments and customizations can be made to the shoe last such as parametric fit customizations, adjusting heel height and sole thickness, and free form sculpting, or to the footbed such as arch height adjustment or vacuum forming. Note that if you are only wanting to customize the footbed contour, there is the option of having common sizes prepared to save time.
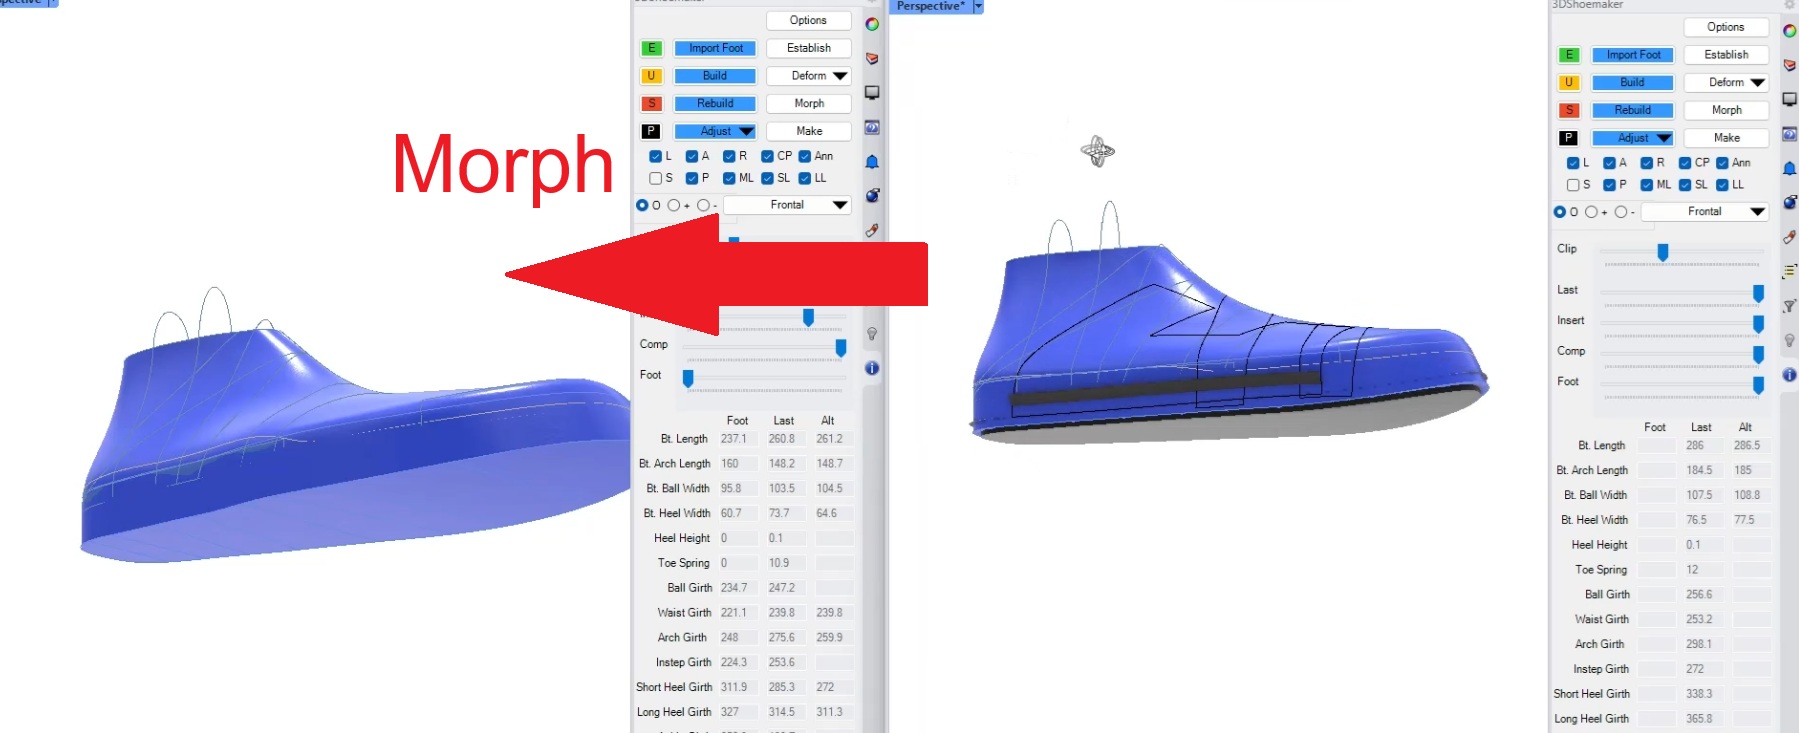
The next step is to then Morph the sole and layout from the original template to the current design. For this project, note that we want to include the component body in the morph as we are bringing the sole along. And we actually want to disable morphing between shoe lasts, because the upper is actually designed on the component body, given the upper actually lasts around the midsole rather than the shoe last.
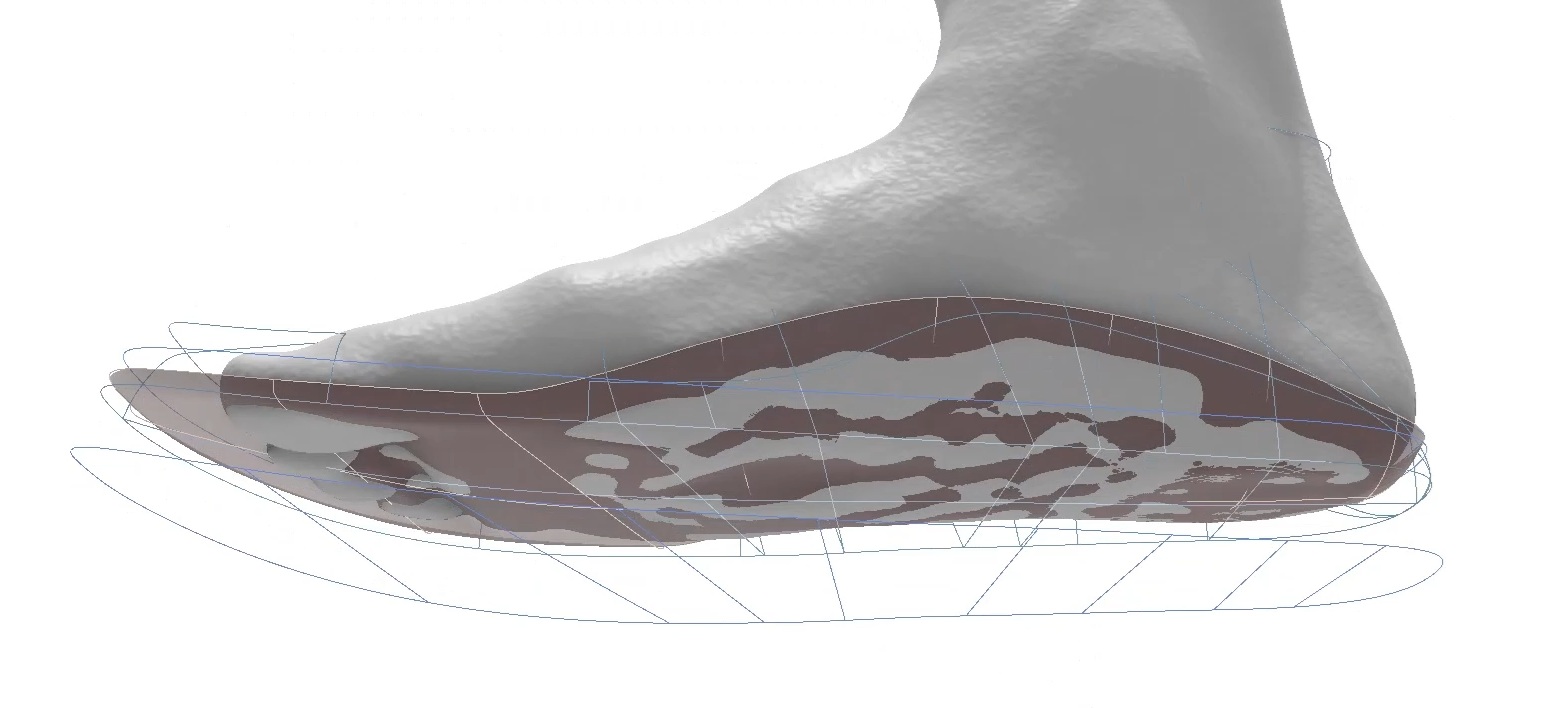
Now, to get the entire sole unit, we can proceed like we’re going to simply make an orthotic insole body. But we’ll choose the new option to make from a component body rather than the shoe last. Also, on the same form, this is where we can get a flat bottom by positioning for 3D printing, bringing along the sole geometry (which is faster if first meshed), and removing toe spring, but without any tilt.
Now it is time to generate the sandal body via offsets and Booleans. The exact approach will depend on whether you intend to incorporate the 3D printed tread and upper slot into the sandal body, 3D print the outsole separately, or stick to using extruded sheet soling.
Next we’ll generate the sandal upper pattern layout based on what was morphed over from the template. This is done on the Flatten tab of the Make Form, same as I’ve demonstrated previously. But there are a couple new settings. The first is to flatten relative to the component body rather than the shoe last, which is necessary given the upper wraps around the midsole. Next, there is the Compress/Stretch Compensation Multiplier. By putting in a multiplier here, we can get an exact edge length for the flattened upper so as to perfectly match the slot on the midsole. I’ve found 1.14 to work well when combined with the default flattening approach.
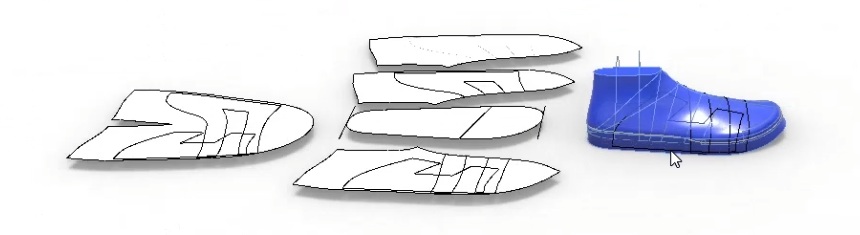
You can of course also design your own sandal upper patterns rather than using the template design. A useful Rhino command to help draw these is ‘InterpCrv PersistentOnPolysrf’. But I should point out that there is a challenge that has to be overcome when designing sandal straps for construction without a shoe last. To help visualize it, see how the lateral and medial sides are nearly parallel, and so a surface joining these creates a cylindrical shape. But the upper needs to be sloped downwards to match the instep region of the foot. The workaround is to design the straps oriented more lengthwise so that when the end of the strap is brought backwards, a tilt results.
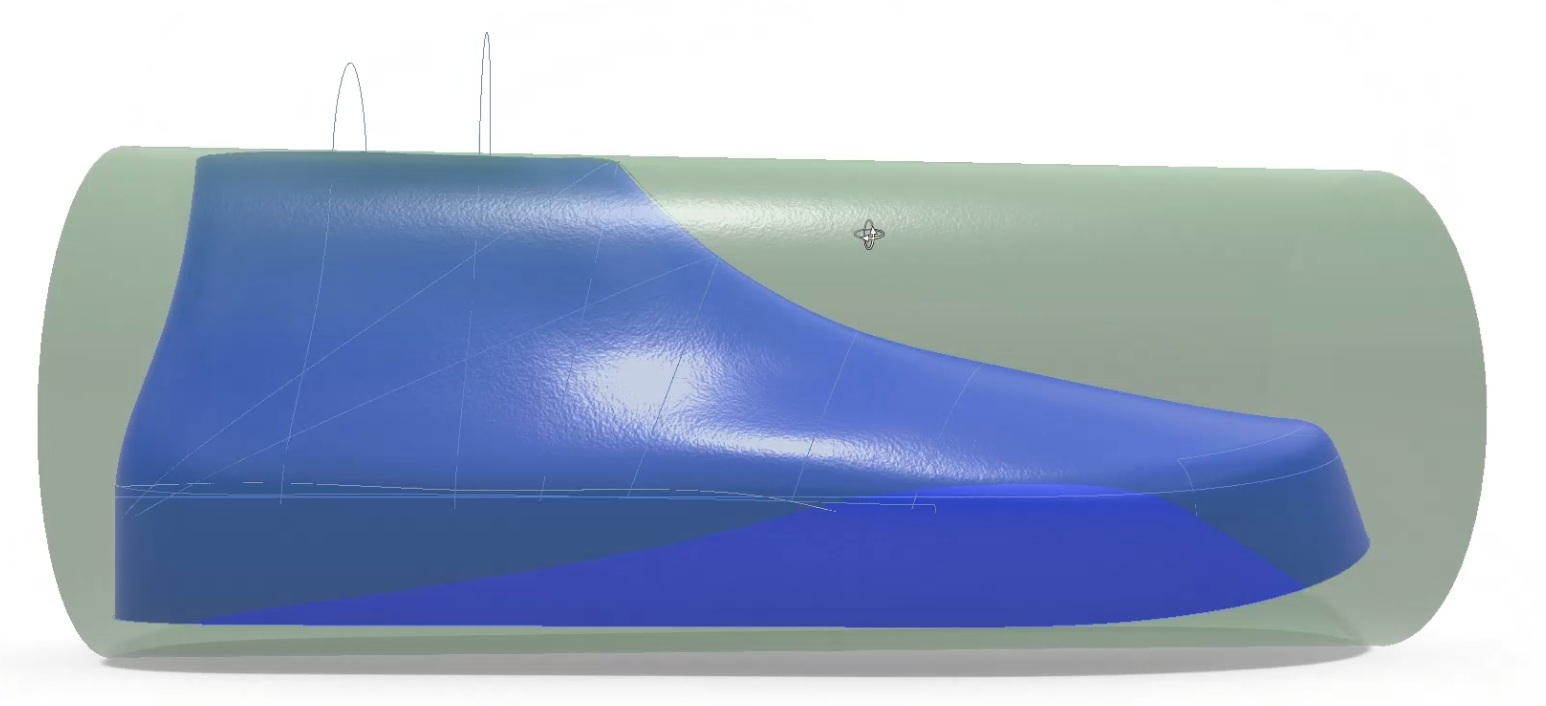
One other recently added setting on the Flatten tab is ‘Add Form Mesh’. This can be used with the Rhino command ‘Squishback’ to return curves to the 3D shoe last or component body. In other words, you can do more of your design work in 2D, yet still get the 3D pattern curves for the template. And then you can treat these as the template curves and morph them to other shoe lasts.
The final thing I’ll touch on is the shoe last itself. As I’ve already mentioned, a key advantage of this custom footbed sandal is that a physical shoe last is not required. But if for whatever reason you want to still use one, then you’ll also likely want to trim the shoe last by the footbed surface, which can be done on the Options Form Build Tab. Also, if you are doing a thong design, you can choose to include a slot. And then to split the shoe last to assist with 3D printing, you’ll go to the Make Form.
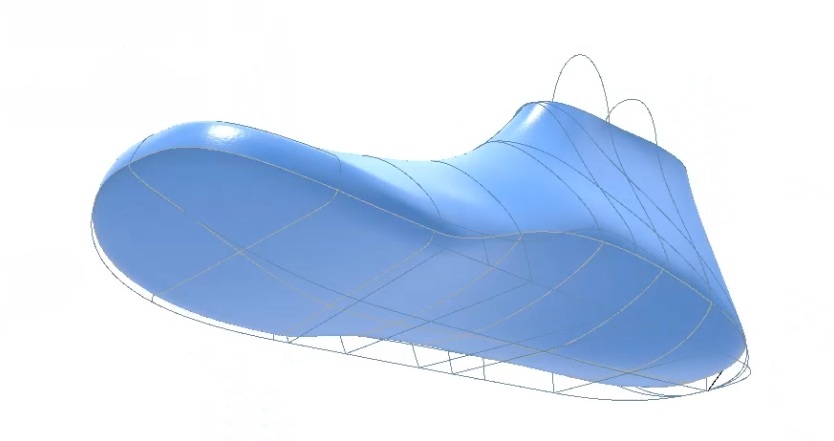
As I’m sure you can appreciate up to this point, while a unibody sandal component reduces fabrication time and cost, the design work is still fairly complex. But it does get a lot easier and faster after you’ve gone through it a few times. And then you start to think about other possibilities this kind of workflow opens up. Really, there is an opportunity here to provide a product of superior fit to what most people are used to. More importantly, even the most abnormal feet can be accommodated which otherwise might be prohibitively expensive.