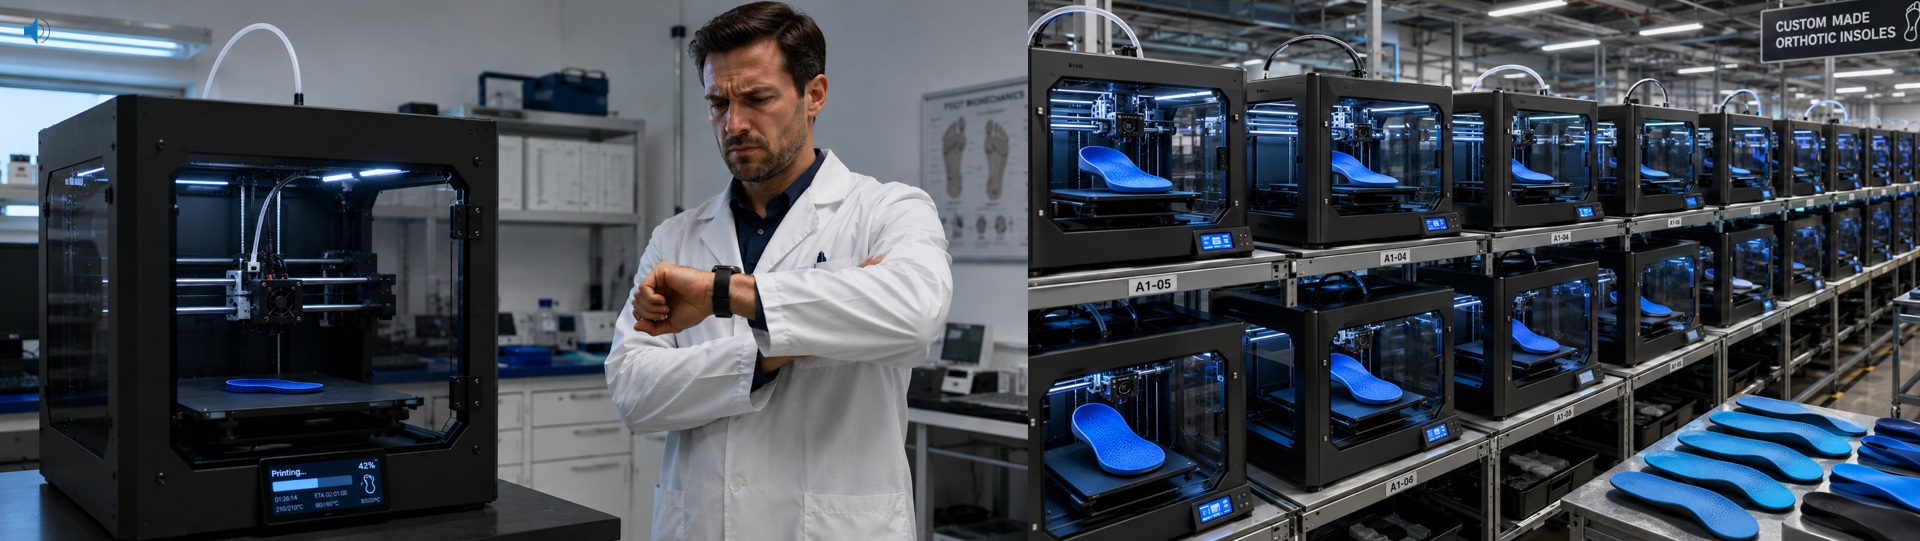
In this 3DShoemaker post, I’m going to explore covering 3D printed orthotic insoles with conventional materials, Suede in particular. The attachment approach I will be demonstrating will be DIY friendly for the hobbyists printing models from 3DShoemaker.com. But the pros out there with there vacuum tables etc. may still appreciate the parts on CAD, speed, and automation.
The advantage of 3D printing orthotic insoles over conventional approaches is improved automation and accessibility, given how inexpensive, compact, and simple 3D printers have become—particularly FDM printers. However, there are also challenges that need to be overcome. These mainly relate to breathability, surface texture, variable stiffness and hardness, and print time.
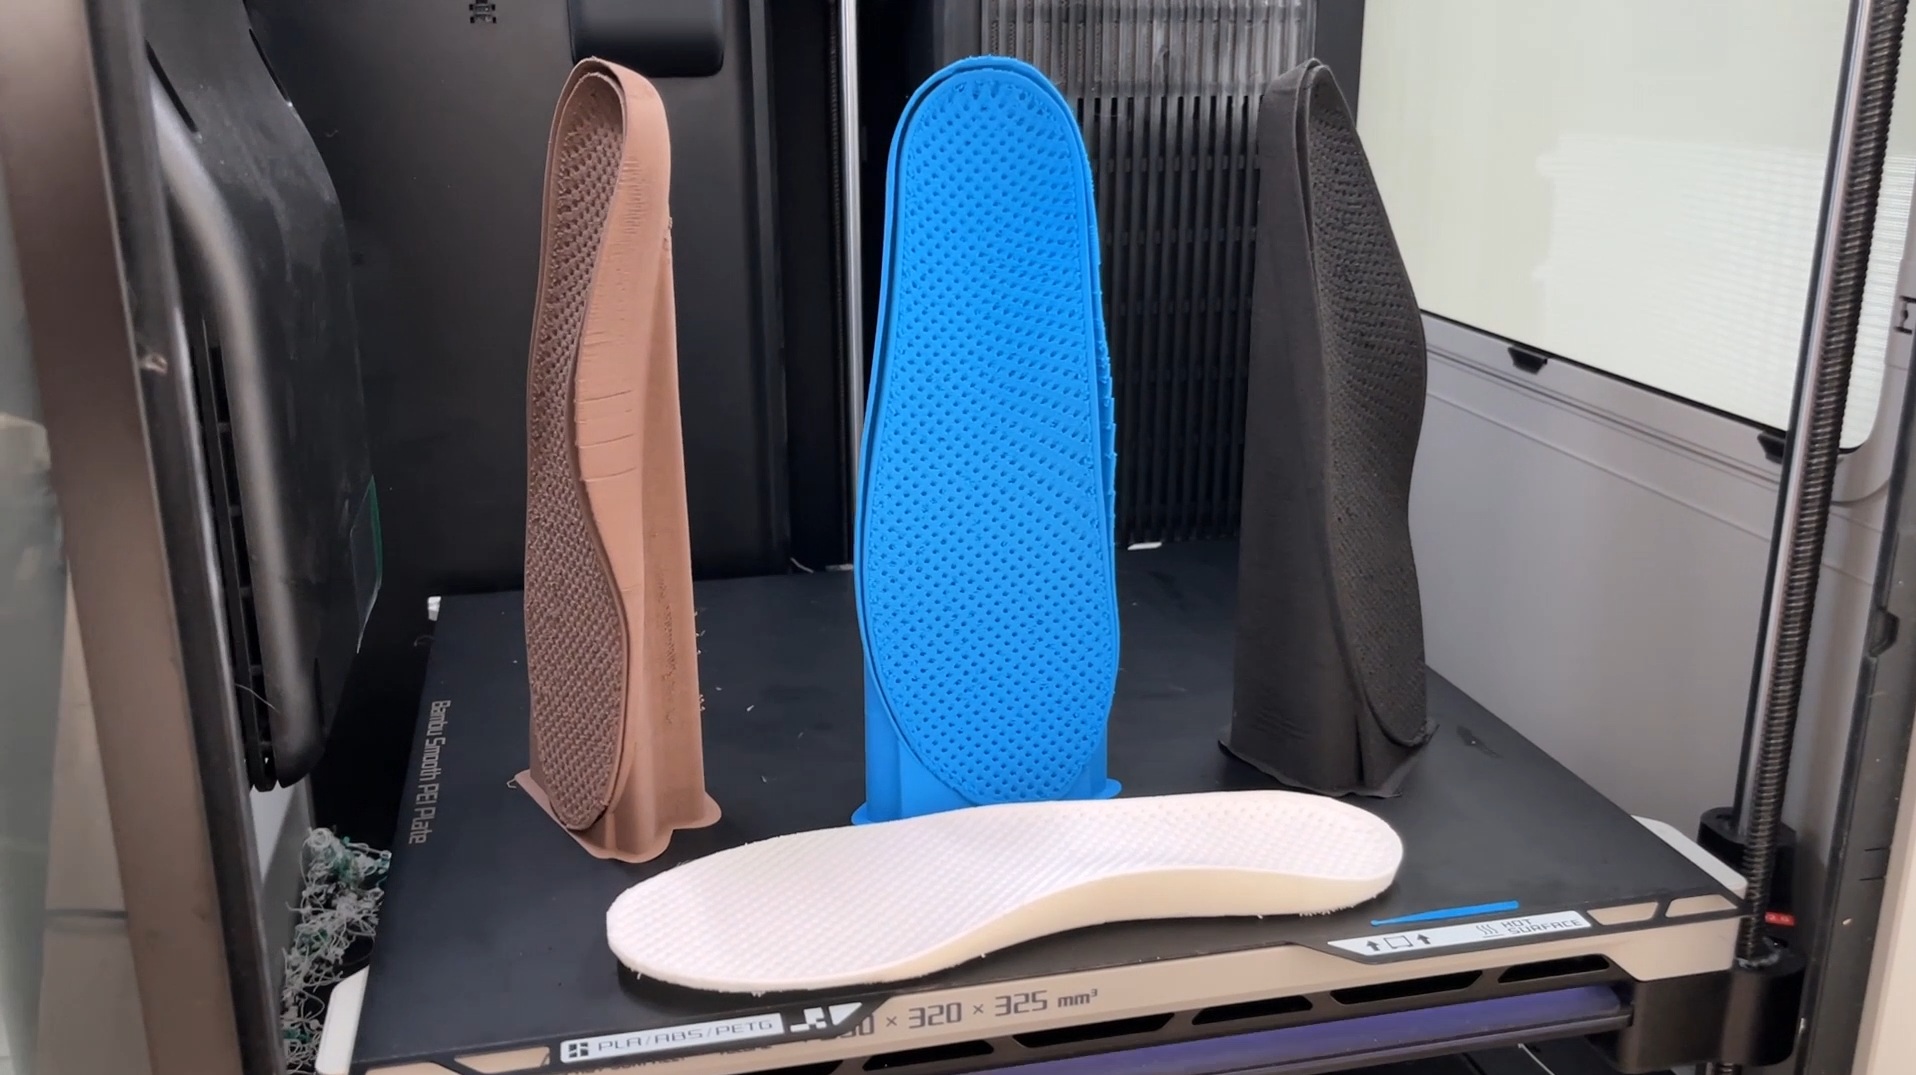
I was able to address some of these issues in my previous iteration. I used foaming TPU, which only becomes particularly soft after exiting the extruder, making it easy to quickly achieve soft results. To achieve breathability, I printed with exposed infill. This required printing in a near-vertical orientation because foaming TPU tends to droop and string significantly. A vertical orientation was also key for reducing visible striations. To support printing in this orientation, I developed a skirt-and-shell support technique. It works well, but at the cost of additional material and print time. And at the end of the day it is still a closed-cell foamed thermoplastic. The disadvantages become most apparent with direct skin contact. The lack of sweat absorption can be uncomfortable, and despite being quite soft, the surface texture remained overly noticeable. To reach professional quality, I see no real alternative to attaching a conventional top covering.
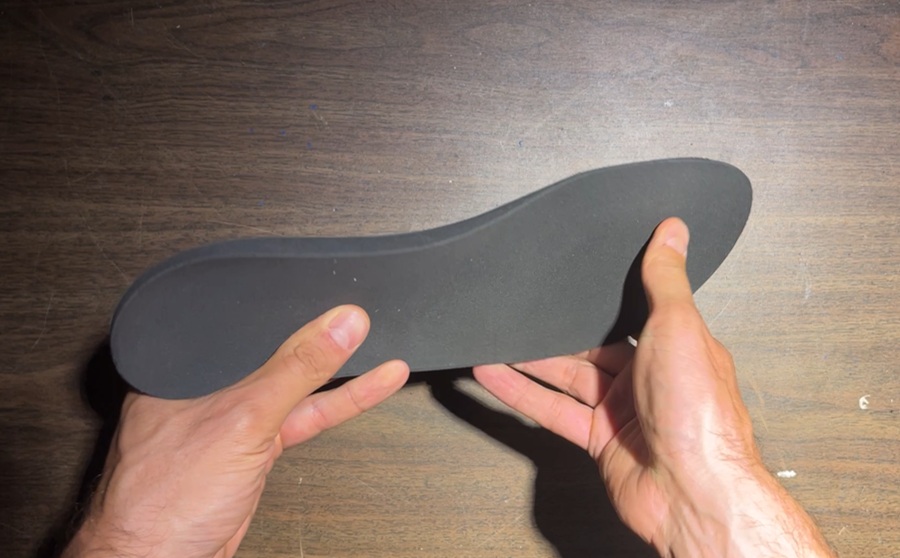
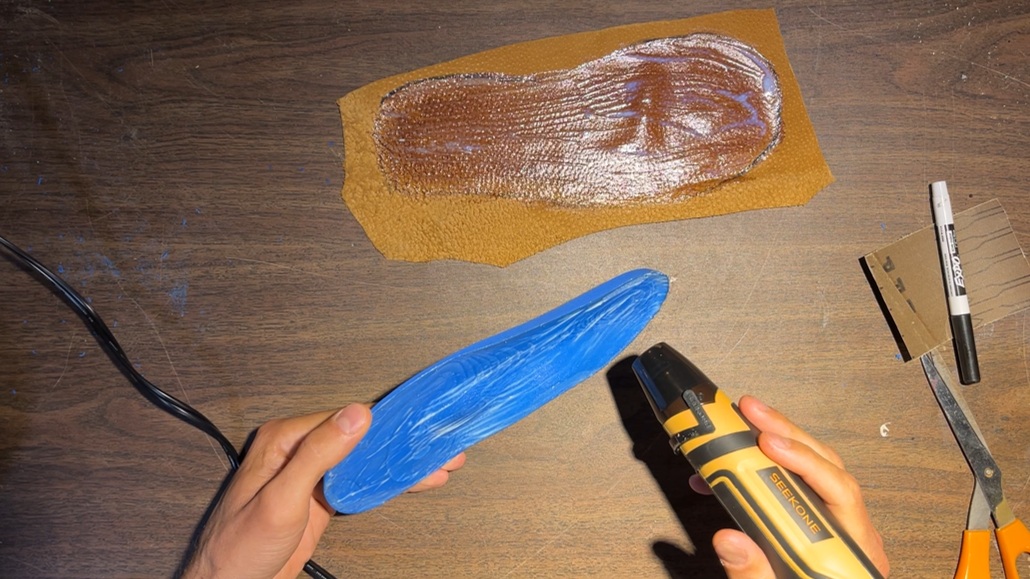
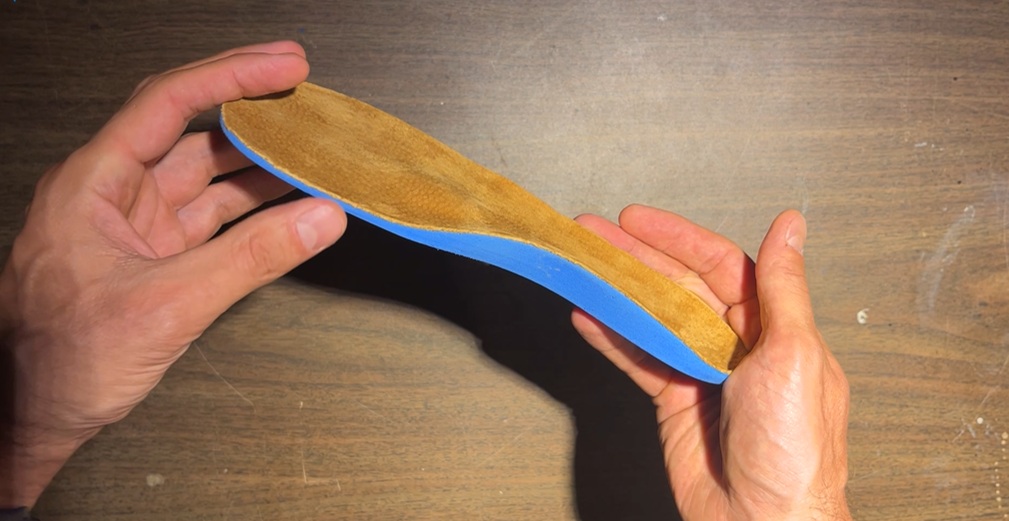
Out of all the top cover choices out there, I like suede. It is incredibly soft and durable, and when split to a 1mm thickness it still has decent give. And being a natural tried and true shoemaking material, it creates a nice synergy with modern materials. To attach the top covering, there are of course specialized vacuum presses and adhesives, and anyone doing this professionally will already be familiar with them. For demonstration purposes, I’m using a more DIY approach. For adhesive, I’m using a water based contact cement, Renia Aquilim 315, which is better for home use than solvent based alternatives. To get a good bond to the TPU, I’ve found it necessary to first rough up the printed part. It is somewhat time consuming compared to using a primer, but once again that would introduce fumes. To further help get a good bond, I do two coats on each surface, letting them get tacky, then applying some heat. Then to apply pressure, I’m sandwiching with foam and loading with some weight, leaving it for a day. Then I’m simply using scissors to trim excess material, rather than a grinding wheel you’d find in a professional setup. All in all, this DIY approach works well, but is time consuming.
One inadvertent benefit of using a top covering is that the surface quality of the printed part itself becomes much less important. This means we can go back to printing horizontally. Supports are no longer necessarily required, reducing both material use and print time. The reduced part height also allows per-part rather than per-layer printing. This means an entire pair can be printed in one session with far fewer travel moves, reducing intra-part stringing and shortening print time.
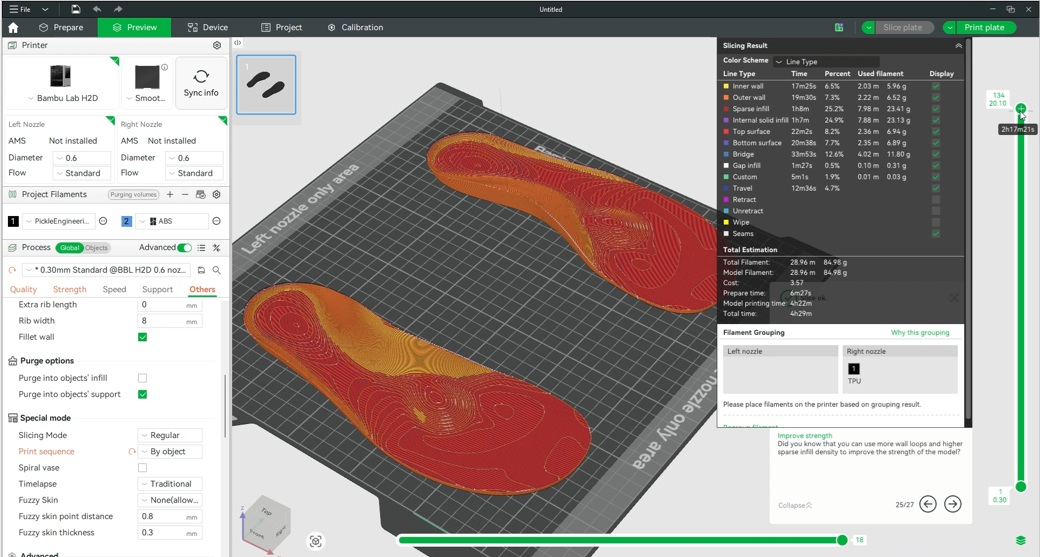
That said, the print times I’m currently seeing are still fairly long—around a couple hours per side—which labs using conventional methods will likely scoff at. However, there are several things that can be done to reduce this. First, there are high-speed TPU nozzles, including those from Bambu Lab. Then there is Recrues’s 2.2 mm foaming TPU filament, which can be pushed much harder without buckling than 1.75mm filament. Combined with their high-speed nozzle for Bambu printers, this can dramatically reduce print times. They also sell material for pellet printers, which eliminates the whole “limp noodle” issue entirely. Or, if reducing manual labor is the priority, belt printers can continue producing pair after pair for days at a time without operator intervention. These solutions still won’t match the speed of conventional methods, but that comparison assumes a single printer. The reality is that modern printers are intended to be used in large farms. Once you have ten printers running simultaneously, the equation starts to change.
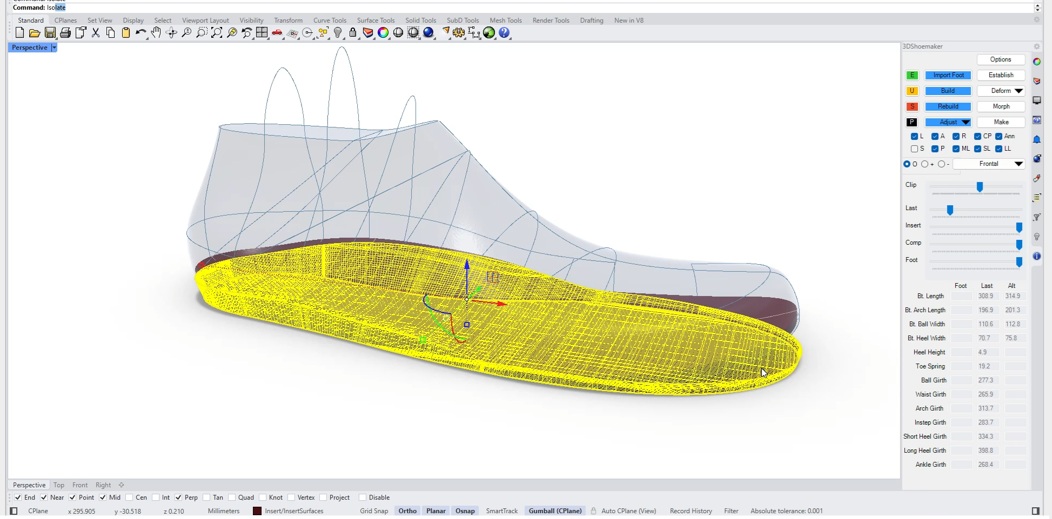
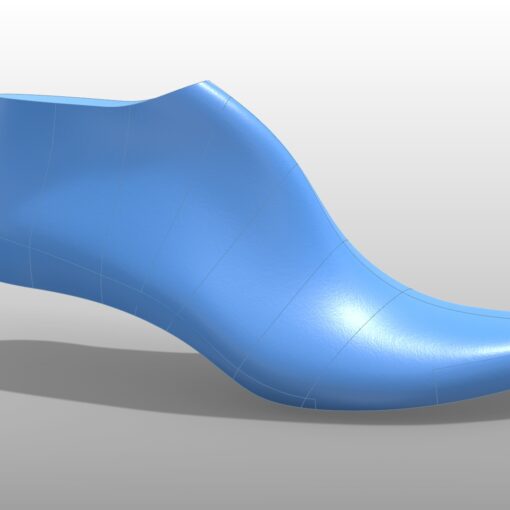
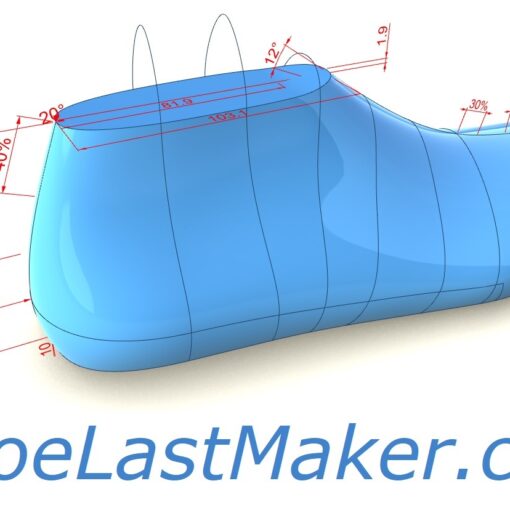
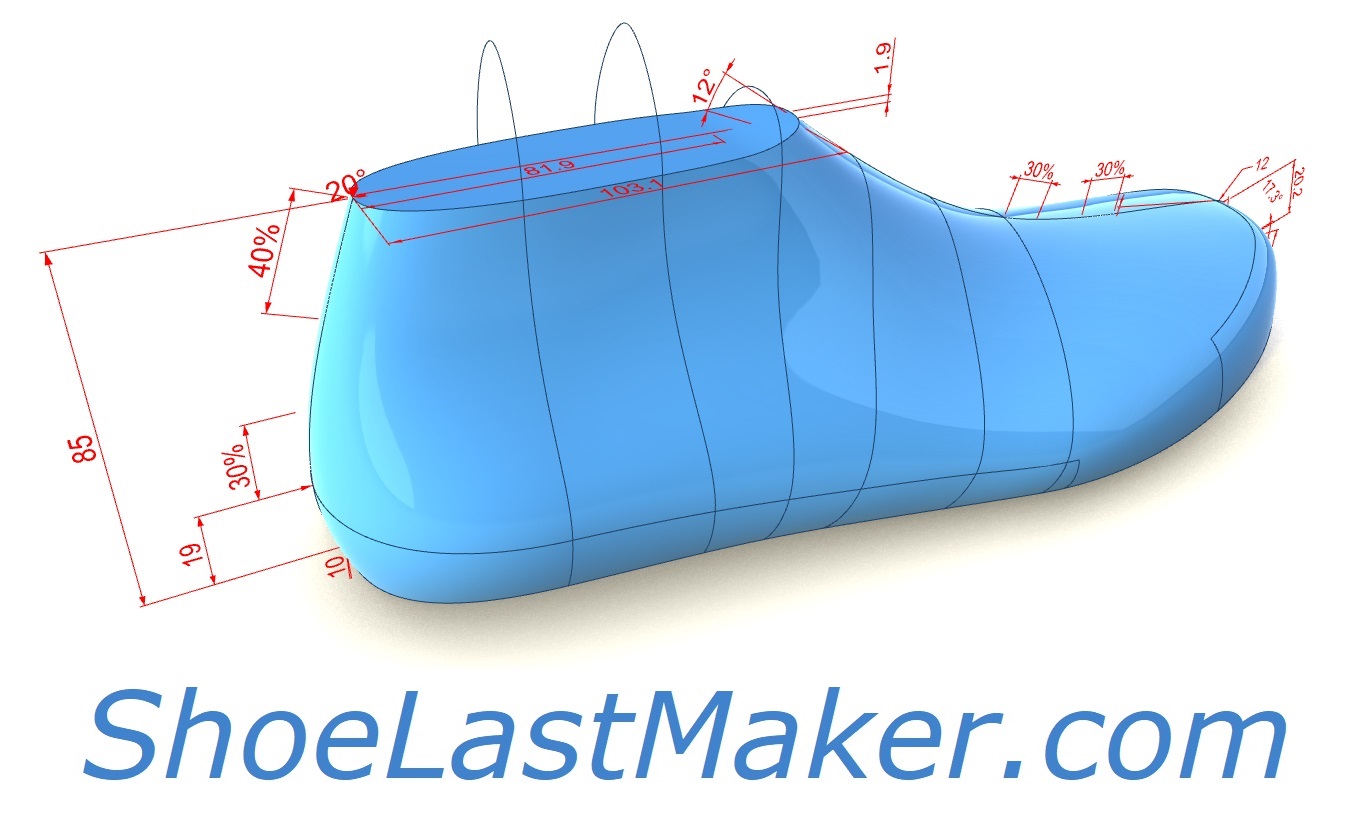
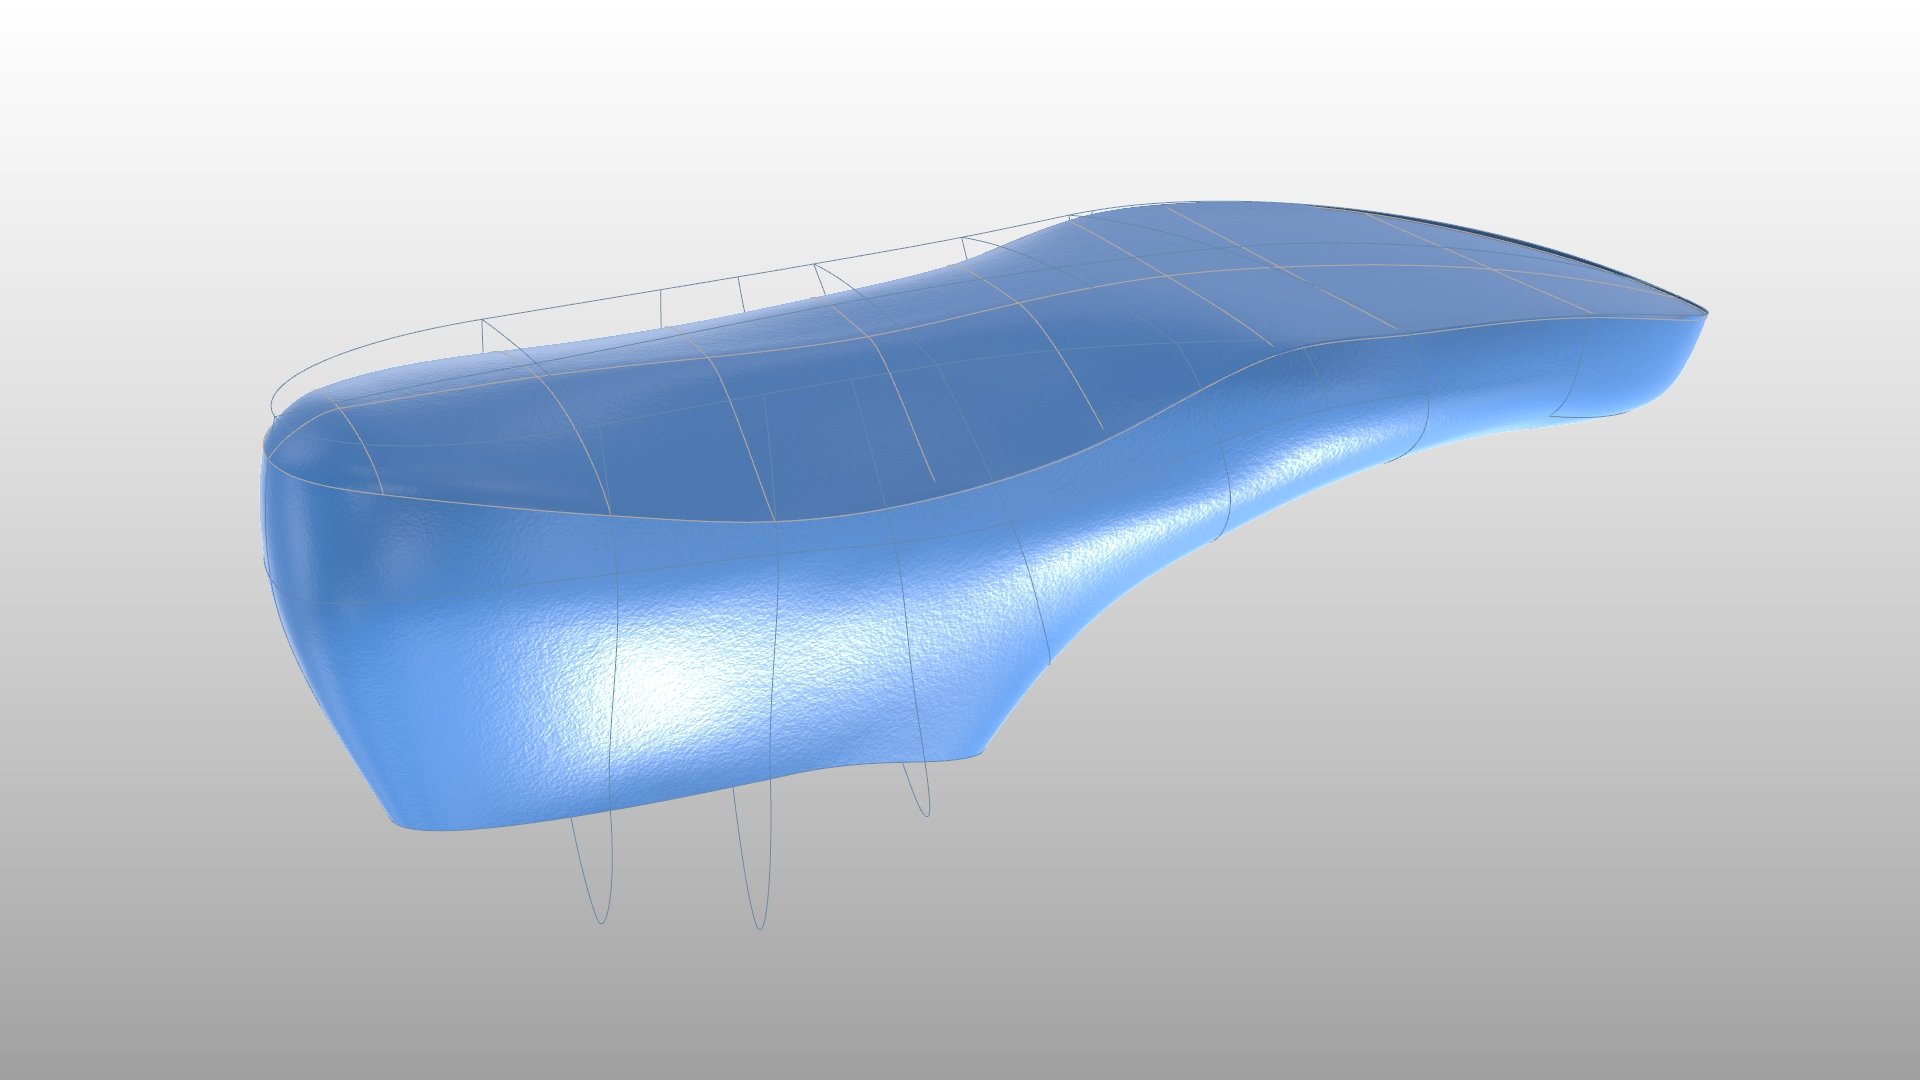
Printing horizontally without supports does create another challenge because the bottoms of orthotic insoles are often not flat. Instead, they are designed around the intended footwear, which may include heel height, toe spring, and transverse curvature. For this reason, I’ve introduced an option on 3DShoemaker.com for orthotic insole models to be flattened. And for users of the 3DShoemaker plugin for Rhino, there is also a checkbox for removing heel height and toe spring when creating the orthotic body. As for transverse curvatures in the plugin, these currently need to be removed by modifying the shoe last itself, possibly compensating by adding material centrally. If there is enough interest, this is something that could eventually be automated in the plugin. Whether simply ordering models or using the plugin, it may still be necessary to cut away at the very bottom of the orthotic insole with the slicer, as there can be some slight error in the flattening process.
I’m quite pleased with the covered orthotic insoles I’ve demonstrated in this post. They do require considerably more manual labor and move away somewhat from the ideal of a purely 3D-printed product. However, if the goal is truly professional quality, I think the top covering is essential. In a future post I’ll show how to advance these even further with stiffness modifiers.
