In this 3DShoemaker update, I’m going to get into forefoot and hindfoot twists and posting of foot orthoses and footbeds. This will be applicable both to the individual 3D models ordered on 3DShoemaker.com and also to design work in the 3DShoemaker software. I’ll also get into how to make room within custom shoes and 3D printed shoes for such twists and postings. First though, I’ll start off with a bit of background info for anyone new to this topic.

A common objective of foot orthoses (also known as orthotic insoles) is to influence joint positions in beneficial ways, both within the foot and also further up the kinematic chain. The way it is done is by elevating the medial or lateral sides of the foot in the front or back. Adjustments to the medial side of the foot are referred to as Varus while elevations to the lateral side are referred to as Vagus. Ideal degrees of angular twists are determined by a study of joint positions, primarily the Subtalar joint via goniometer or inclinometer. If you ever want to find the original theory behind biomechanical orthosis design, some of the earliest literature, which still grounds much of today’s practice, was by Root and colleagues in the early 1970’s text, Biomechanical Examinations of the Foot.

Getting back to 3DShoemaker, such Varus and Valgus adjustments can be specified within the Footbed Customization section of the orthotics ordering form. When it is a 3/4 shell orthotic that is selected, then posting will also be included in the model. The posting just helps to hold the orthotic in the twisted position within the shoe. But it does create a shelf on the front edge and so some materials will have to be laid up manually to create a smooth transition. This is why I’m an advocate of a full length flexible orthosis when it comes to posting, as it lends itself more to fully automated fabrication, particularly via 3D printing, and results in a superior transition.

In addition to orthotic insoles, the footbed surface of fully 3D printable shoes can also be twisted via the same Footbed Customization/Twists ordering form section. This capability is one of the reasons I think fully 3D printed shoes have so much potential for orthopaedic applications. Given the twisted geometry is entirely integrated within the shoe, the design is greatly simplified and fabrication costs drop.

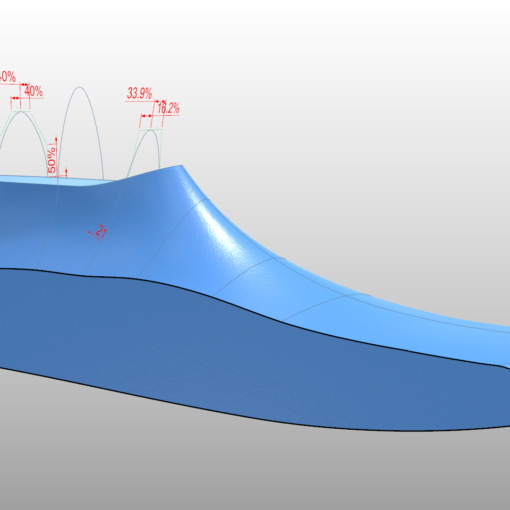
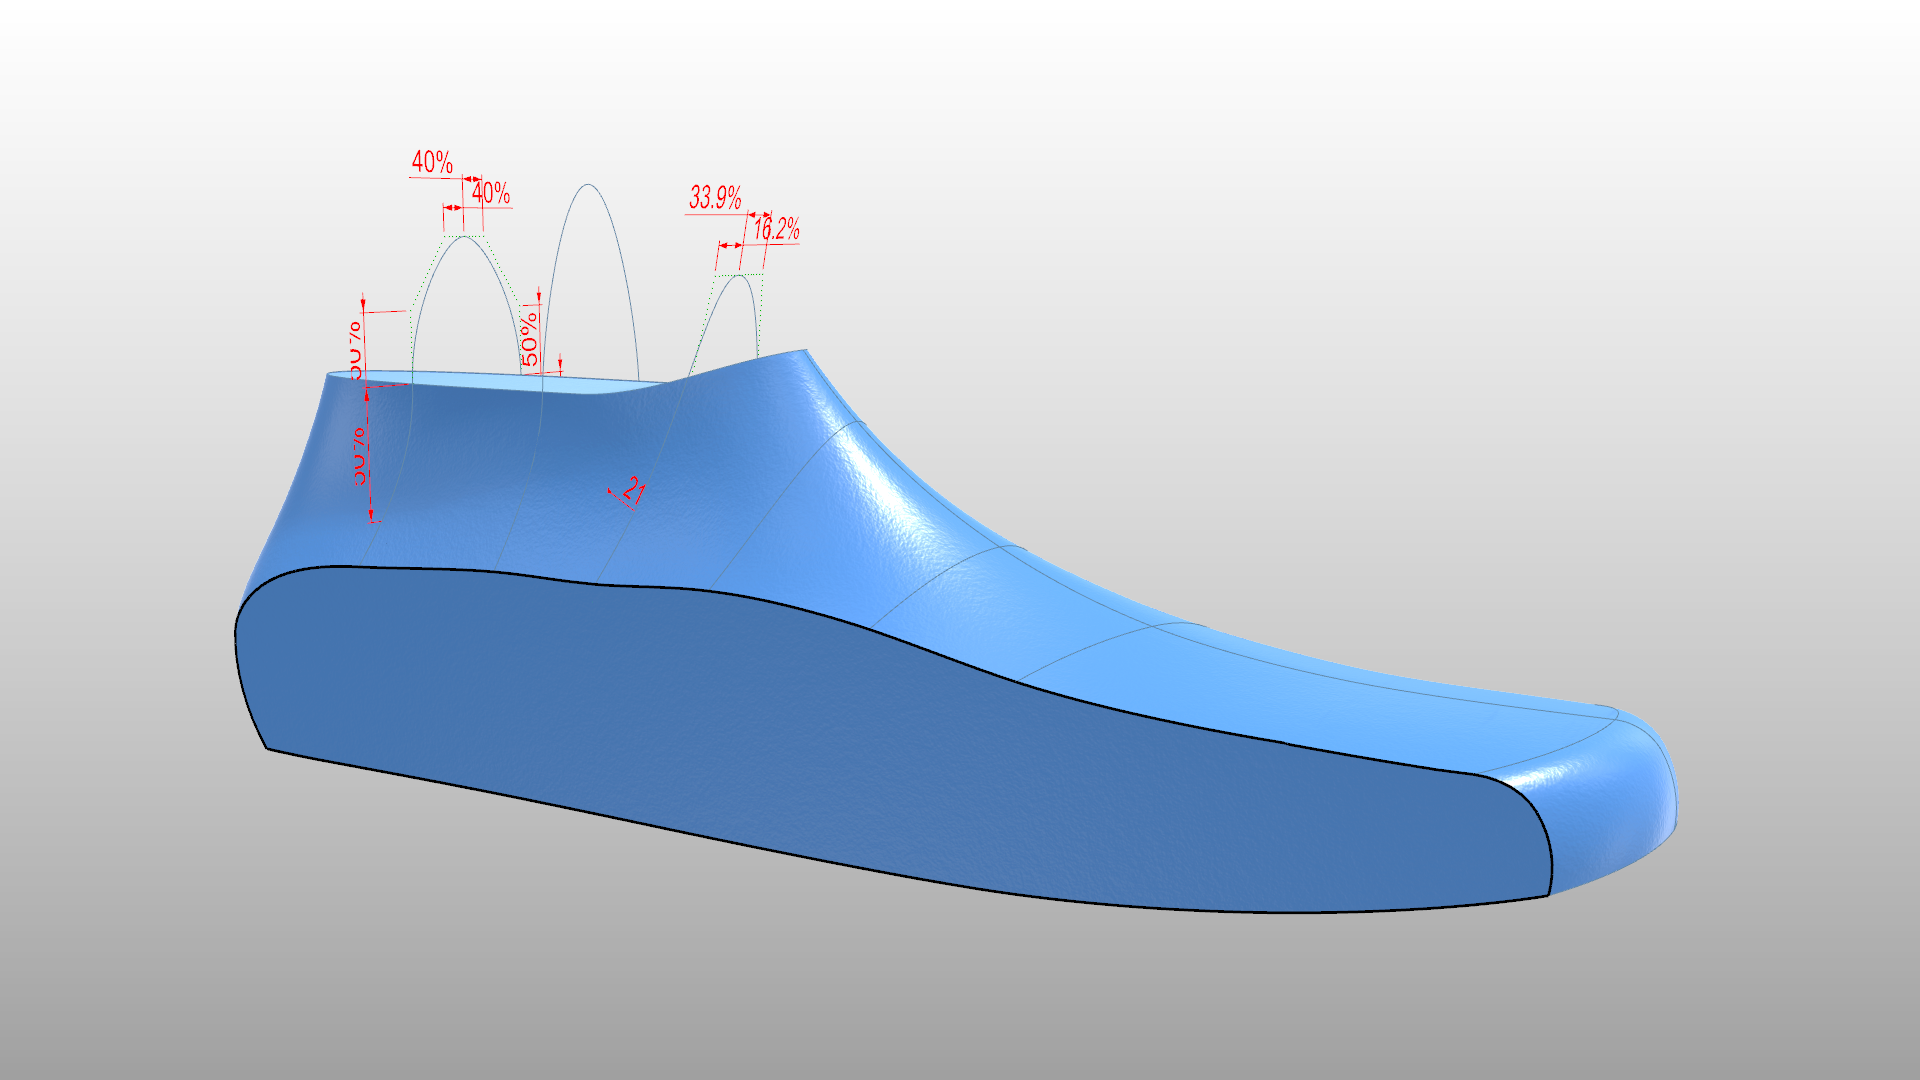
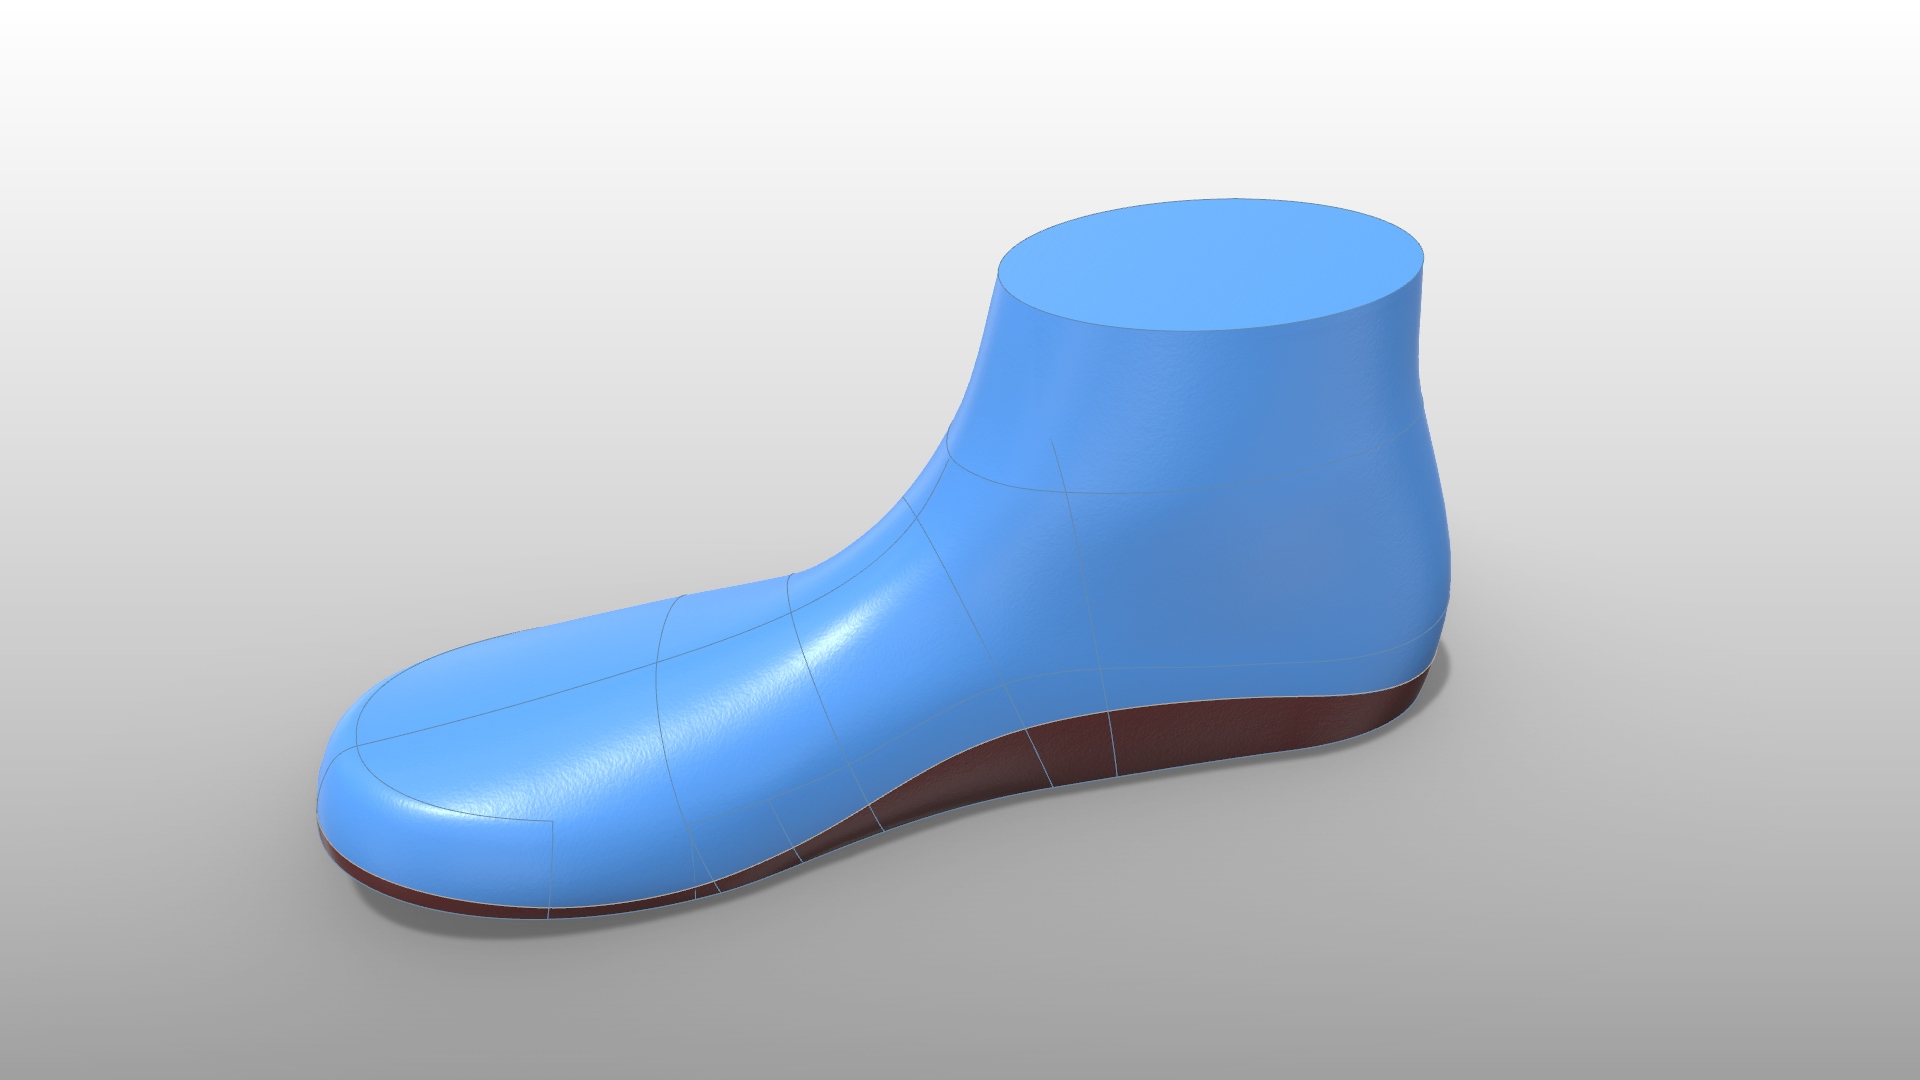
For those using the 3DShoemaker plugin for Rhino to design orthotics, twists are managed by editing the Spine curve from the side view. Also from this view, the blending length or twist length as a percentage of shoe last length can be adjusted from the default 30%. When satisfied with the parameters, press the Update then End buttons to see the resulting orthotic surface. The orthotic insole body can then be created by pressing the Make button and then the Go button on the Orthotics tab.
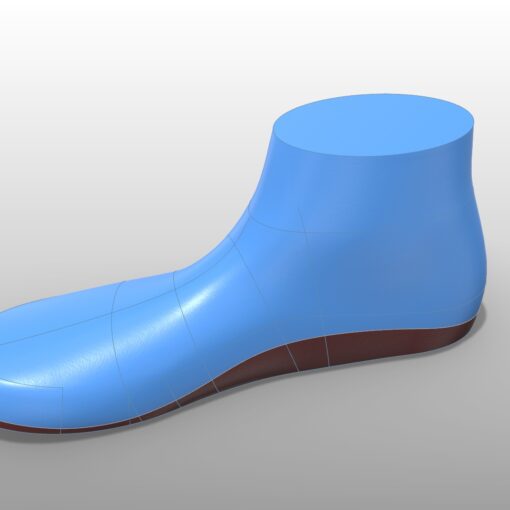
If there is a foot in the session, it can be twisted by editing the foot. This is of course only approximate as the individual joints of the foot aren’t yet modeled in 3DShoemaker. However, it is still useful for visualization purposes.

For the shoe last in the session, it can be brought along with the twist to maintain foot volume within the eventual shoe. The option to constrain the shoe last bottom should also be turned on in most cases, though SubD must be enabled too for this to work. One instance where the shoe last bottom shouldn’t be constrained is for fully 3D printed shoe models. In this case, it makes sense for the shoe last to be trimmed by the orthotic surface and the feather edge removed, creating a continuous smooth interface for the foot.
Orthotic twists and posting are essential to the success of biomechanical orthosis interventions, and so I’m pleased to have been able to make this possible in the 3DShoemaker system. I have plans for introducing other such features in the future, though I do appreciate any suggestions on what should be prioritized. Please let me know in the comments below. And if you found this video helpful, please like and subscribe to the channel and hit the bell to receive notifications of future videos. Thanks for watching.
