In this 3DShoemaker tutorial, I’m going to introduce the new digital vacuum forming tool for automatically fitting orthotics to foot models.
Before getting started explaining the new vacuum forming tools in 3DShoemaker, I’ll first point out to those simply looking for 3D printable orthotics to put in shoes that these an be found on 3DShoemaker.com via the Designs drop down. There is a link to an explanation on the ordering system. And orthotics can now be ordered as add-ons for shoe lasts too within the ordering form.
The key aspect of what sets custom orthotics apart from off the shelf insoles is the matching, within some degree, of the shape of the foot. Traditionally this was done with highly laborious techniques usually involving some combination of casting and vacuum forming. Nowadays it is mostly done with 3D scanning, some software for the design work, and CNC machining or 3D printing. With the introduction of digital sculpting tools, the 3DShoemaker software became capable of doing the design work part of the process, albeit still somewhat in a manual and time consuming way. The new automated vacuum forming tool improves upon this, allowing for the creation of precisely customized orthotics in mere seconds.

To use the vacuum forming tool, a foot model has to be imported, so I’ll give a quick refresher on how to do that, specifically with a plantar foot scan. Plantar foot scans are incredibly easy to capture, all you need is something like most modern iPhones combined with a scanning app leveraging the True Depth Camera, such as the app Scandy. Depending on the quality of your scan, which should ideally be in stl format, you might need to do a bit of cleanup before importing into 3DShoemaker. The commands SplitDisjointMesh, ReduceMesh, MeshBooleanDifference, and Explode in Rhino can help get rid of unneeded parts of the scan. Once you have a plantar foot scan you are satisfied with, press the Import button on the 3DShoemaker side panel, then select your scan stl file and follow the command prompts from there. You’ll want to turn on Vertex Osnap when selecting the approximate contact points. Once importing is complete, a form with foot measurements will come up. Note the girth measurements won’t be populated given it is just a plantar scan being worked on. The two measurements that might be adjusted at this point are heel height and toe spring, depending on the intended footwear for the orthotics.

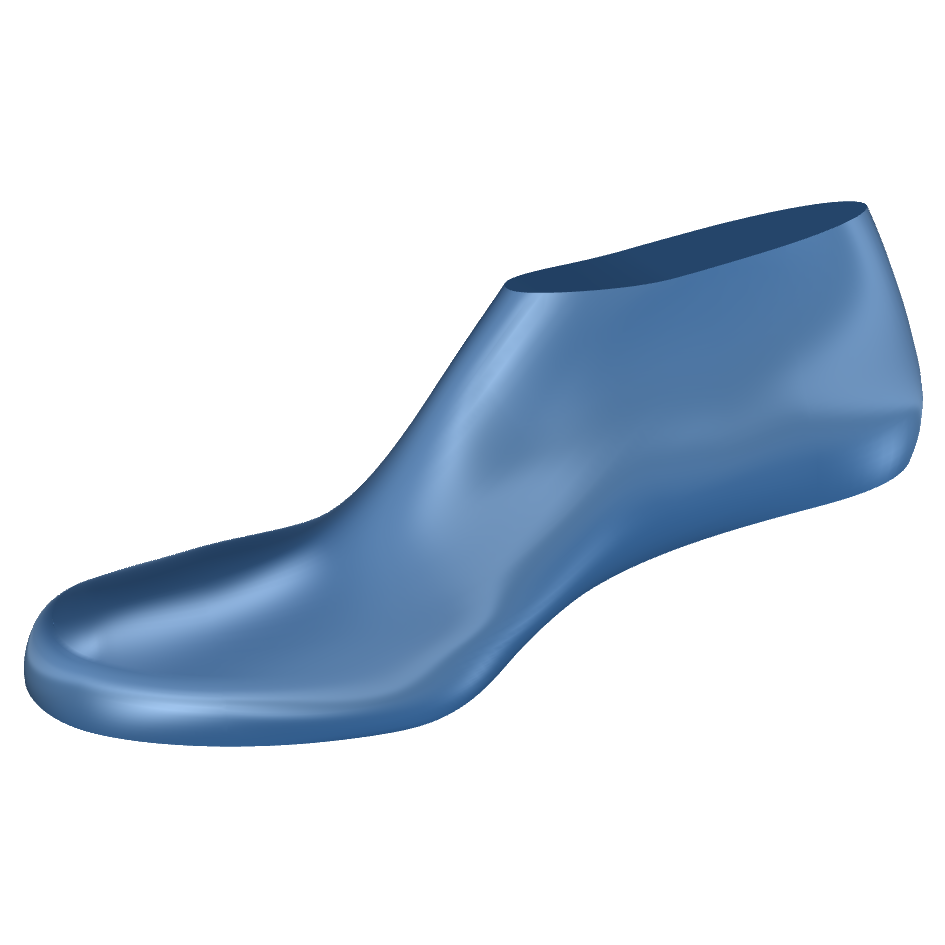
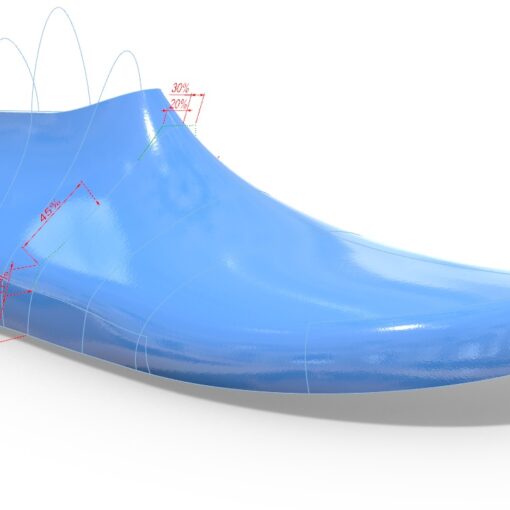
The next step is to get an orthotic into the session along with a shoe last. To do this, press the Build button, select the desired shoe size, select template parametric shoe last and insert files, and then press the Build button. Once the build is complete, you may want to turn on Manual Foot Positioning in the Edit tab of the Options form to better position the foot in the design. Once satisfied with the position of the foot, press the Rebuild button to confirm it. The shoe last template provides the boundary of the orthotic and should have a similar shape to the intended footwear for the orthotic. You can always parametrically edit the shoe last, as I have shown in other tutorials, and resave as a new template to save time in the future. Similarly, you could also refine an orthotic template and resave it. For this foot, which happens to be mine, I’m going to reduce the arch length by 15% given the very long first toe is taking up most of the shoe length. And I’ll increase the arch height 10%. These adjustments are done via the Adjust Orthotic Arch Height and Length function found in in the Adjust drop down. Their are numerous other adjustments that could be done at this point, such as the Insert Depth via the Adjust drop down as well as more advanced things like hind and forefoot twists. I’ll cover these in other tutorials.
The orthotic design so far should be an approximate match for the final intended orthotic. Before moving on, material has to be added to the central part of the orthotic to create a kind of blank for vacuum forming. This blank, rather than a flat table, becomes the limit for how deep the vacuum formed orthotic can go. If you look from the bottom, you can imagine a rubber sheet is being pulled onto both the foot plantar surface and the orthotic blank. Any parametric orthotic model can be converted into a blank via the Adjust Orthotic To Blank function found on the Adjust drop down. Of course you could also develop a set of your own orthotic blanks and use them as templates in the first place.

To Vacuum form, on the Deform drop down on the side panel, press the Vacuum Form button then choose the Insert option in the command prompt. There are a few more settings in the command prompt you can then choose. One I mentioned earlier is Vacuum Force. A value of 1 means full, where it’s like the rubber sheet I mentioned earlier is pulled tightly into all concavities. This is somewhat limited by the SubD quad count set in the options form (SubD needs to be turned on for vacuum forming to work). A value of zero means the vacuuming is essentially turned off and the function achieves something like an elastic sheet would. A mid-range vacuum force is perhaps most ideal for comfort of the final orthotic. Also in the command prompt is the setting to toggle whether the insert boundary is updated, which in most cases makes sense. And there is also the Iterations settings with a higher number taking more time but resulting in a closer match between the orthotic and foot surfaces. Once satisfied with the settings, press enter and the vacuum forming is carried out.

The result is an orthotic surface that is a near match of the plantar foot surface behind the ball area. But of course there is a lot more to orthotic design than just matching the foot surface. There are numerous reasons for deviations from foot geometry. For starters, if the foot was fully non weight bearing during scanning, simply duplicating the plantar foot surface may result in the arch of the orthotic applying too much force to the arch of the foot. The solution is to reduce the arch height via the Adjust Arch Height and Length function found in the adjust drop down. For instance, the vacuum formed orthotic arch can be adjusted by -20%. And then the sculpting tool can be used to achieve more subtle variations variations, similar to how a foot impression might be adjusted prior to plaster casting with traditional techniques. Note that there are some adjustments best done before vacuum forming, like hind and forefoot twists.
Once the orthotic surface design is complete, it’s time to set the orthotic body material thicknesses which are accessed via the Adjust drop down. For example, you can specify the intended top cover thickness, and so when the orthotic body is designed, the top surface is first dropped by the intended top cover thickness. Once satisfied, the next step is to build the orthotic body. Open the Options form and on the Build tab you can select whether you want a full length, three quarter, or three quarter shell orthotic. Press done and the orthotic body will be added to the doc.

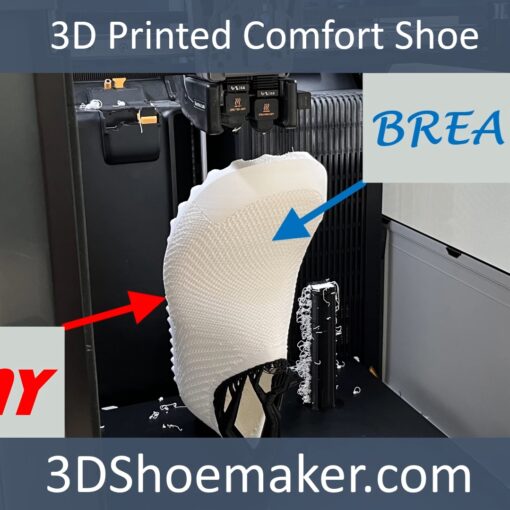
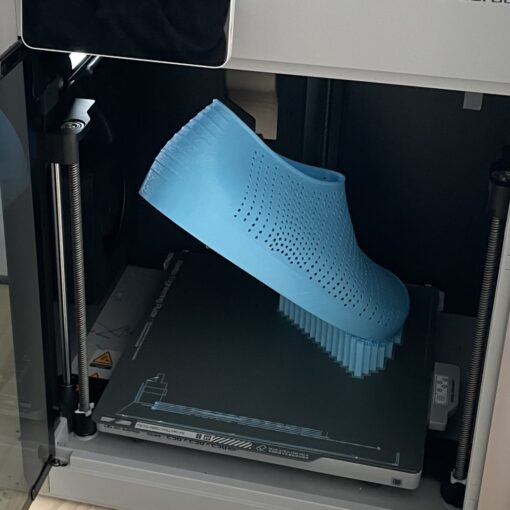
If you are using an FDM printer to make orthotics, then you can press the print button and go to the orthotics tab to set up smart supports that help reduce support material and save on time removing supports. I’ll get more into FDM printing and material selection in an upcoming tutorial. And in another tutorial I’ll get into how this same vacuum forming tool can be used to quickly refine orthopedic shoe lasts.

That’s all for this tutorial. If you have any comments, please leave them below. Thank you for reading.


