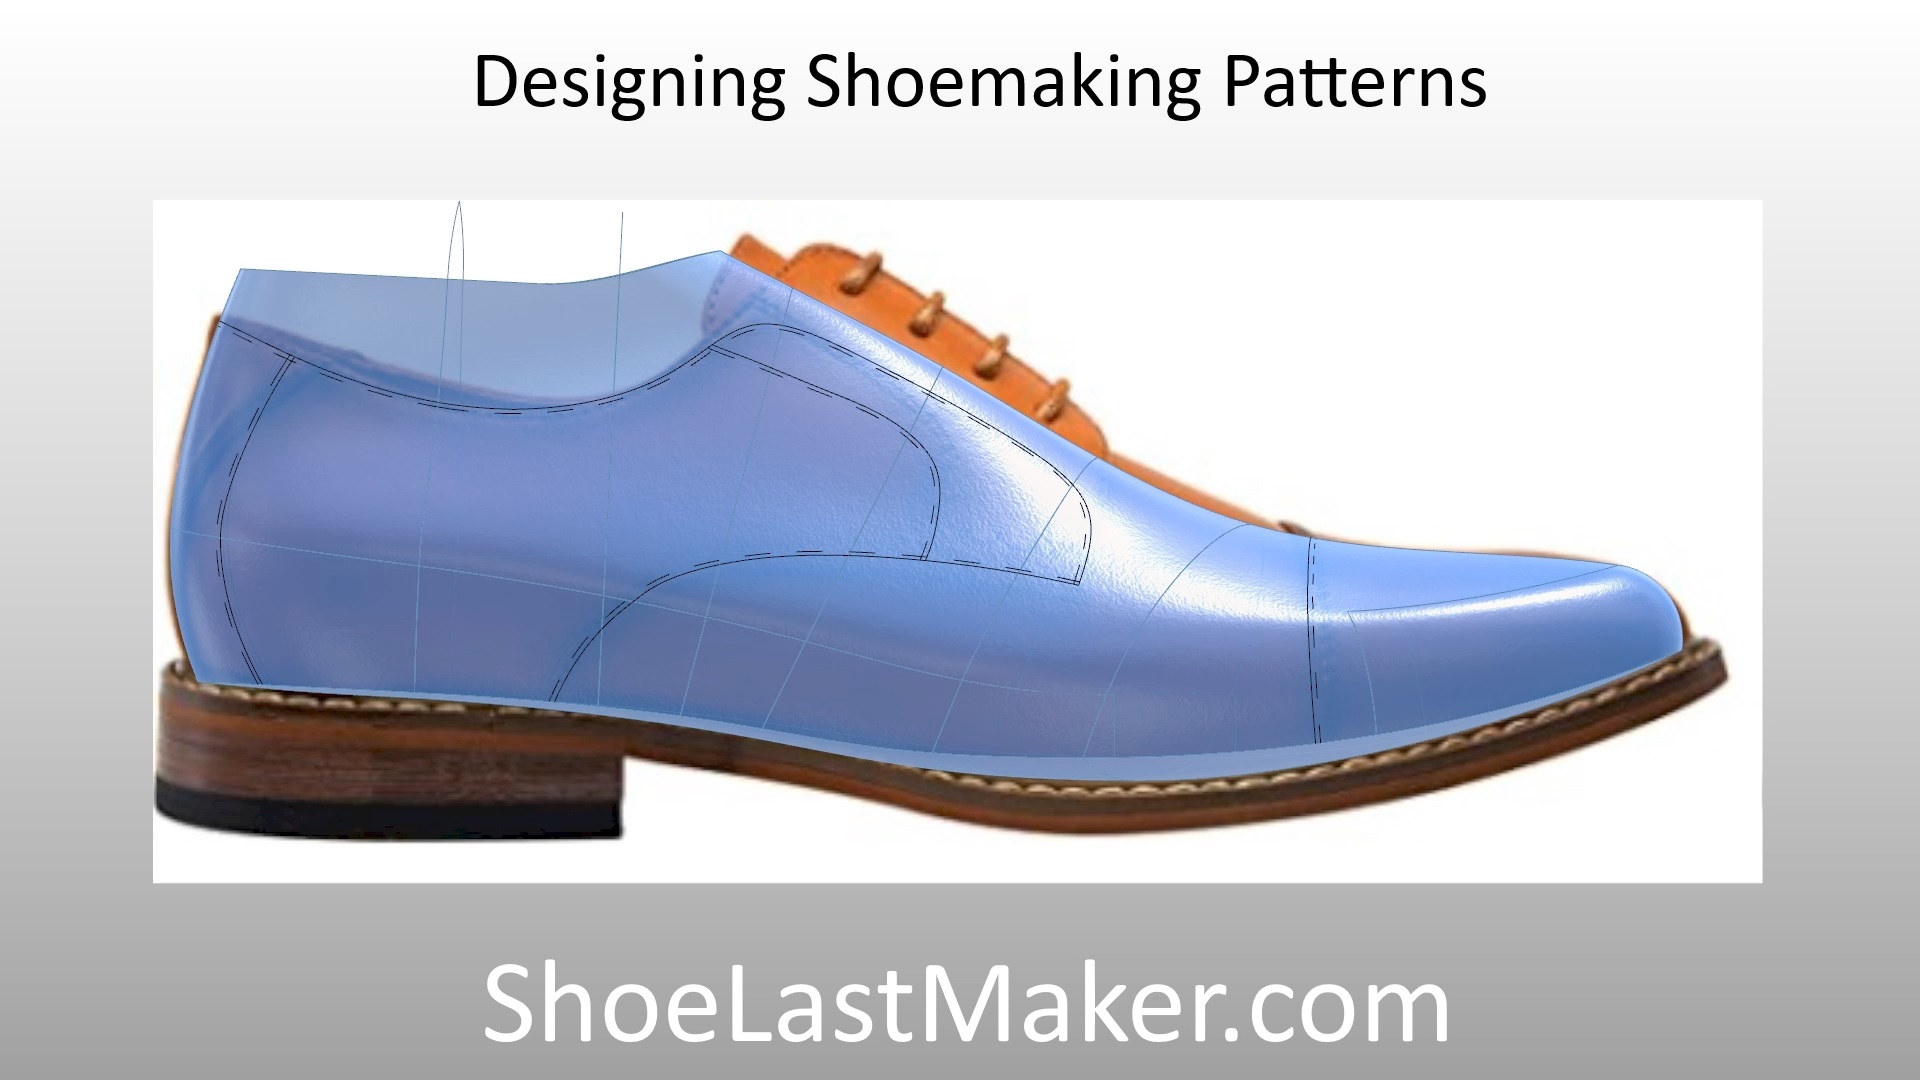
In this 3DShoemaker post, I’ll show you how 3D printable models can be used to manage leg length discrepancies. I’ll explain how to order models of shoes, shoe lasts, orthotic insoles, soles, and other components for this purpose. And if you stick around till the end, I’ll get into the actual design work in the 3DShoemaker design software.
If you do a Google search for “leg length discrepancy footwear”, you’ll see a variety of techniques for elevating a foot. The simplest and cheapest way to do this is to put a stock insole with additional heel height into the shoe. The problem with this approach is that it will affect the fit of the shoe, likely adversely. External devices are better in this regard, but some might find them clumsy with poor aesthetics. On the other end of the spectrum is a fully custom footwear. But custom shoemaking is a highly laborious endeavor with costs that often rise into the thousands. 3D printing can help bring costs down to a reasonable point. From the insole to the shoe last, to the entire shoe itself, there are various degrees to which 3D printing can play a role in making footwear to elevate the foot. Models and tools for all of these can be found on 3DShoemaker.com.


A foot can be elevated just in the heel, the entirety of the foot, or a combination of both. Elevation can be achieved with various elements of the shoe including the outsole, midsole, and the footbed which is sometimes referred to as the insole, orthotic, or insert. When managing leg length discrepancies, the most visually subtle approach is to adjust the footbed height both overall and with some additional rise in the heel. However, there may be reasons to adjust other parts of the shoe instead.

When ordering models for fully 3D printable shoes on 3DShoemaker.com, height adjustments can be achieved via the ‘Footbed Customization/Advanced’ section, independently for the heel, ball, and toe regions. Note that it’s a good idea to keep the ball and toe lifts similar so as to retain the default rocker characteristics for the shoe. And for particularly large discrepancies, it’s best to add material to the midsole so as to cause less distortion to the shoe body.
For more conventional shoemaking, where materials are assembled about a shoe last, the models on 3DShoemaker.com can of course still be used to elevate the foot. Heel height and the intended footbed thickness can be adjusted in the ‘Design Adjustments’ and ‘Footbed Adjustments’ section for the shoe last ordering form. And then to support and further increase the additional height, matching components can be ordered, including orthotic insoles, heels, wedges, platforms, and soles. Note that when ordering soles to match a shoe last, it is best to leave the shoe last heel height at the default so as not to distort the sole design. If more customization is needed, components can be ordered directly from their own product page.


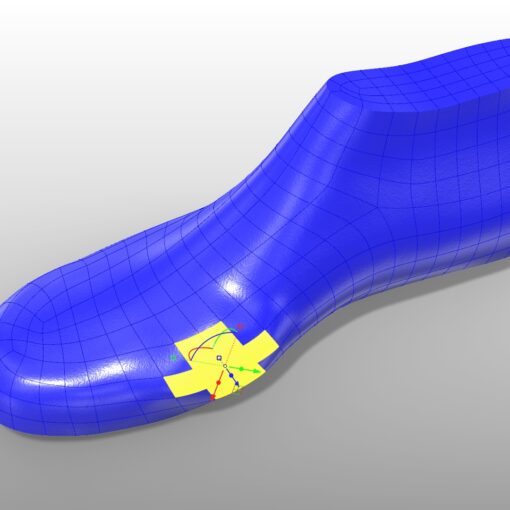
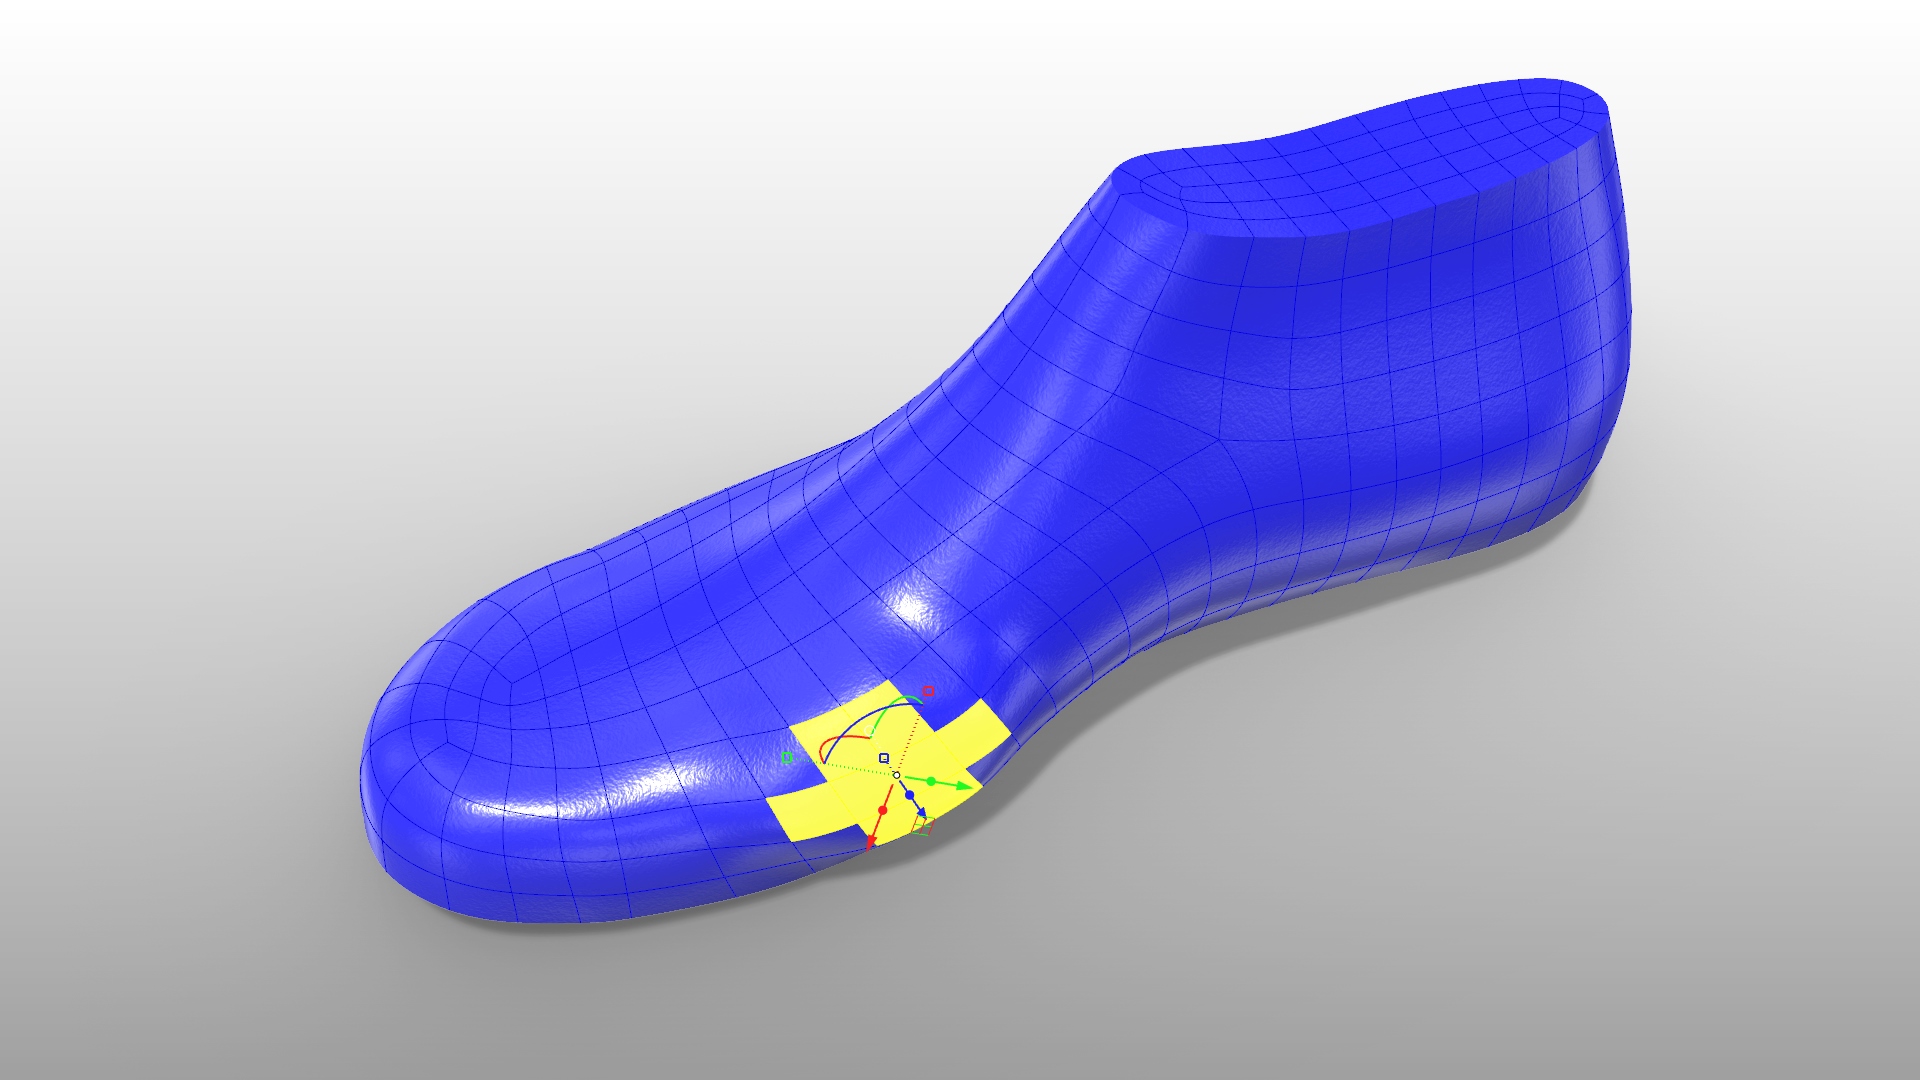
Now, as promised, I’ll get a bit more technical and show how these adjustments are done in the 3DShoemaker plugin for Rhino 3D. Orthotic insole height is adjusted via the Footbed Depth function on the Adjustments drop down. This can be done independently at the heel, ball and toe. This should be followed by equal adjustments to the shoe last itself, via the Footbed Room function from the Adjustments drop down so as to ensure foot room within the shoe last volume is maintained. When adjusting Footbed Room, there is also the option to simply drop the shoe last bottom surface down. This leaves the original last body unaffected, including the girth measurements, and simply adds material to the bottom of the last. It is also possible to adjust the heel height of the shoe last from the profile view and the intended sole thickness via the Material Thicknesses form accessed from the Adjustments drop down. Once the core geometries are designed, then the orthotic insole and jointed shoe last bodies can be designed or ordered, depending on what version of 3DShoemaker you have. Or, a 3D printable shoe and sole models can be ordered to match the core geometry.

Managing leg length discrepancies is just one of the many ways 3D printing can help solve lower limb issues. Stay tuned for future posts where I’ll get into more examples. Thanks for reading.
