These instructions are provided for informational and hobbyist use only. Using 3D-printed footwear, insoles, and components for walking, running, or any activity carries risk of discomfort or injury. You should not rely on this content as medical, ergonomic, or safety advice. Always consult a qualified professional for regular use.
In this 3DShoemaker post, I’m going to provide an updated approach to 3D printing insoles now with a breathable design. For this approach, any flexible filament can be used, but foaming TPU is ideal. I’ve also updated the smart supports I’ve developed which are super easy to remove. I think the resulting insoles are truly remarkable. They look and feel like what a pedorthist could dispense. And yet they are incredibly easy to 3D print. Later in the post I’ll show how to order highly customizable models along with modifiers and smart supports that can be loaded into a slicer. I’ll also show how all this can be done in the 3DShoemaker plugin for Rhino 3D.

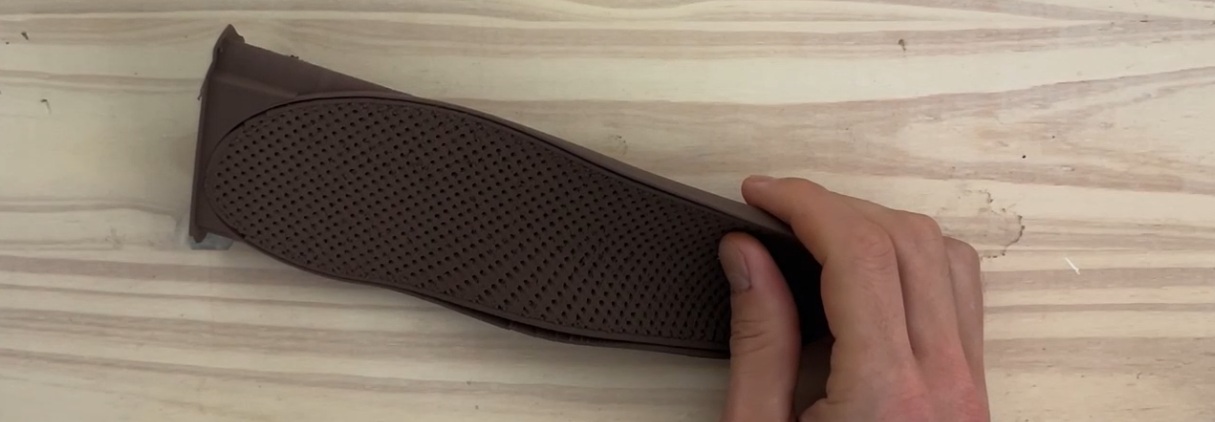
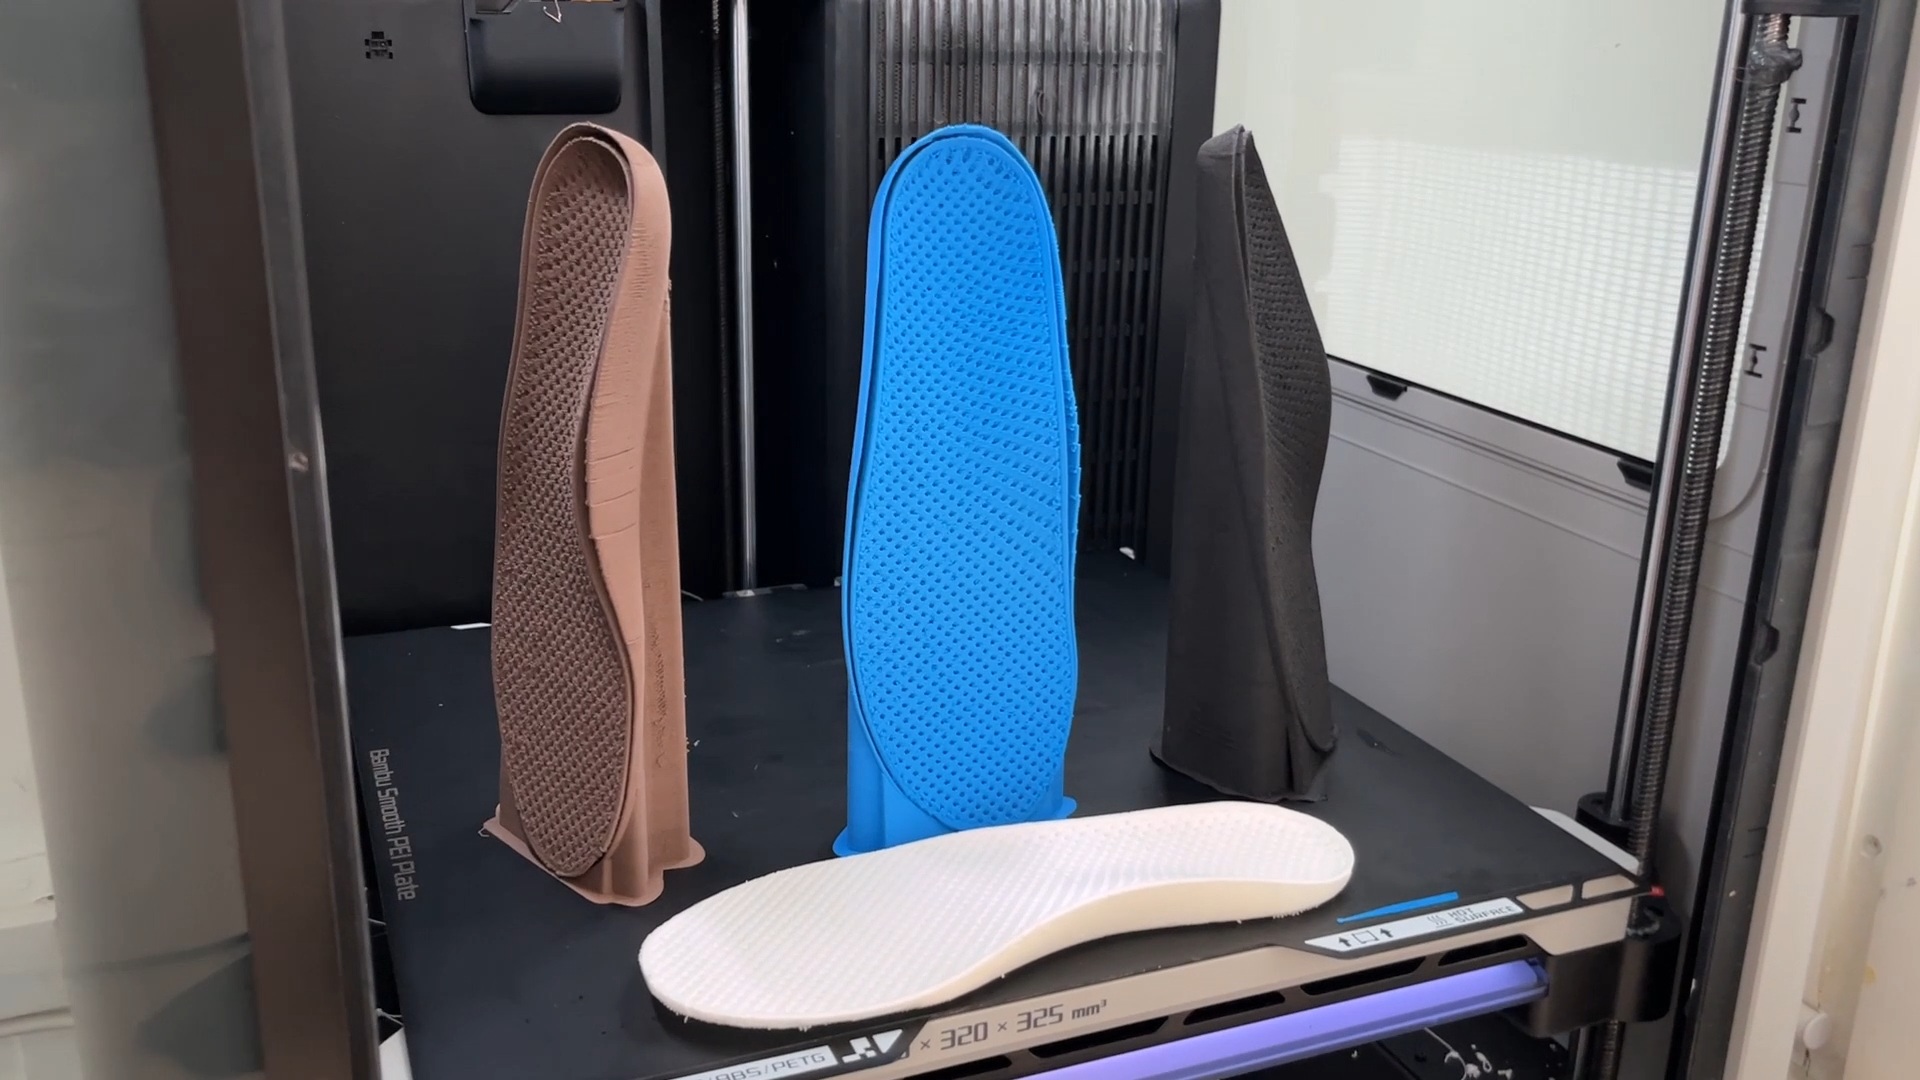
In a previous post I demonstrated how foaming TPU can be used to 3D print an insole. The resulting feel of the insole was a huge step up from common 95A TPU insoles. The foaming TPU gives more of a canvas or neoprene feel. Plus you can print it quite fast relative to the softness achieved, as it only becomes soft after exiting the extruder. But where it still fell short was breathability. This is something I addressed with the latest 3D printed shoe design I worked on. The solution was quite simple; I just didn’t print any perimeters for certain regions, exposing the permeable infill pattern. This got me thinking that a solution like this could work with insoles too. So that’s what I’ve done in this latest iteration.
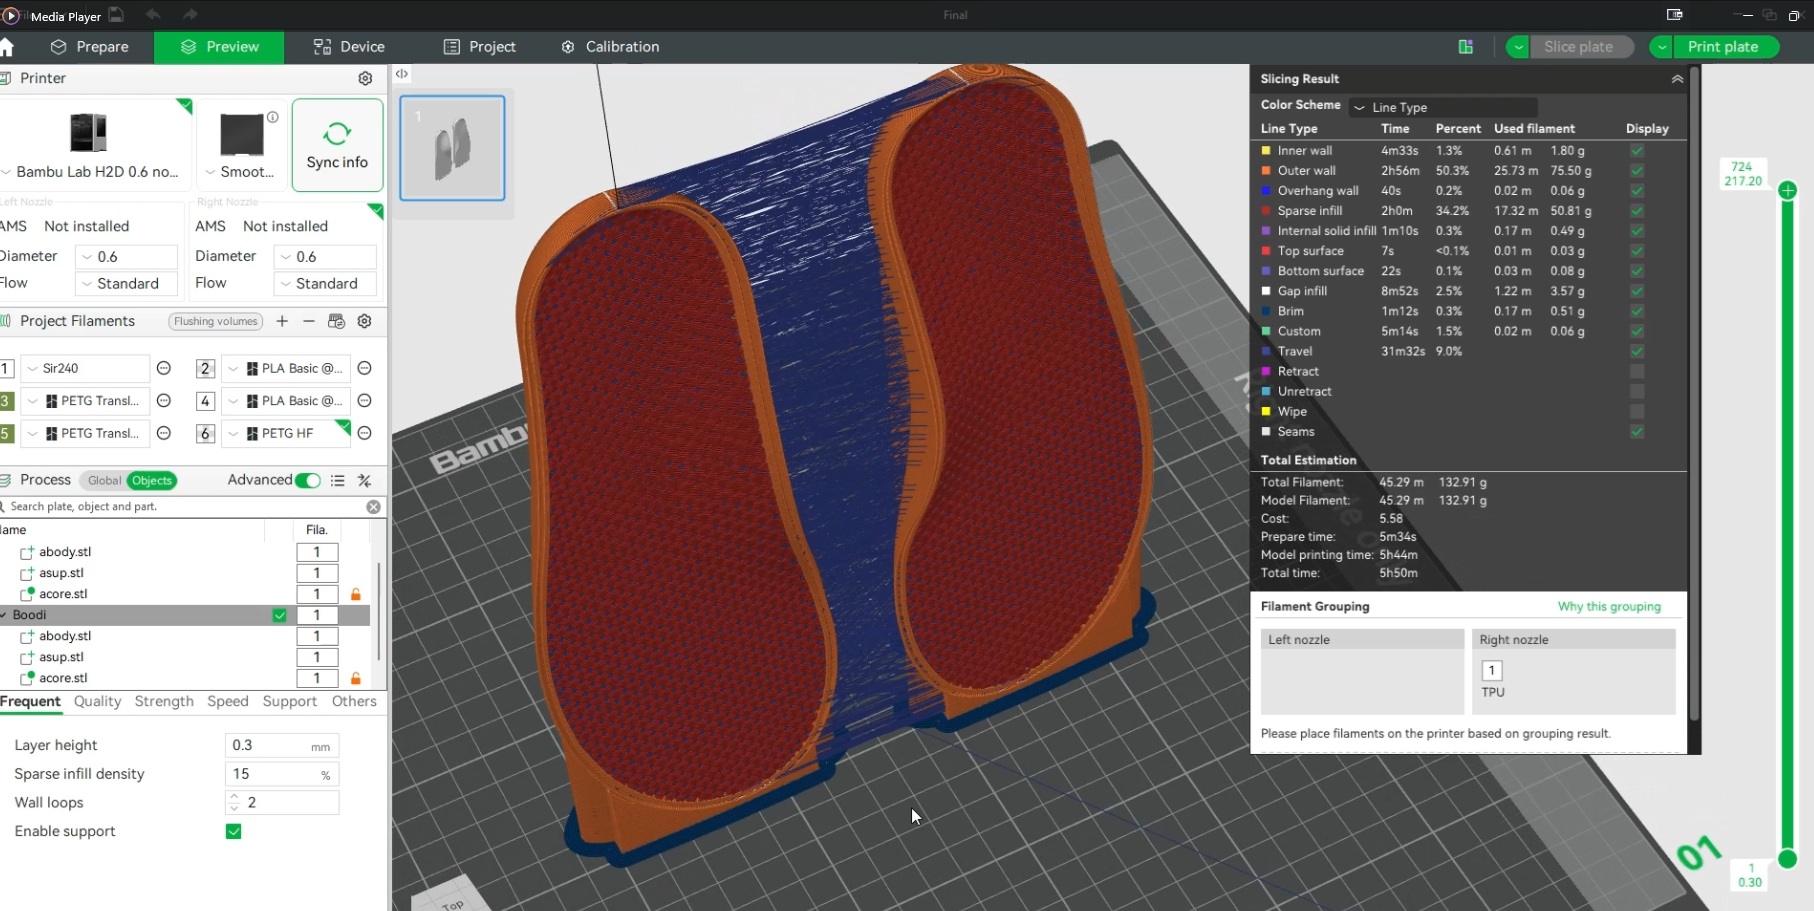
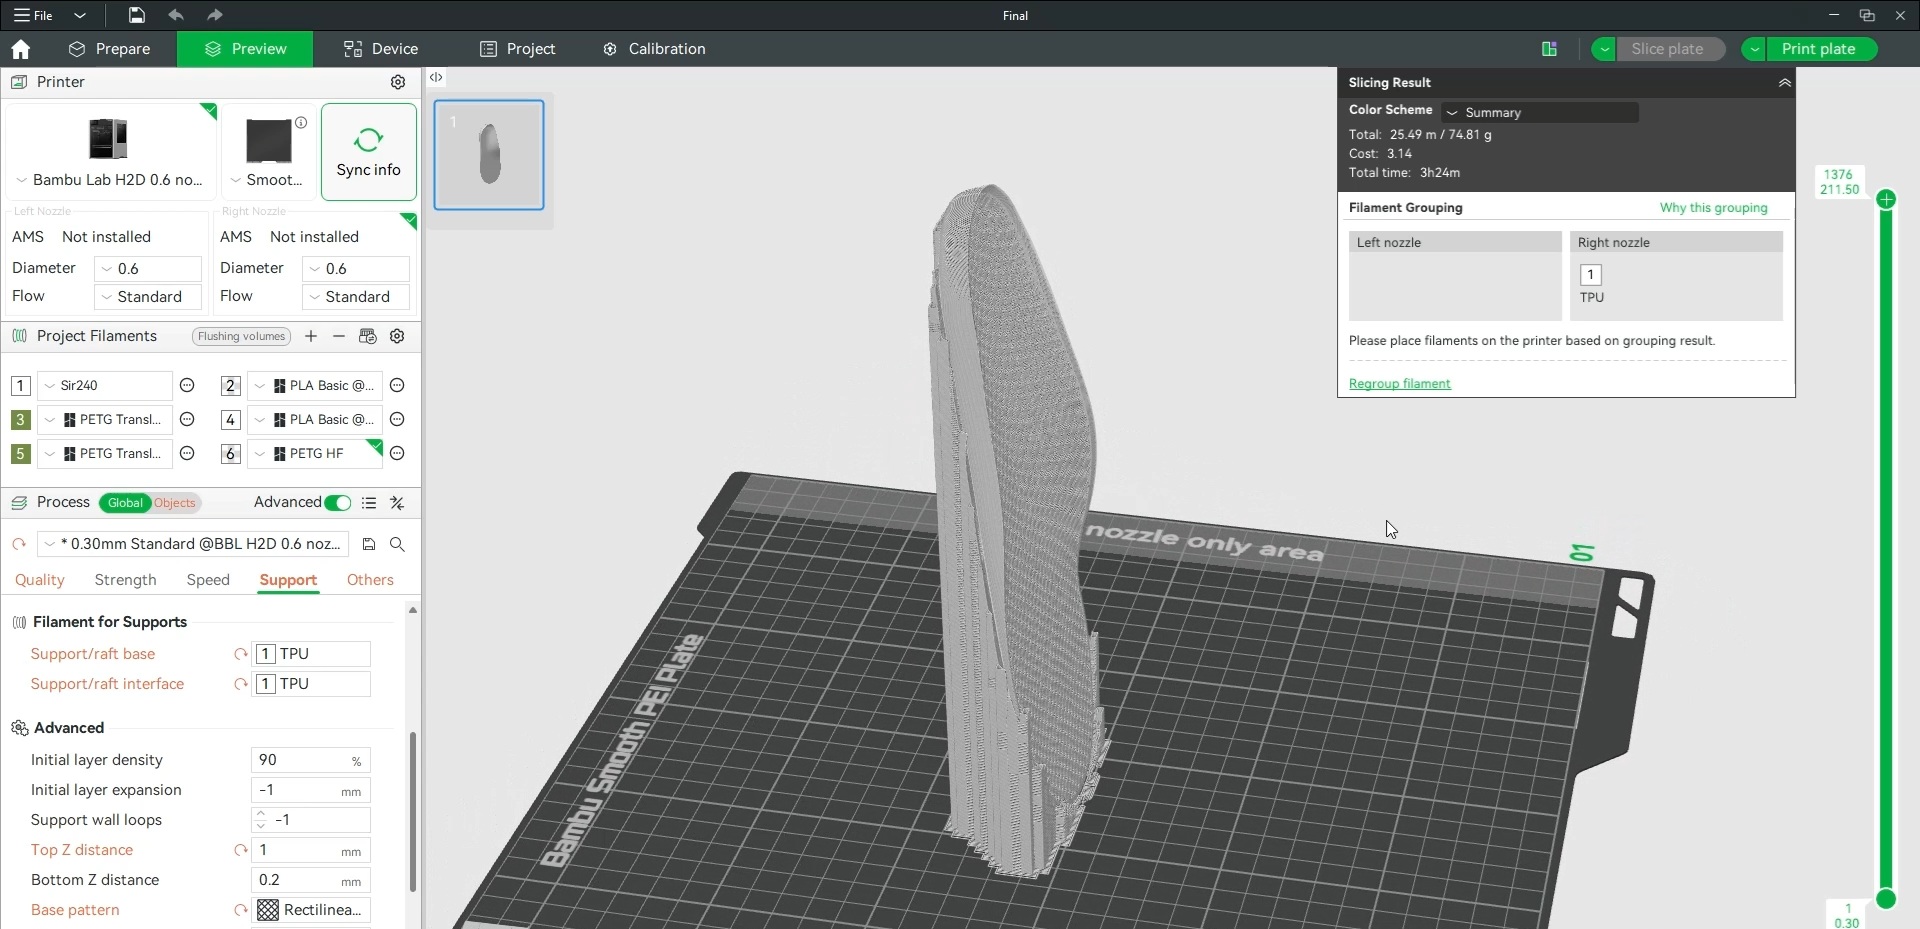
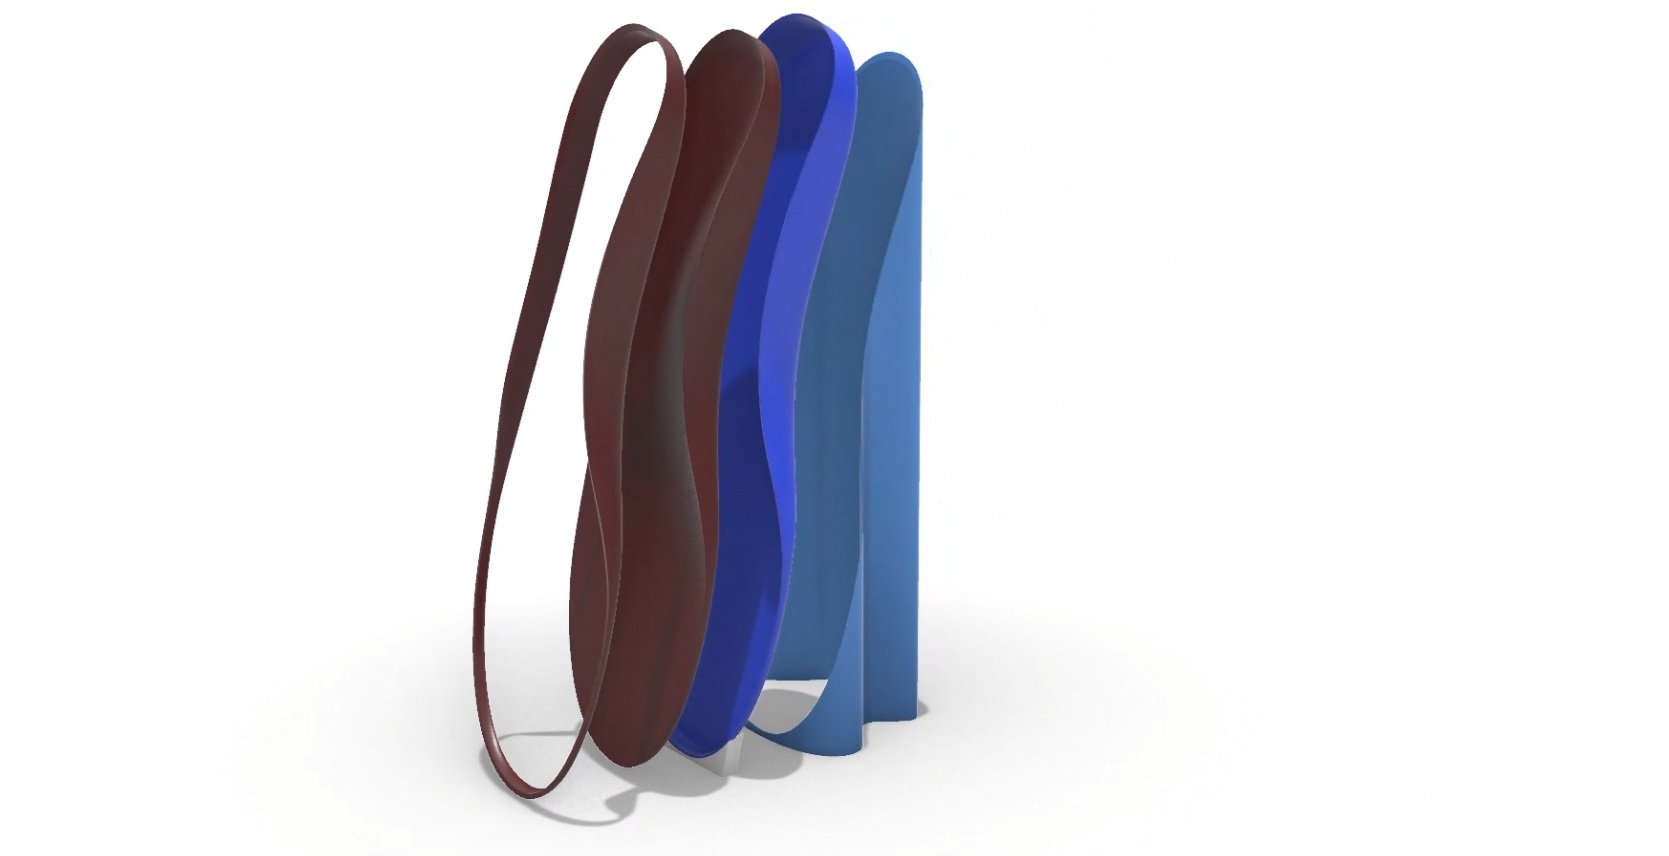
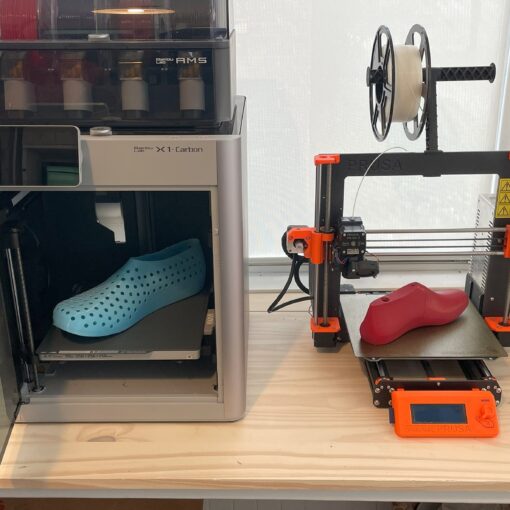
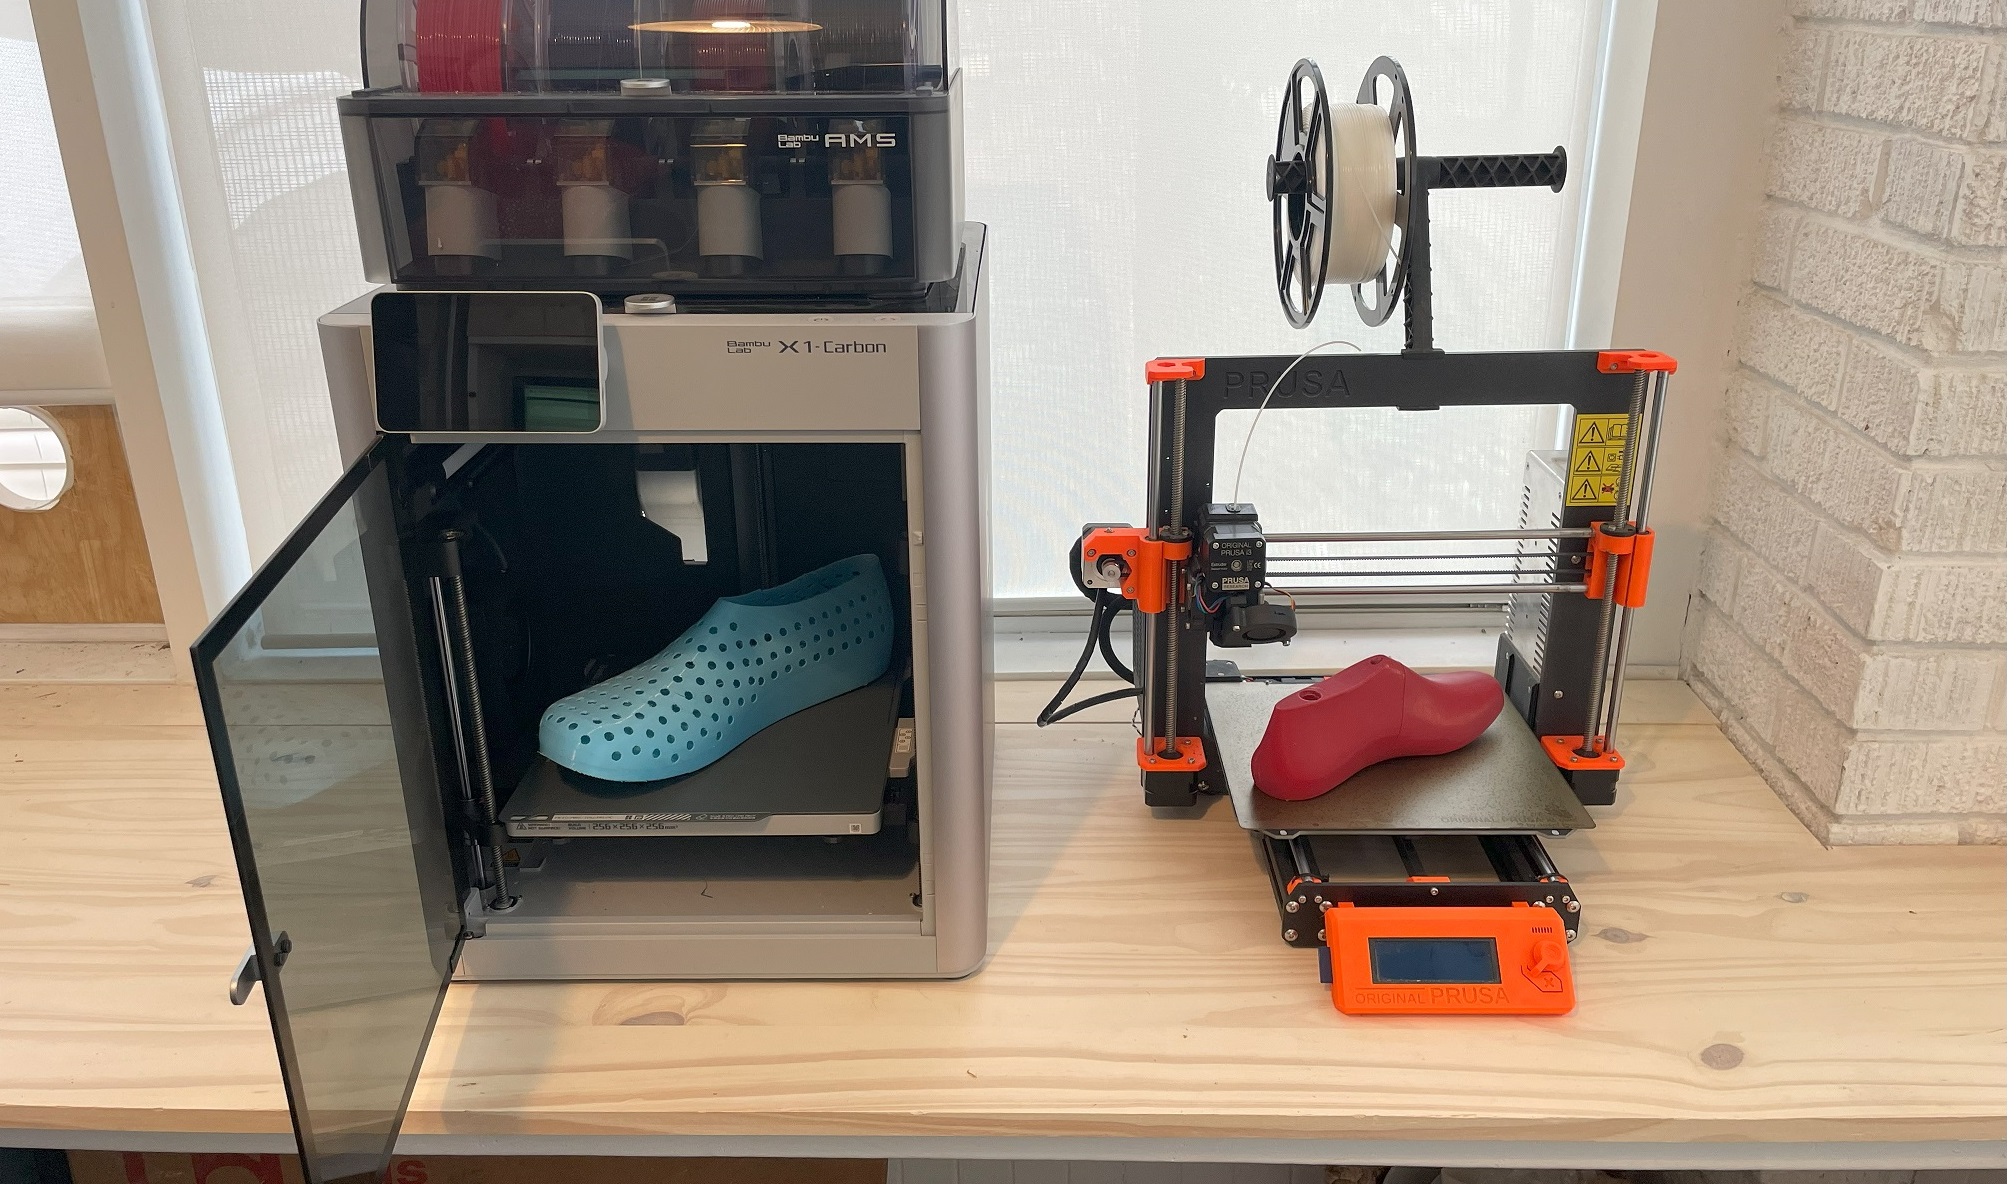
As far as orientation, I’ve found the best results come from printing nearly vertically. This reduces striations and also islands, which should be avoided with such a stringy filament as foaming TPU. And the exposed infill works out best in this orientation too. Also, with nearly all surface regions oriented more than 45 degrees from horizontal, overhangs don’t necessitate support material. But, given how floppy such a thin and soft part is, supports are still needed for stability. The problem is that supports from TPU, particularly foaming TPU, can be hard to remove. This is one of the reasons I picked up a Bambulab H2D; with dual nozzles it can print a separate support material, such as PLA. This works reasonably well. But there are some downsides. The prime tower, which I have found to be essential, takes extra time and material to build. And given the mixed materials, recycling would be much more difficult. On top of that, most common 3D printers out there are still just single nozzle, making this approach somewhat inaccessible.
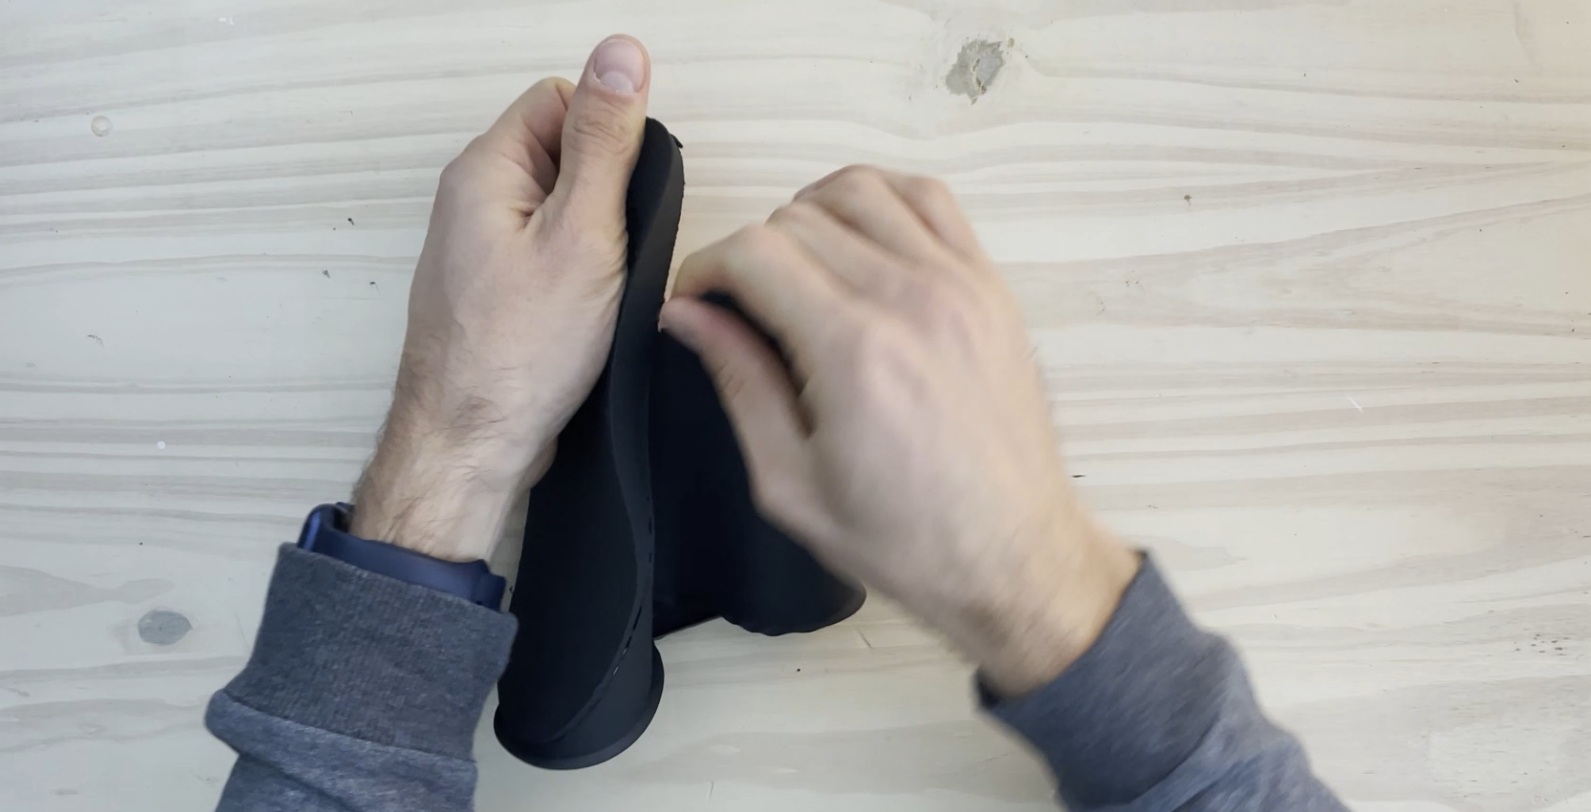
The alternative solution I previously demonstrated was a kind of tearaway skirt support. In theory, this is a great solution, one that prints fast with low waste that is potentially recyclable, and only requires a single nozzle printer. But it lacked reliability. Mainly, getting a clean tear wasn’t always possible. And travels could still leave a fair bit stringing behind. The solution I’ve come up with for this latest iteration is to also print a casing support. It’s a kind of offset shell of the insole outer surface. It has enough of a clearance gap to ensure it doesn’t bond too strongly with the part itself, making for easy removal. A small section is also added to support the toe part of the casing, allowing for close to vertical printing. The casing also serves as a kind of shield from stringing that occurs from travels between multiple insoles in a single print. Overall, I’ve found this to be an excellent solution that checks all the boxes.
That being said, I do find some benefit to doing some post processing. Specifically, there can be spots where printed filament sticks up from the surface, creating a bit of roughness. But this is easily fixed by softening with a heat gun and applying pressure to smooth things down. A toaster oven could probably also work for more global heating up.
As far as slicer settings, the main thing with foaming TPU is to get the temperature and flow ratio right. Increasing the temperature increases the foaming, making the insole softer, but also requiring lower flow ratio so things don’t get overcrowded. Whatever foaming TPU you go with, the manufacturer should give the range. I’ll list my preferred material in the description to this post with preferred temp and flow ratio. As far as hardware, I like to print with a 0.6mm nozzle which allows for printing faster with a higher max volumetric speed, usually around 10mm3/s. I set the breathable core to have zero perimeters and top and bottom shell layers with 30% cross zag infill. Another less common setting I like to adjust is retraction, which I set to zero.
The 3D models themselves can be purchased on 3DShoemaker.com via the Designs/Insoles drop down. You can choose whatever size you want in the various common sizing systems. Or, if you are a shoemaker purchasing a shoe last, you can have it designed to fit that. Then in the Supports and Modifiers section of the ordering form, you can choose to include Smart Supports and the Breathable Core. Then there is also the Top Cover modifier, though I haven’t done as much testing with that. Once you have the models, you just drag and drop these into your slicer. And for future designs, you can just use the replace stl feature if your slicer has it. Also on the ordering form you’ll find various footbed customizations, such as arch height and a growing list of insole features. There is even a full bespoke to a foot model option. And don’t worry if you don’t get the right settings the first time; orders come with a free size and fit adjustment.
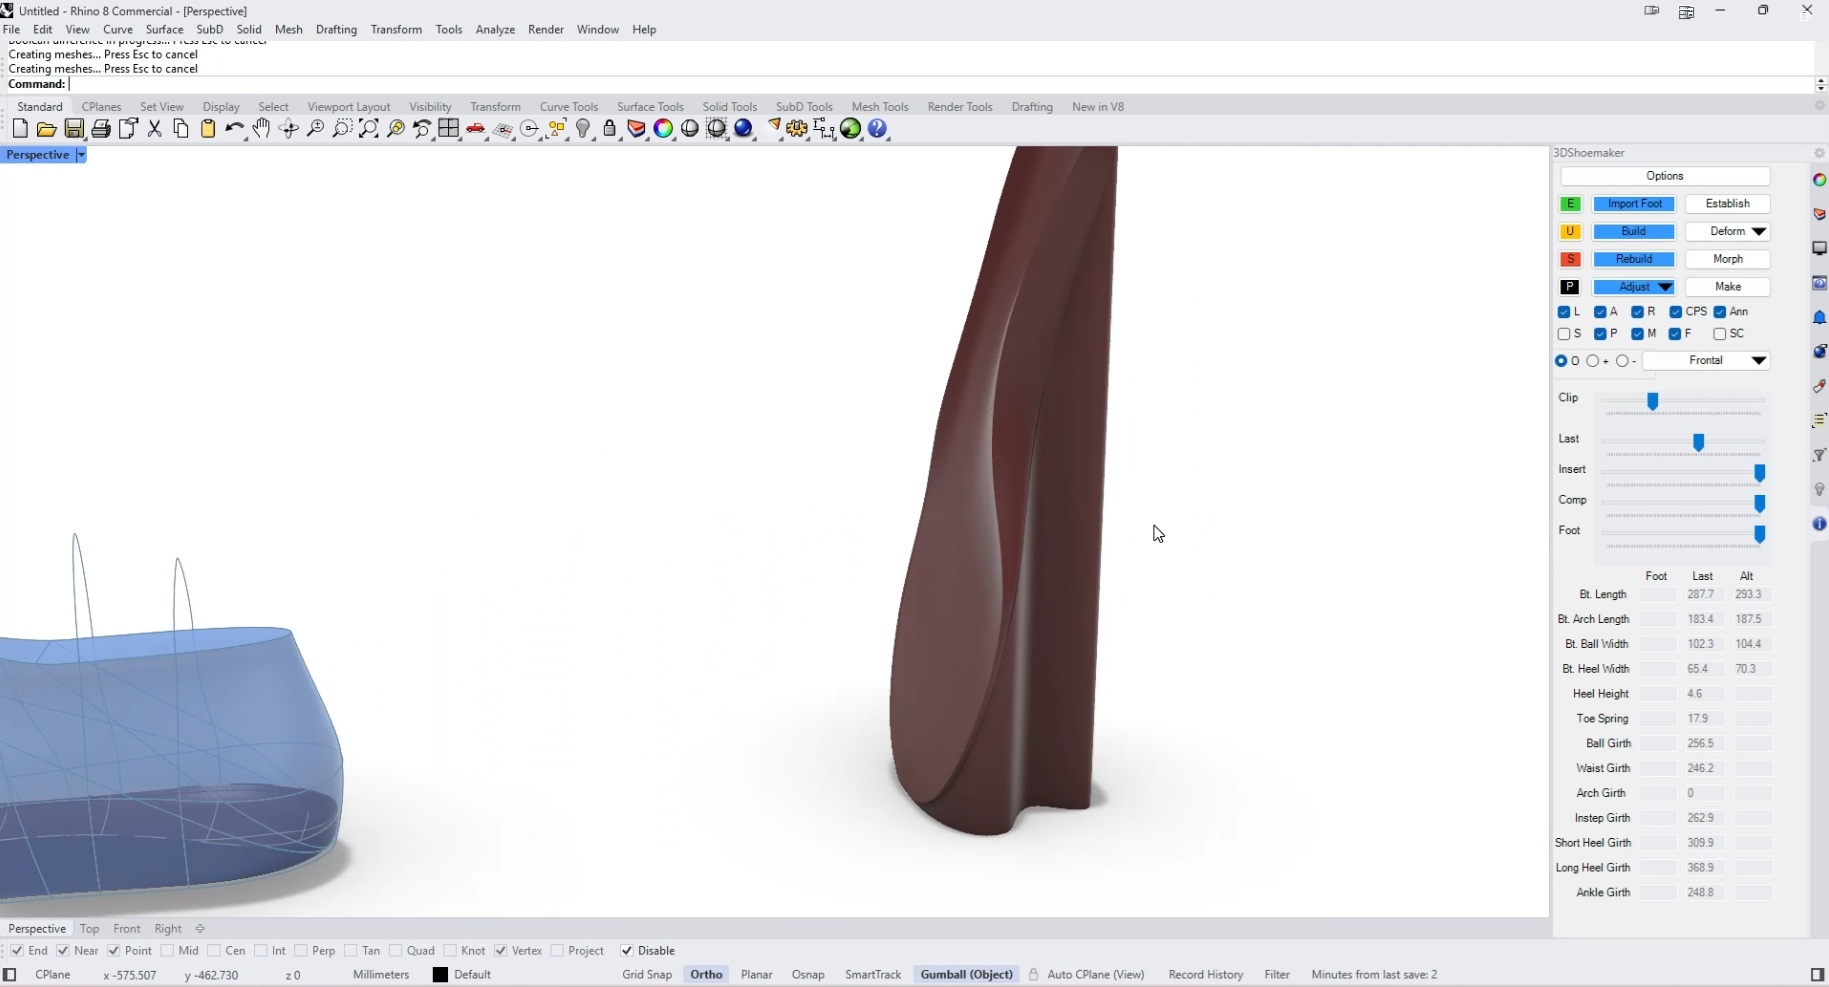
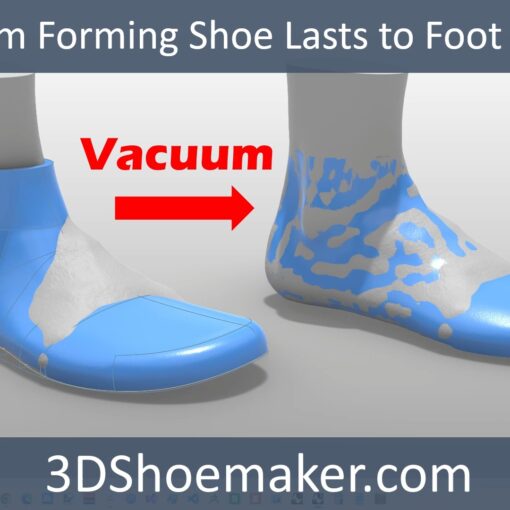
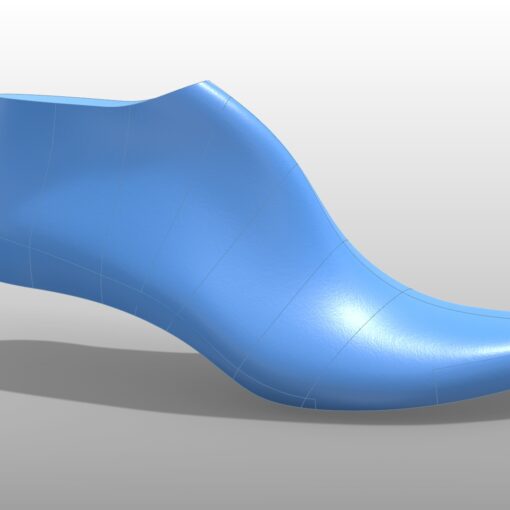
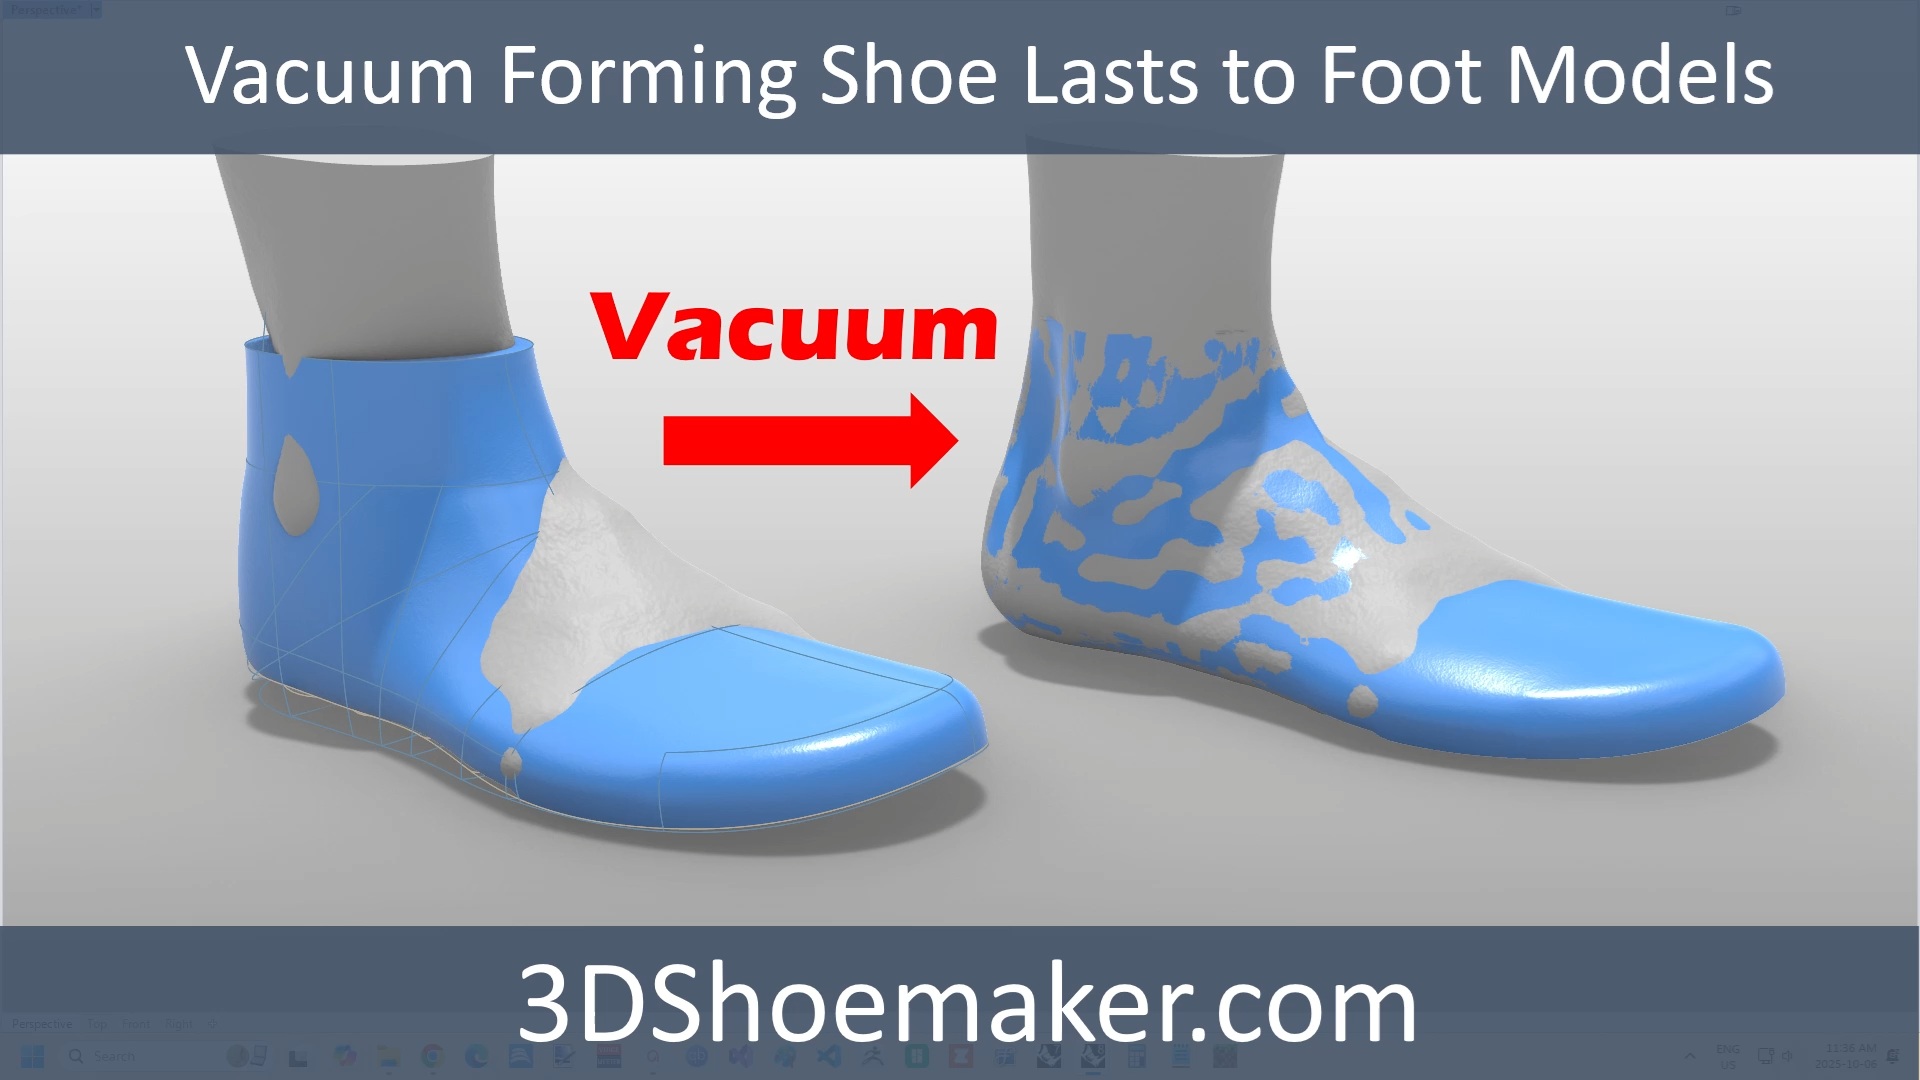
On the more technical side of things, insoles, modifier regions, and smart supports can be designed in the 3DShoemaker plugin for Rhino 3D, which is useful for more in depth use cases. To do this, you can build an insole as usual, and then on the Make Form Footbed tab, you choose to create the insole body, orient for 3D printing, and include the Smart Supports. Do check out some of my other posts to learn more about working with insoles, including vacuum forming to foot models.
Something you might have been wondering up to this point is how these 3D printed insoles compare to those typically made by labs. The main difference of course is that lab made insoles usually consist of multiple materials. While this comes at increased cost and complexity, it allows for better meeting of multiple requirements simultaneously. For instance, a rigid shell won’t deform with time, while a top layer like leather or poron will provide a smoother or softer interface. With a single material 3D printed insole, on the other hand, the material has to serve multiple purposes, none of which it will be quite as optimized for. In the case of foaming TPU, the body may collapse somewhat with time, and the top surface just isn’t as smooth as conventional coverings. The latter I personally don’t see as much of an issue, as it is actually the sock that directly interfaces with the plantar foot surface. And to address the compression issue, a higher infill in the body could be used. Furthermore, there is also the possibility of reducing temperature in that region to reduce TPU foaming, yielding a stiffer body that won’t collapse as much with use. But that’s a more advanced function I hope to figure out in the future. Regardless, I personally feel these could be a viable alternative to more conventional insoles. There are just so many benefits of making insoles this way, like automation, enhanced recyclability, and just how easy they are to 3D print.
The cost and time to print these insoles will of course depend on many factors, such as the size, flow ratio, and infill density. And material costs can vary and speed hasn’t been fully optimized yet. But to give a rough idea, I would say that an average size pair costs around $10 in material and takes less than half a day to 3D print. That print time may sound long, but time frames like this are common in 3D printing and the reason 3D printer companies put so much development effort into printer farm management.
This update has been a long time in the making, and I’ve been excited to share it here on the 3DShoemaker blog. If you have any feedback or suggestions at all, I’d be grateful to know. That’s all for this update. If you found it interesting, please subscribe. Thanks for reading.
