In this 3DShoemaker post, I’m going to introduce the Cyber Clog, my second fully customizable 3D printable shoe design. I’ll also get into variable infill densities.
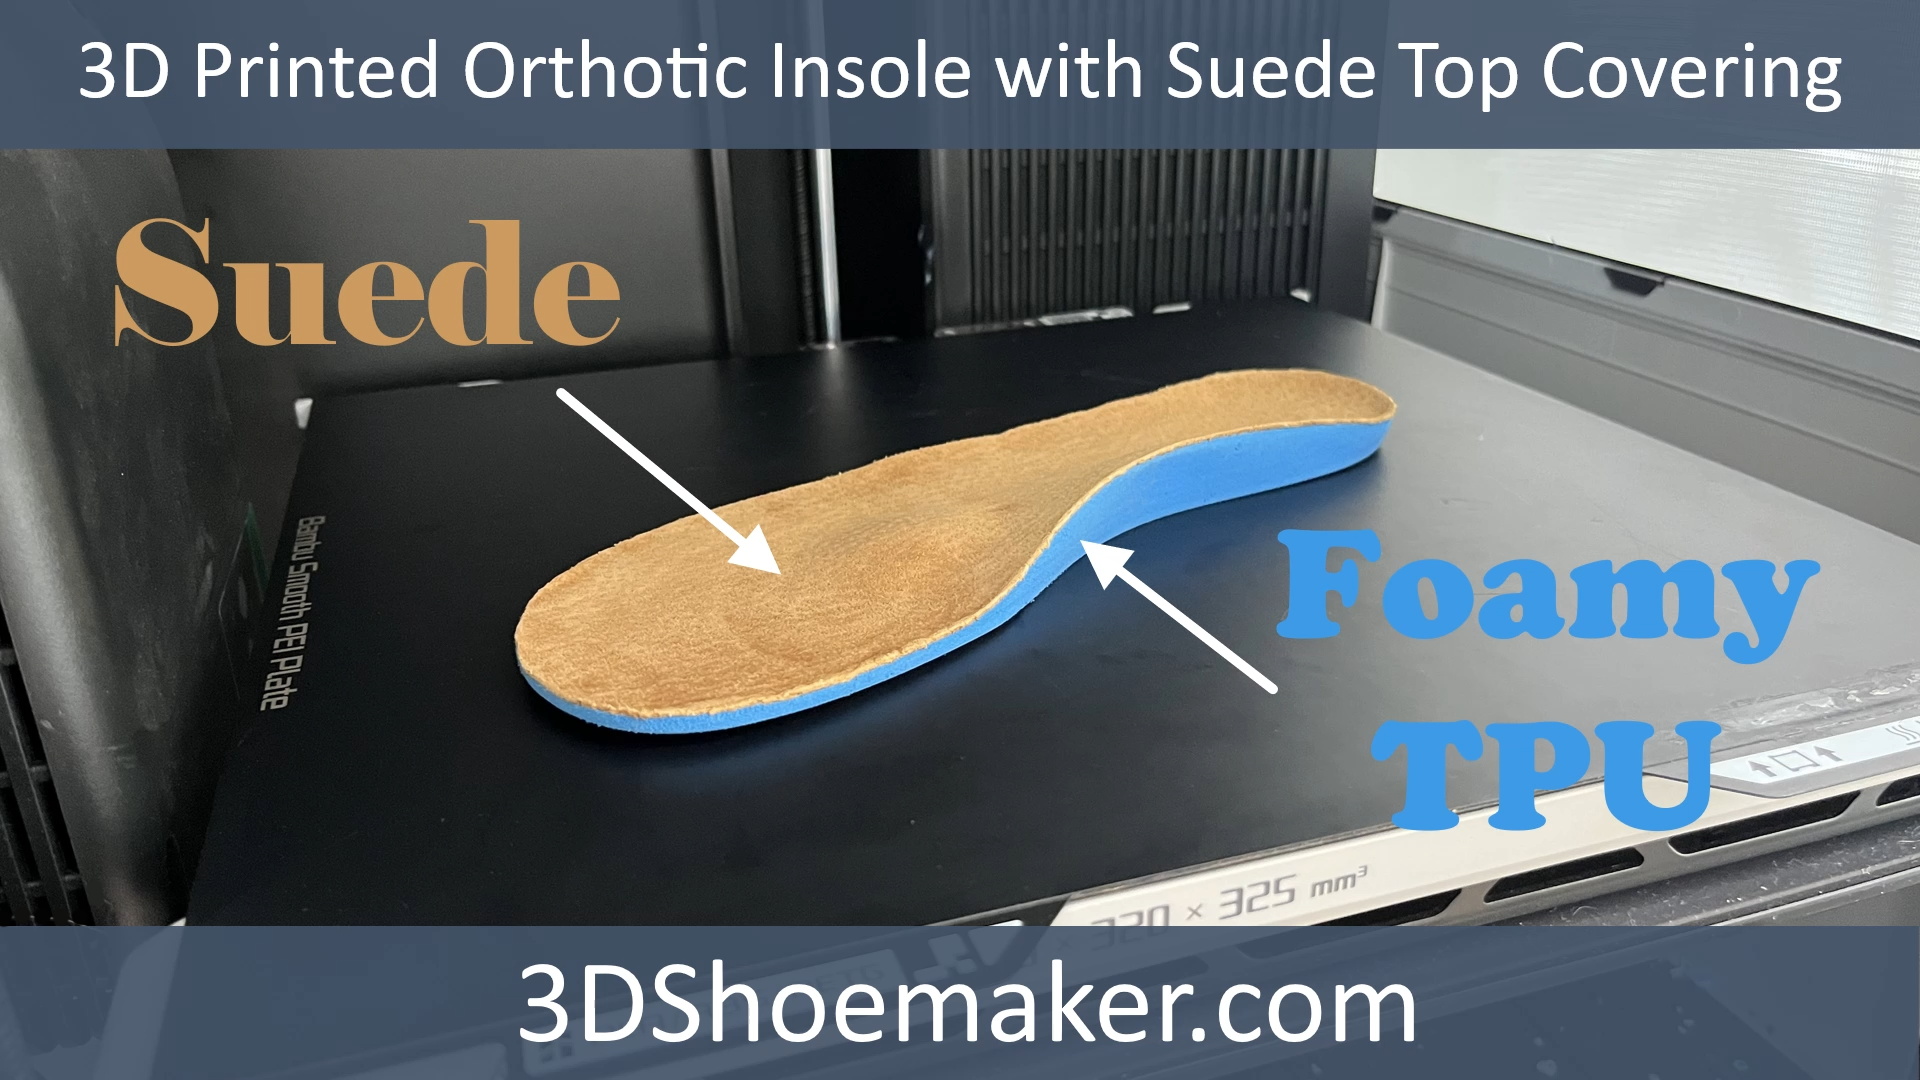
In an earlier post, I introduced the first 3D printed shoes I’ve developed that I actually really like wearing. The key was the degree of customization and the foamy TPU I printed with. I made it available on 3DShoemaker.com so anyone could order a customizable 3D model. I recommend checking out that post if you haven’t yet as I get into detail about 3D printing shoes in general. Now it’s time to get a bit fancier, showing how 3D printed shoes can yield geometries beyond conventional footwear. And given we’re fully embracing digital means, might as well go for a Cyber Clog. The intentionally low poly appearance harkens to a certain vehicle we’re all becoming familiar with. It will for sure stand out in a crowd.

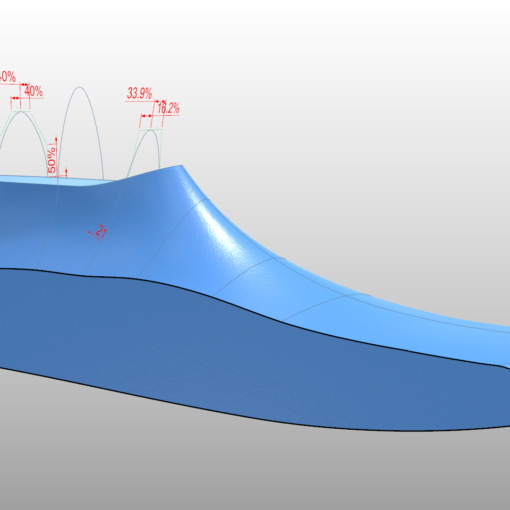
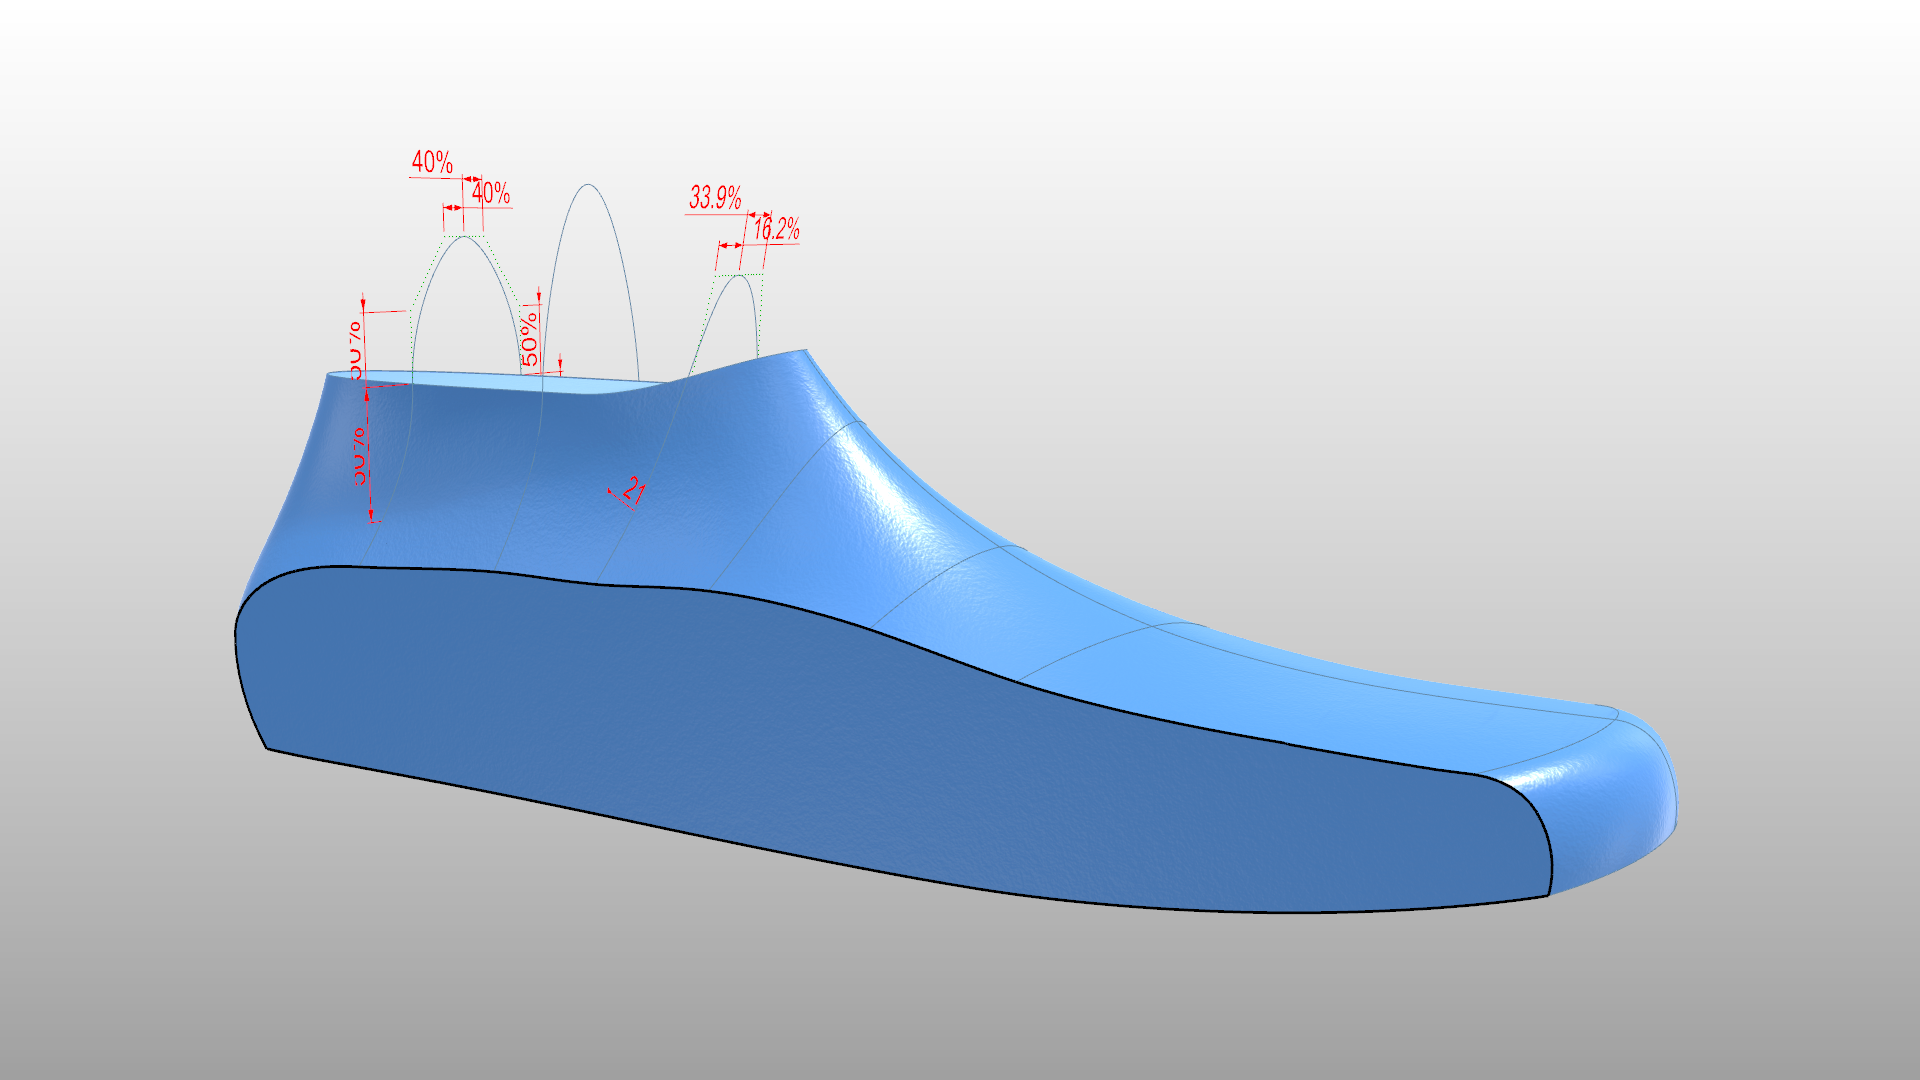
One of the challenges with this design is the high amount of volume that is simply for aesthetics. If printed with the same infill as the rest of the shoe, then the weight of the shoes will go up unnecessarily, along with the print time and cost. It’s really not that big of an issue, but if you really want to take things to the next level, then the solution is to reduce the infill for aesthetic sections of the shoe. This can be done by selecting the option for Separate Bodies in the ordering form. How you import these will depend on your slicer. If you are using Bambu Studio, as I am, then you import them all at the same time and say yes when prompted whether you want to import as multiple parts. Then in the side panel you can set different infills for different parts. I like to go with 5% for the overall shoe which will include the aesthetics regions, and then drop down to 15% for the Core Geometry, and 100% for the Outsole. If there is any need, I could add in the option to order other bodies, such as the footbed itself.

My seven year old son has been a big help in developing these Cyber Clogs. His enthusiasm for a cyber design has motivated me and he’s been a great tester, providing crucial feedback on the design and fit. The right side shoe you see him wearing here is a bit hacked up as he asked me to remove some of the side wall from the design for comfort purposes. The left shoe is the final design. It is a US Children’s size 3.5 and has been customized to have a high instep, which can be selected in the Fit Customization section of the ordering form.

One new additional feature I’ve added since my original 3D Printed Clogs post is the ability to adjust the ‘midsole’ thickness. This can now be done via the Design Adjustments section of the ordering form. So if you want to make some Platform Cyber Clogs, that can be done!

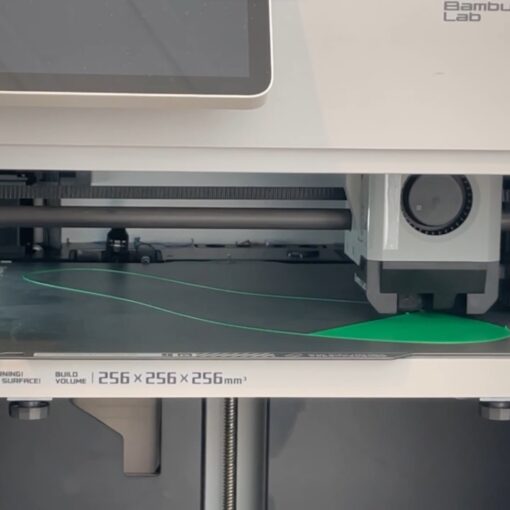
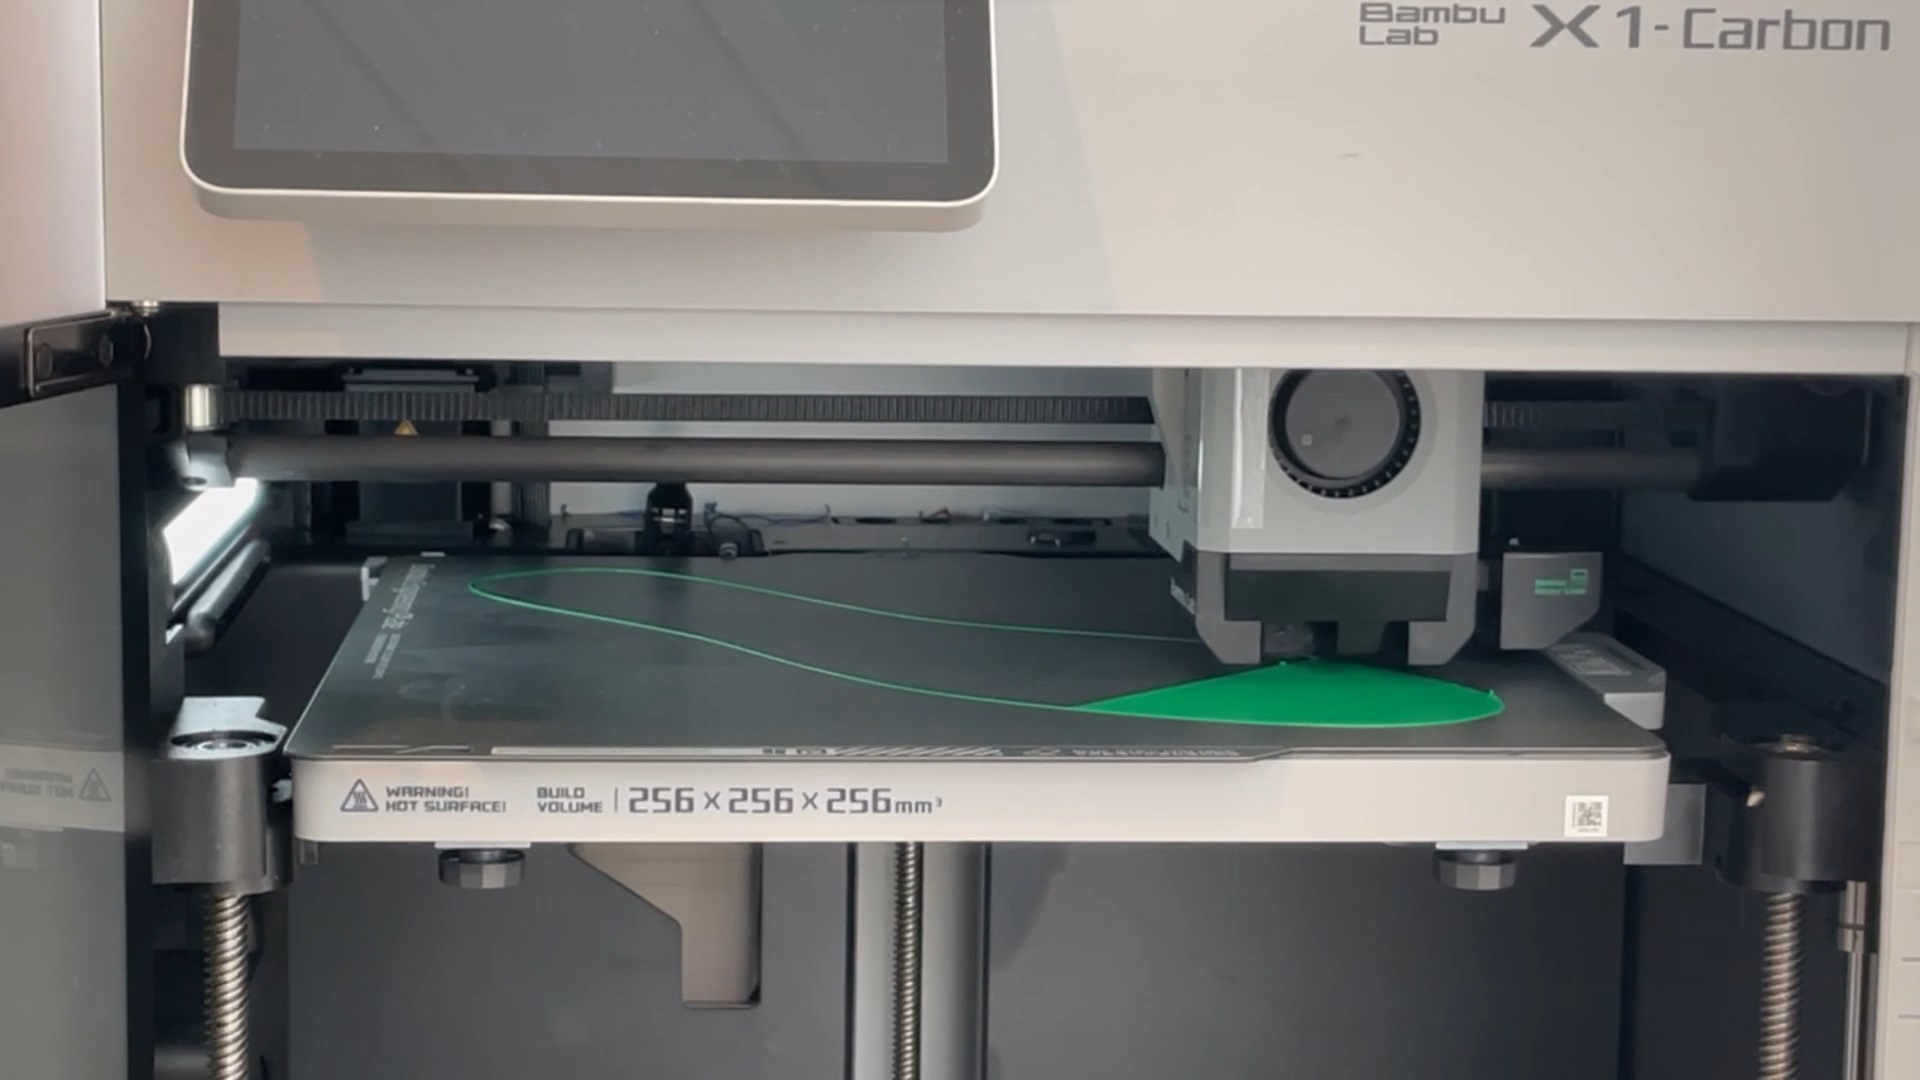
As I mentioned earlier, I went into detail on print settings on my original 3D Printed Clog post, including for the foaming TPU. One thing I tried different for the first Cyber Clog I 3D printed was going with a vertical orientation with the toe pointing upwards. This made sense for the Cyber Clog given the flat back surface. And it did turn out fairly decent, with the only overhang issue happening just a bit at the top of the instep. But a new issue that came up was the part got less stable the taller it got. The soft foamy material started to flex and this affected print quality. And there is also the issue that larger shoe sizes won’t fit on average desktop 3D printers in this orientation. For these reason, I suggest keeping with the forty five degree orientation and using the Support Plate option to reduce the amount of support material required.
That’s all for this 3DShoemaker post. If you have any feedback or suggestions on what I should make next, please let me know in the comments below. And if you found this post helpful, I hope you’ll like and subscribe to the 3DShoemaker channel and hit the bell for notifications of future videos. Thanks for watching.
