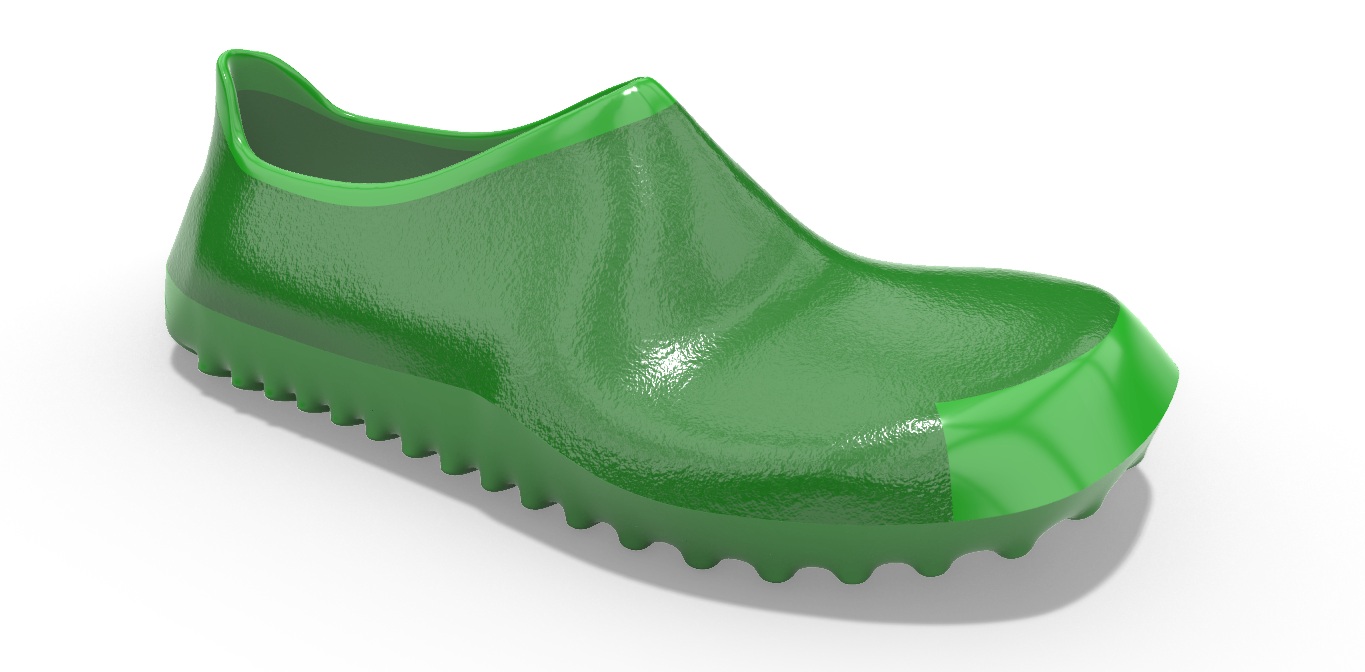
In my previous 3DShoemaker post, I introduced the latest 3D printed shoe model I’ve been working on. The main improvement since earlier designs is the breathable upper. Both stl files and customizable 3DShoemaker models are available here. In this post, I’m going to show how I created the separate upper and other section bodies. Before that though, I’ll take a step back and go over the core shoe last and footbed geometries that I parametrically developed in the 3DShoemaker plugin for Rhino 3D as well as my SubD workflow for developing 3D printed shoe geometries. Finally, I’ll show how the Morph feature in 3DShoemaker can be used to map a 3D printable shoe model from a base shoe last to a custom shoe last, thereby achieving a custom fit.
-
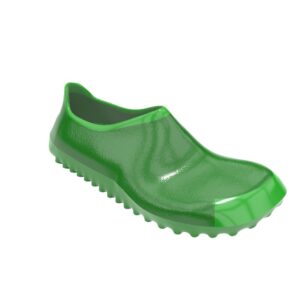
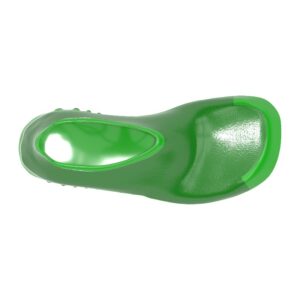
3D Printed Comfort Shoe – 3D Model
Select options This product has multiple variants. The options may be chosen on the product page
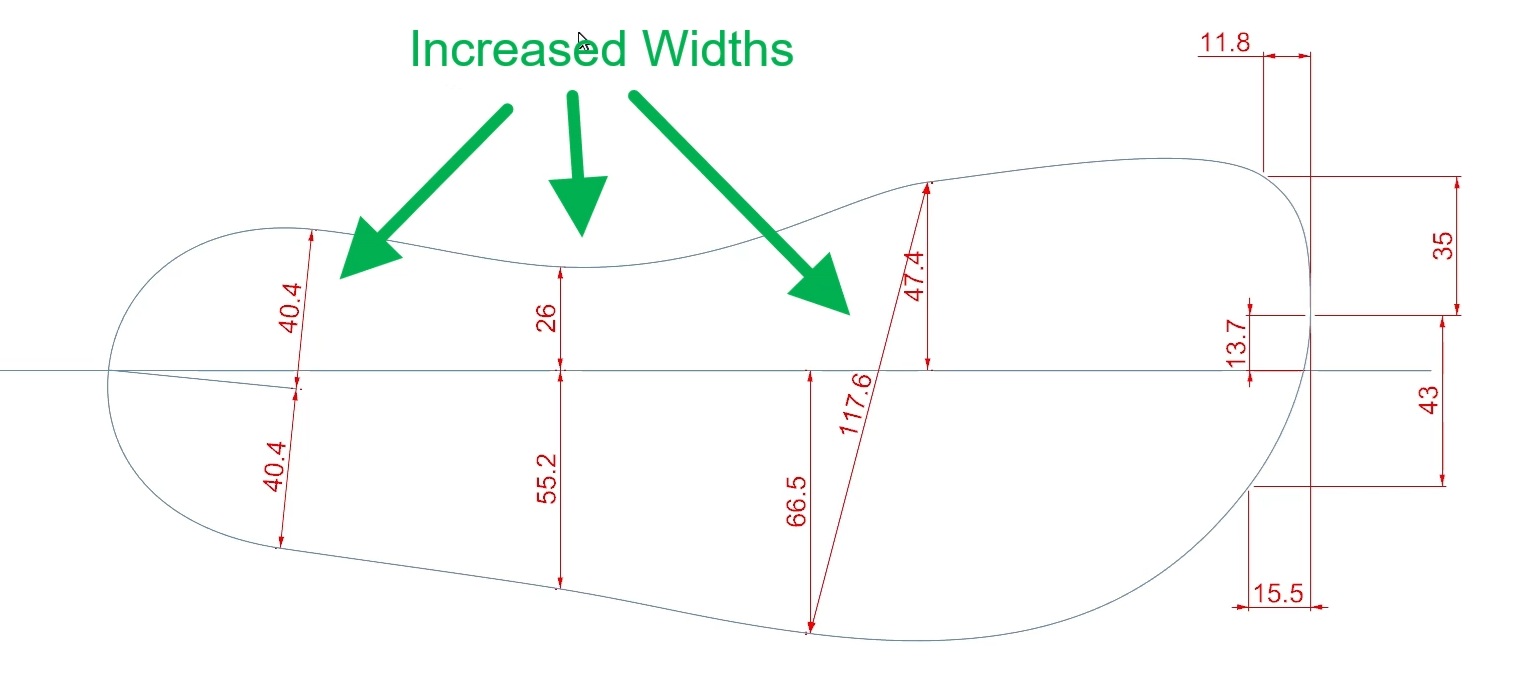
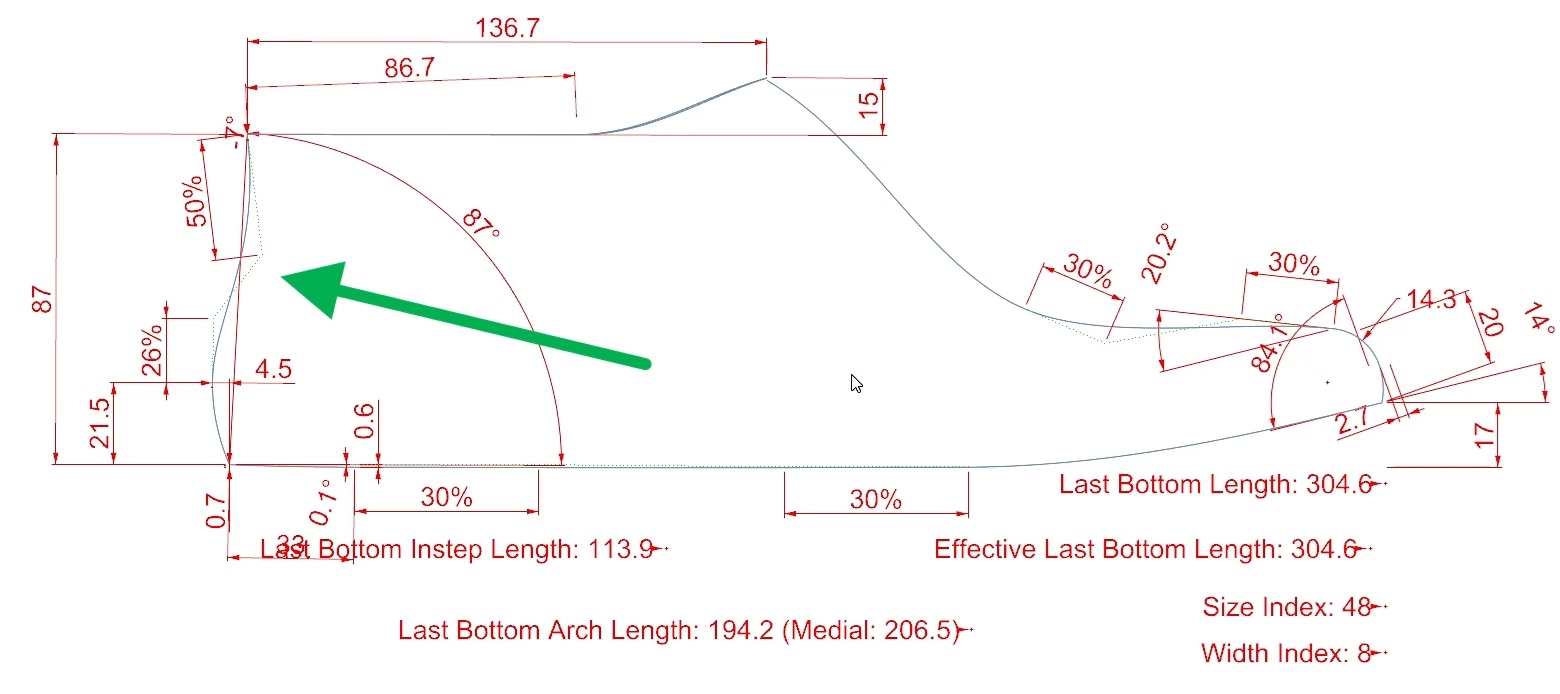
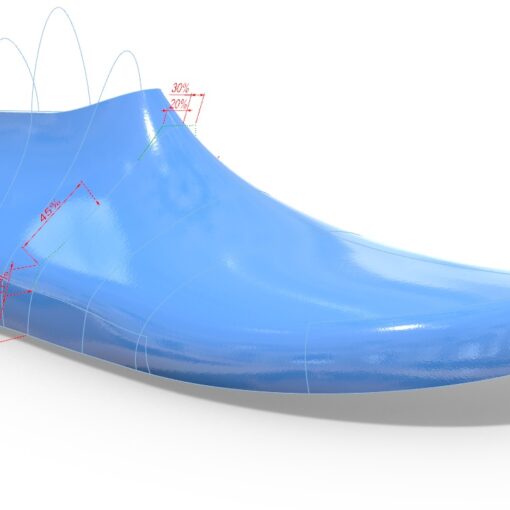
As I’ve previously demonstrated, the core shoe last and footbed geometries can be parametrically developed from existing templates in the 3DShoemaker plugin for rhino. For this project, I used the Zero Drop Barefoot Shoe Last, a standard footbed template, and a component body to get started. Despite my anticipation of a more flexible upper, I figured that it would still be stiffer than convectional uppers, and so I made a few geometrical compensations. Firstly, I made it roomier by increasing the widths and girths. The instep girth also increased further given the aim for a slip-on fit. Secondly, I went with even more of a wide toe box shape. Thirdly, I made sure there was sufficient toe spring by adjusting the last and rocker by setting the component body material under the toe to be substantially less than that under the ball. This prevents too much buckling in the stiffer upper and also helps reduce sole flexion, which is an issue if less than perfect layer adhesion as achieved in the print. As far as the back part of the shoe last, the main change was to reverse the curvature more near the top of the back profile curve to reduce chafing on heel strike given the flexible midsole. In regards to the footbed, the main thing was to drop the arch height to low so as to accommodate most people reasonably well. This can of course be adjusted and customized to individual needs. Finally, I set the wall thickness of the Component body to be high enough so that the entirely of the shoe, including the outsole, would be encapsulated for the Morph process I’ll explain later.
In the Options Form, I turned on SubD, Trim Last by Footbed Surface, Remove Feather Edge, and Build Component Body. Then a Rebuild prepares all of the necessary core geometry, all in SubD format. In case you are unfamiliar with SubD, it is something like a cross between NURBS surface geometry and mesh or polysurface data. With SubD, geometries are described by multiple surfaces where there are rules ensuring curvature continuity across adjacent edges. This form of geometry lends itself well to organic continuous shapes, like shoe lasts and overall footwear envelopes. Control points or their underlying edit points can be manipulated without breaking the continuity of the underlying surfaces. The 3DShoemaker free form sculpting and vacuum forming tools I introduced previously rely on underling SubD geometry.
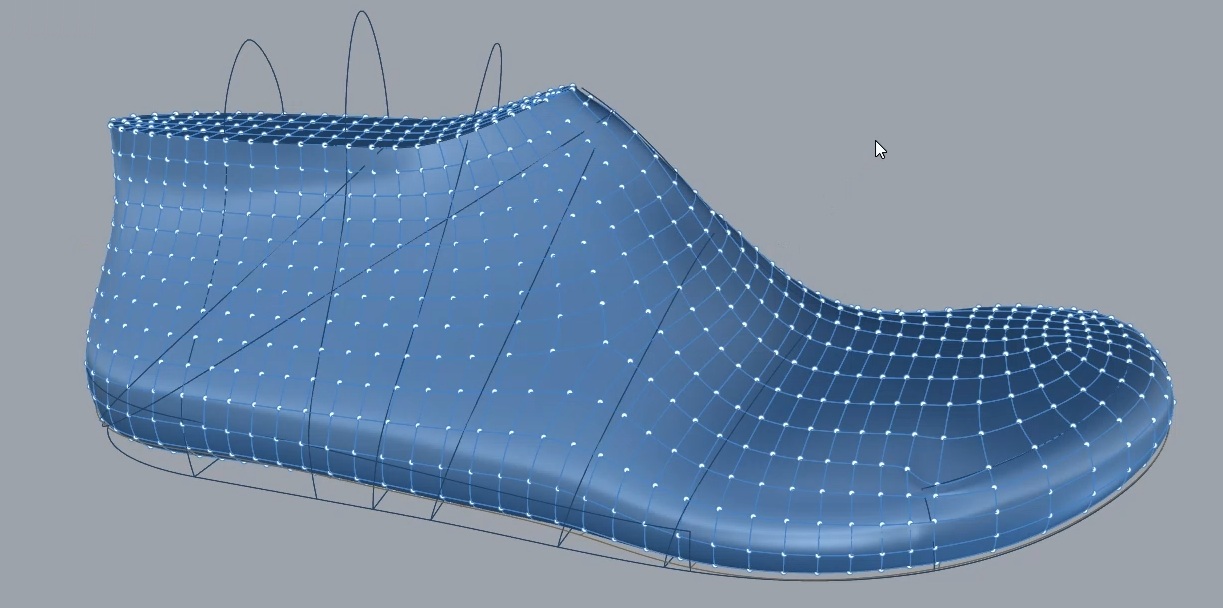
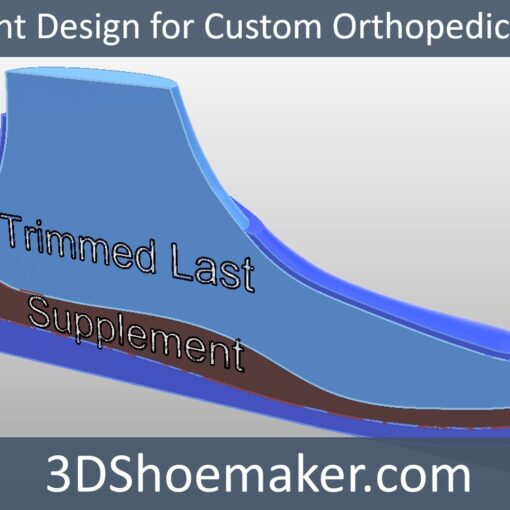
When designing a 3D printable shoe model, I simply start out with the 3DShoemaker core geometry SubD models. I offset the last to get the upper thickness. Then the bottom of this offset last gets trimmed away so that it can bridge into the lower part of the Component body. The top of the offset shoe last also gets trimmed away in order to achieve the collar geometry, which in this case is an athletic shape that snuggly holds the back of the foot while avoiding the malleoli. All of this gives me the outer shell of the shoe. To get the enclosed geometry, the non-offset shoe last can be trimmed, converted back to SubD and bridged. Creases can be left or removed depending on preference.
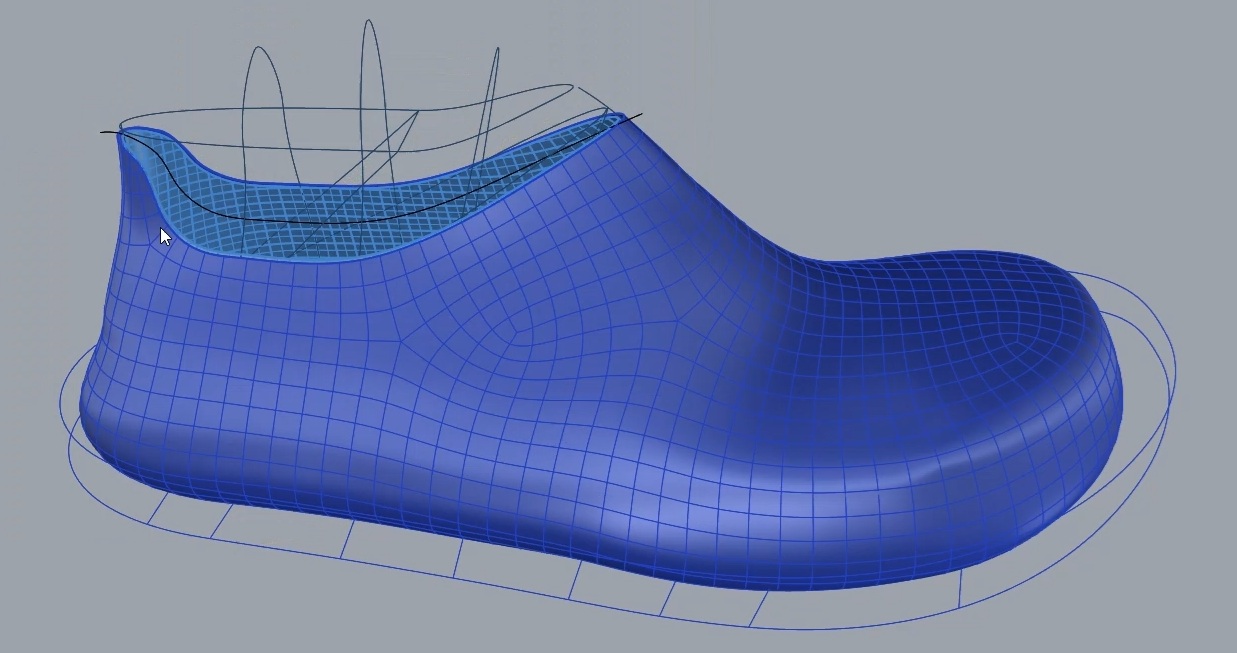
To add details to the design, including a tread, there’s really two different directions to take. You can continue sticking with SubD tools, which has the benefit of fast and forgiving editing. Or you can switch over to polysurface modeling, which lends itself more to highly detailed design work. For my Comfort Shoe, I stuck with SubD modeling, as I was going for a fairly simplistic design. In fact, I relied mostly on the natively generated edge loops to create my tread and also section partitions, such as for the Upper Section. The edge loops can of course be repositioned by QaudRemeshing and specifying alternative curves with Edge Loop Guidance.
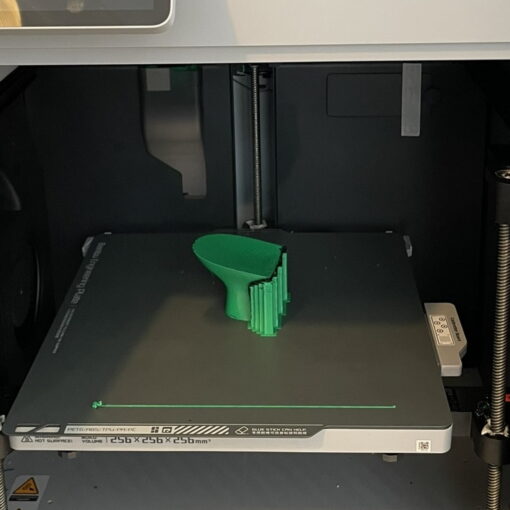
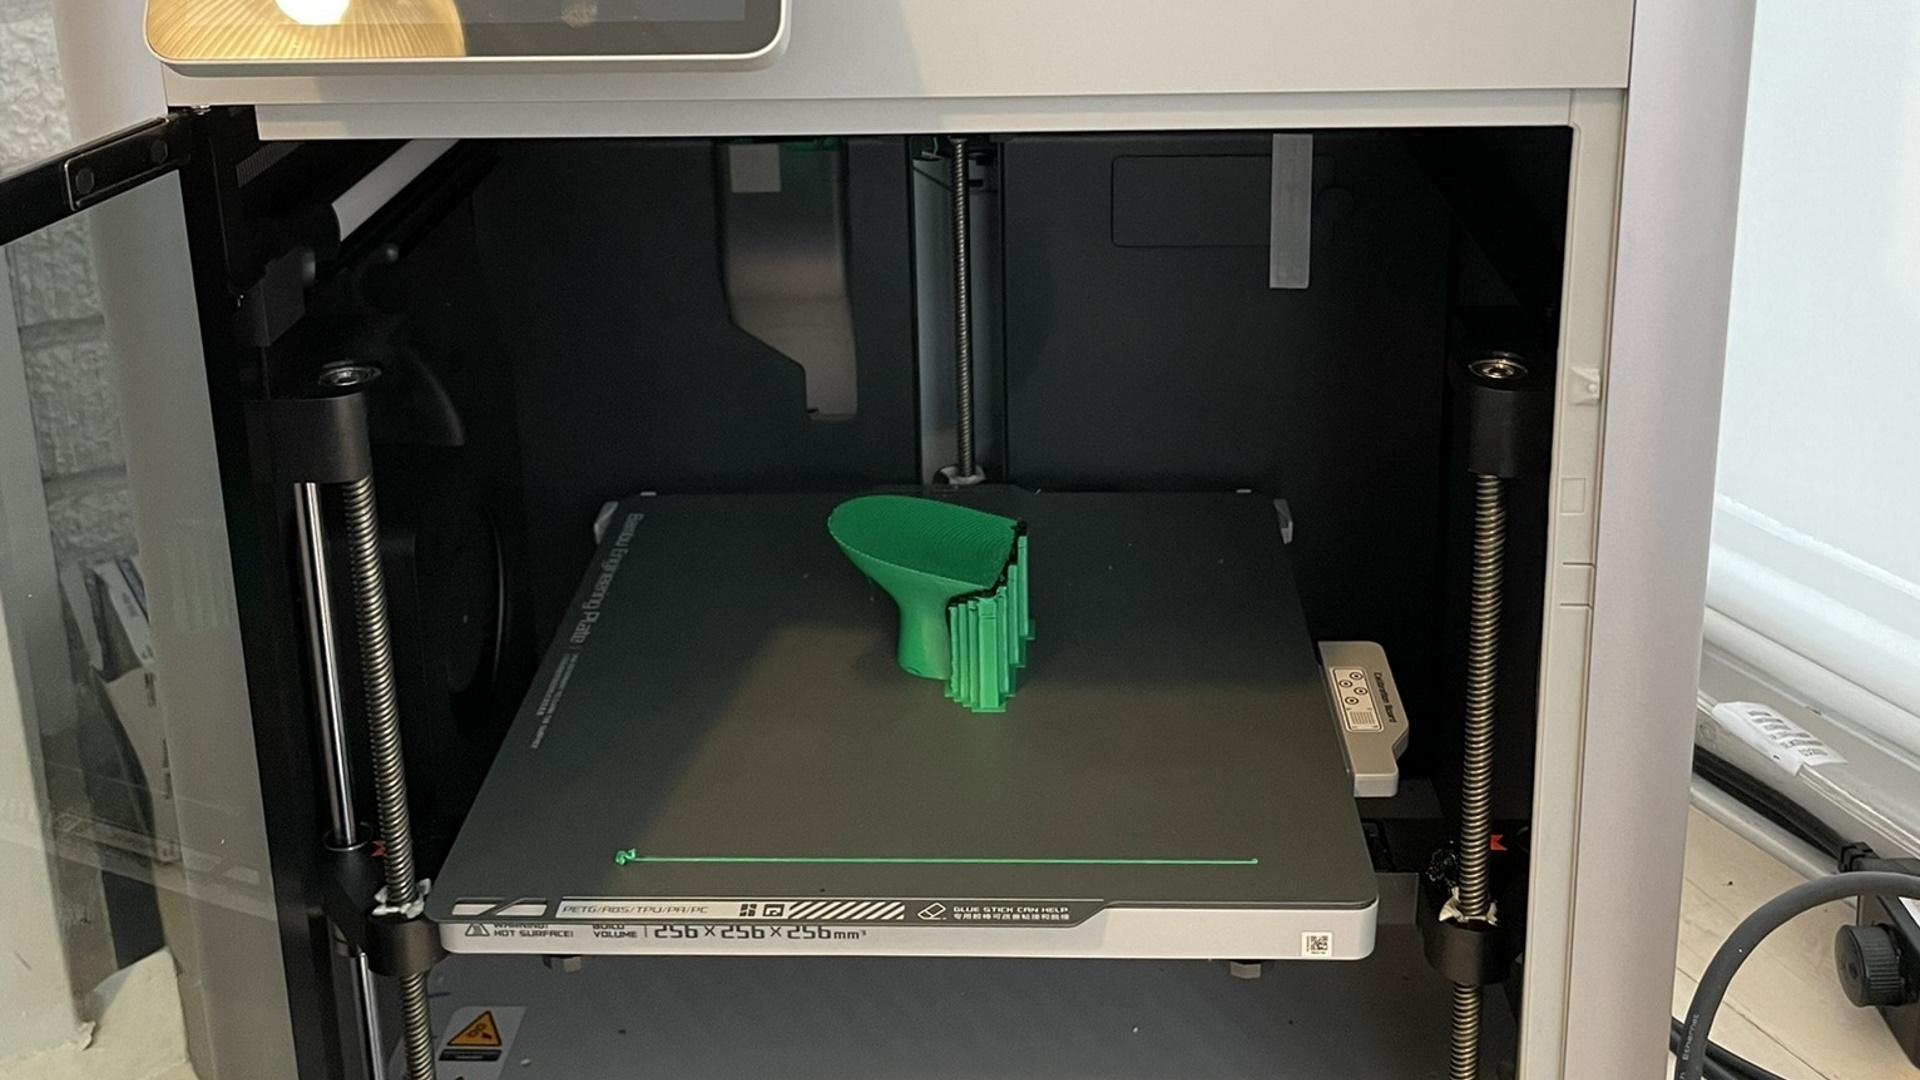
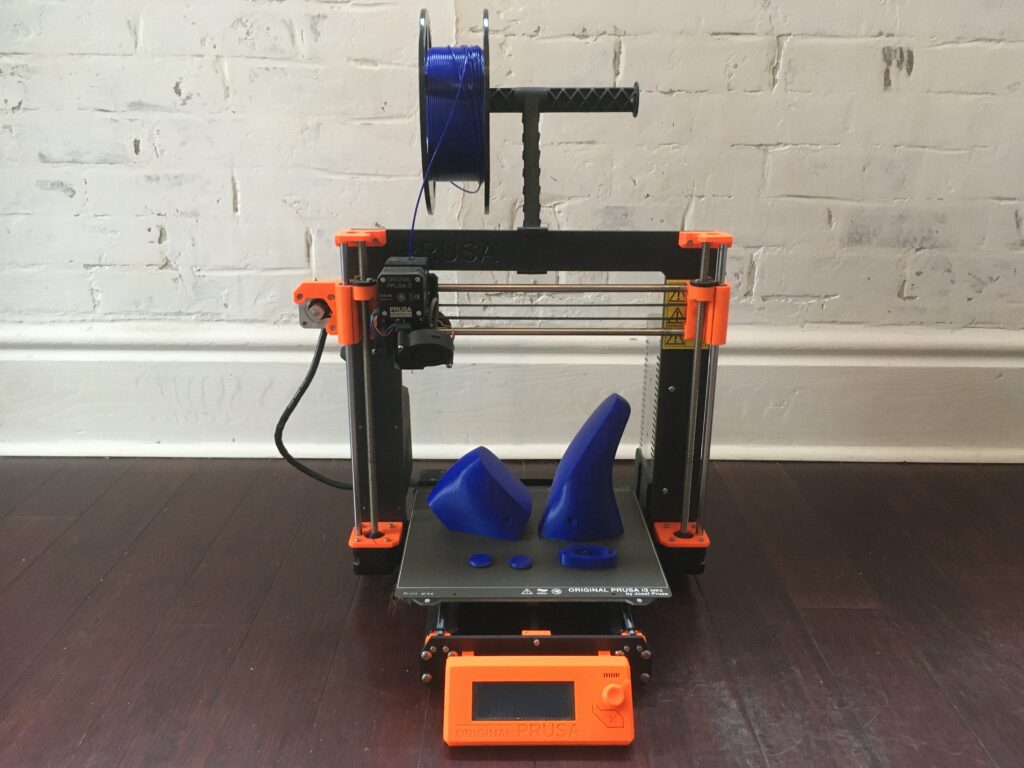
Regardless of whether you go with SubD or Polysurface modeling, the next step is to break the shoe geometry into different sections so that different infills can be set for the tread, upper etc. For this, I suggest extruding partition surfaces and using the Boolean split tool. Now you’ll end up with multiple individual closed polysurfaces for the various sections of the shoe. These can be exported as stl and imported into a Slicer for 3D printing.

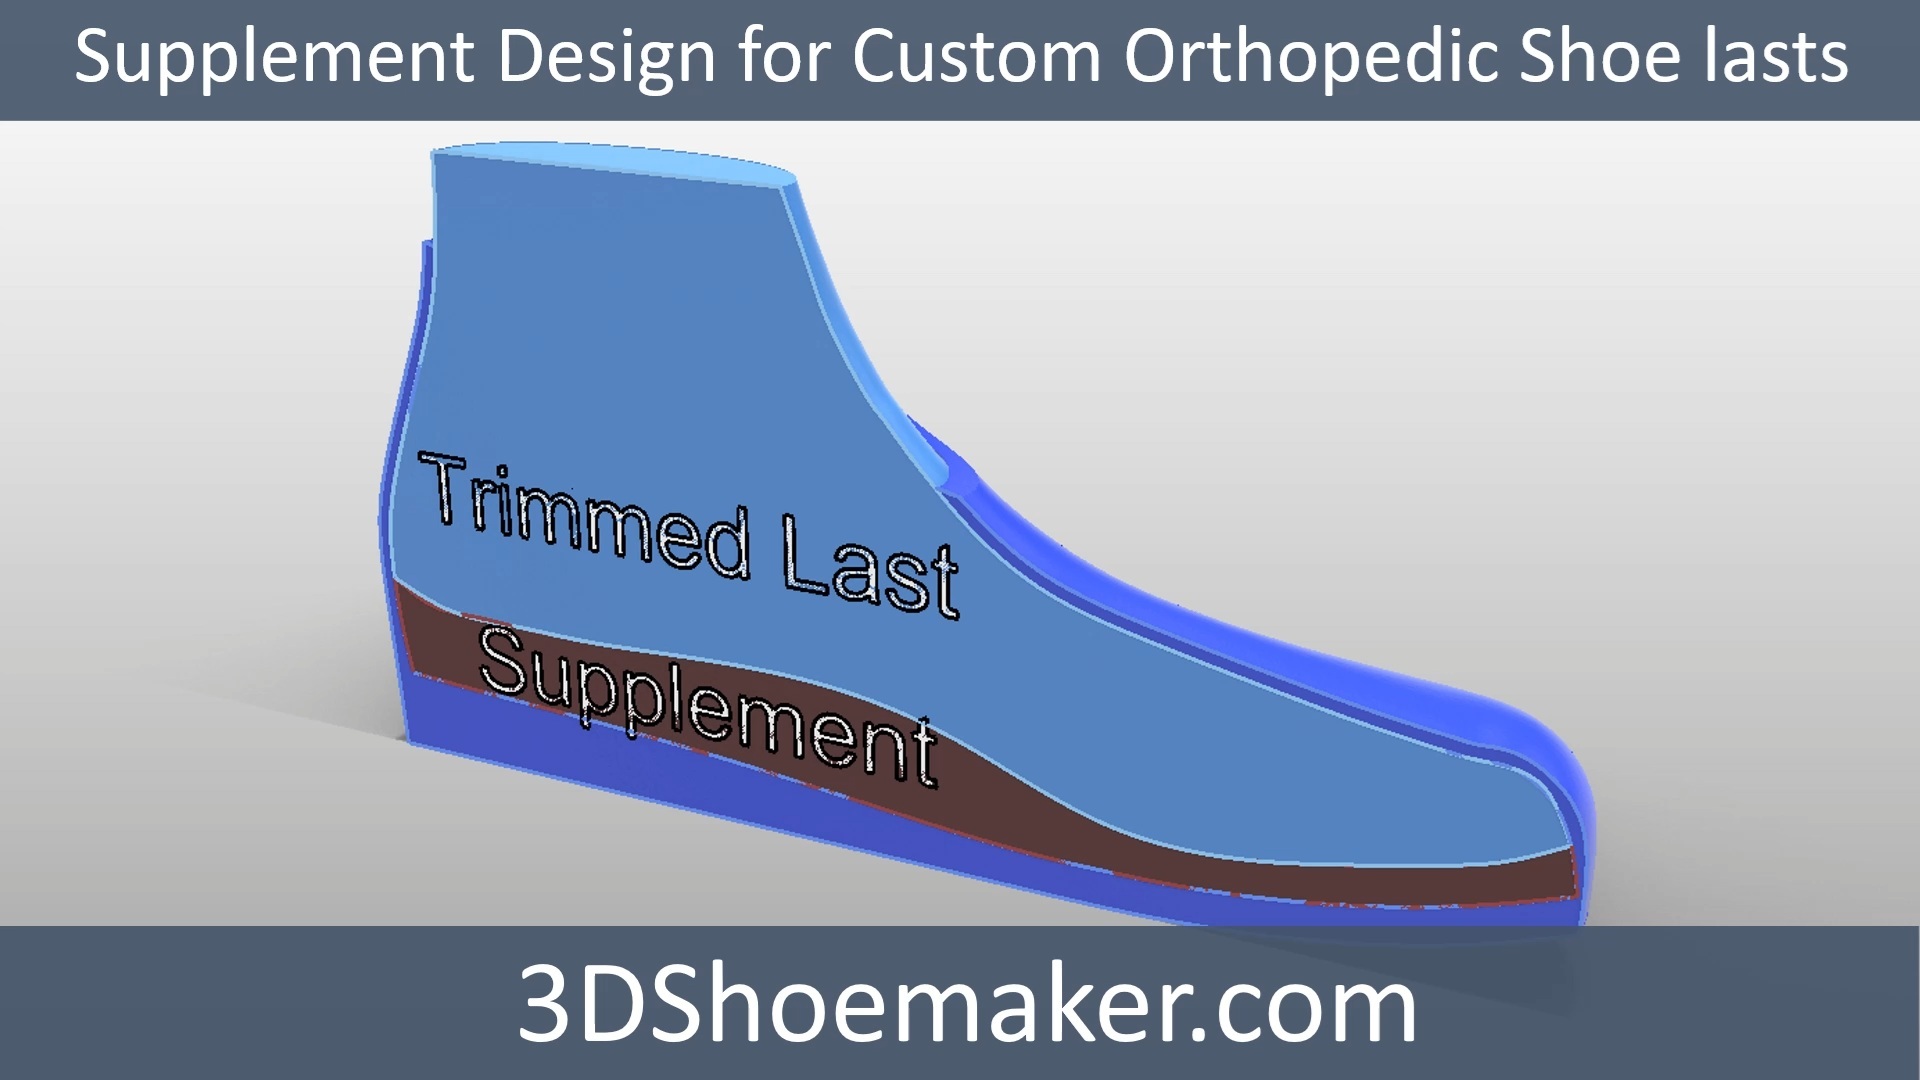
This design process I’ve explained thus far leads to a master model. It will of course only fit a person with the intended shoe size. To change the shoe size, customize, or make it bespoke, I’ve created a tool I call Morph. It basically maps the shoe geometry from the master core or Source geometry, to the custom or Target geometry. I’ve previously demonstrated this tool though with a cupsole rather than a shoe. But the process is the same, so I suggest checking out that post for better step by step guidance. For this post, I’ll just go over the basics. The shoe geometry is saved on a layer named Morph in the Source file. Then the Target geometry is built in the desired size, possibly using the source geometry for the underlying templates. The fit of the Target shoe last and footbed can then be customized as I’ve explained previously, possibly to a foot model if one was first imported. Finally, the Morph feature is used to bring the shoe geometry from the Source to the Target geometry.
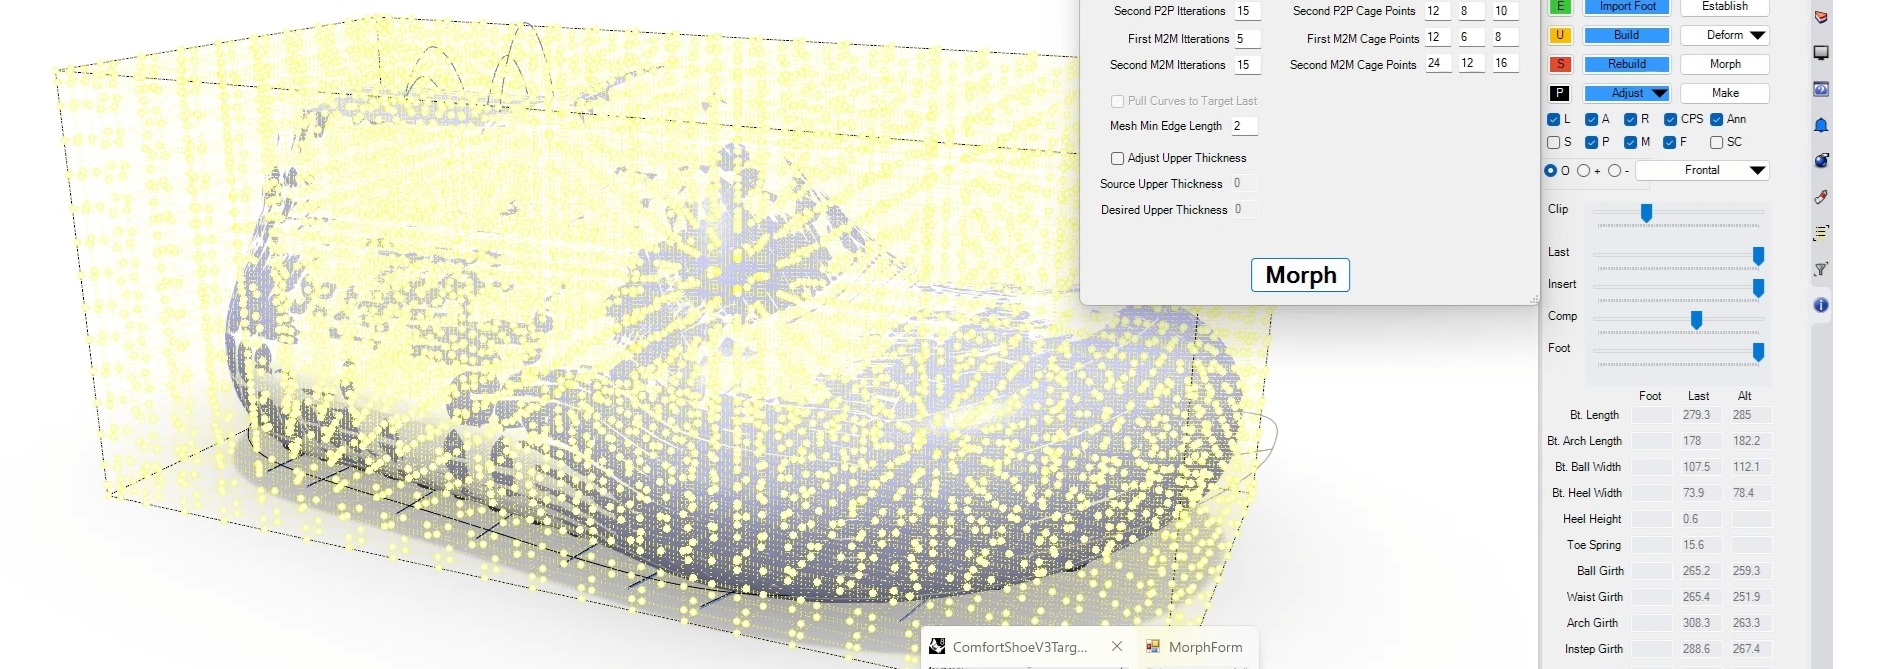
If you’ve watched that earlier video for morphing cupsoles, one thing you might notice has been added to the Morph form is the ability to adjust the upper thickness. When the option is turned on, you can input what the upper thickness was for the Source model and what you hope to achieve on the Target model. Then the morph feature will automatically offset the Target shoe last prior to morphing so that morphing ends up bringing over a shoe geometry with the desired wall thickness. This is useful if you want full control over upper thickness rather then just letting it scale with the rest of the shoe. If you do decide to go this route, then you’ll want to leave bridging between the outer shell of the shoe and the shoe last until after morphing. And it is the Target shoe last that you will be bridging to. Alternatively, a Boolean subtraction can be used to bore out a solid shoe model with the Target last, which is exactly what I did in the Cupsole Morphing tutorial. The downside of this approach is that it can be a bit trickier to keep uniform wall thicknesses throughout and filleting the collar edge can be trickier.
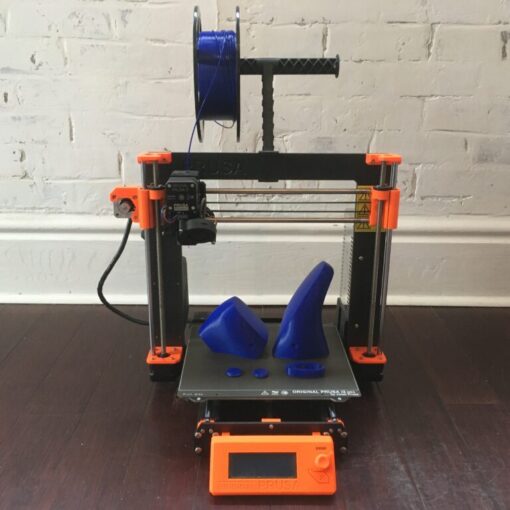
So that is all it takes to develop and customize 3D printable shoe geometry. When you combine this approach with modern desktop 3D printers, it shouldn’t take all that much time and capital investment to get up a running with a new shoe business. I’m really excited to see what people do with this. Please don’t hesitate to get in touch with me if you need help getting started.