In this 3DShoemaker post, I’m going to get into the new types of flattened upper forms and layouts for pattern design that are available for shoe lasts in the 3DShoemaker ecosystem. I’ll explain how orders can be placed for 2D or 3D printing. And I’ll also touch on the novel though slightly dubious 3D Upper Forms. Finally, I’ll briefly get into how all this works in the 3DShoemaker plugin for Rhino 3D.
Overview of Forms, Layouts, and Patterns for Shoemaking
After the shoe last, the shoemaking patterns are perhaps the next most critical element of shoemaking. Patterns are flattened panels essentially for each of the upper pieces that need to be stitched together to form the complete upper. A common path to create them involves first taping the shoe last then splitting at the center line and feather edge followed by flattening and re-tracing to get the shoemaking forms. The curves are then drawn on the forms to create the layout, AKA the standard, template, or draft. Finally the layout is traced and lasting, stitching, and folding allowances applied to get the final patterns.
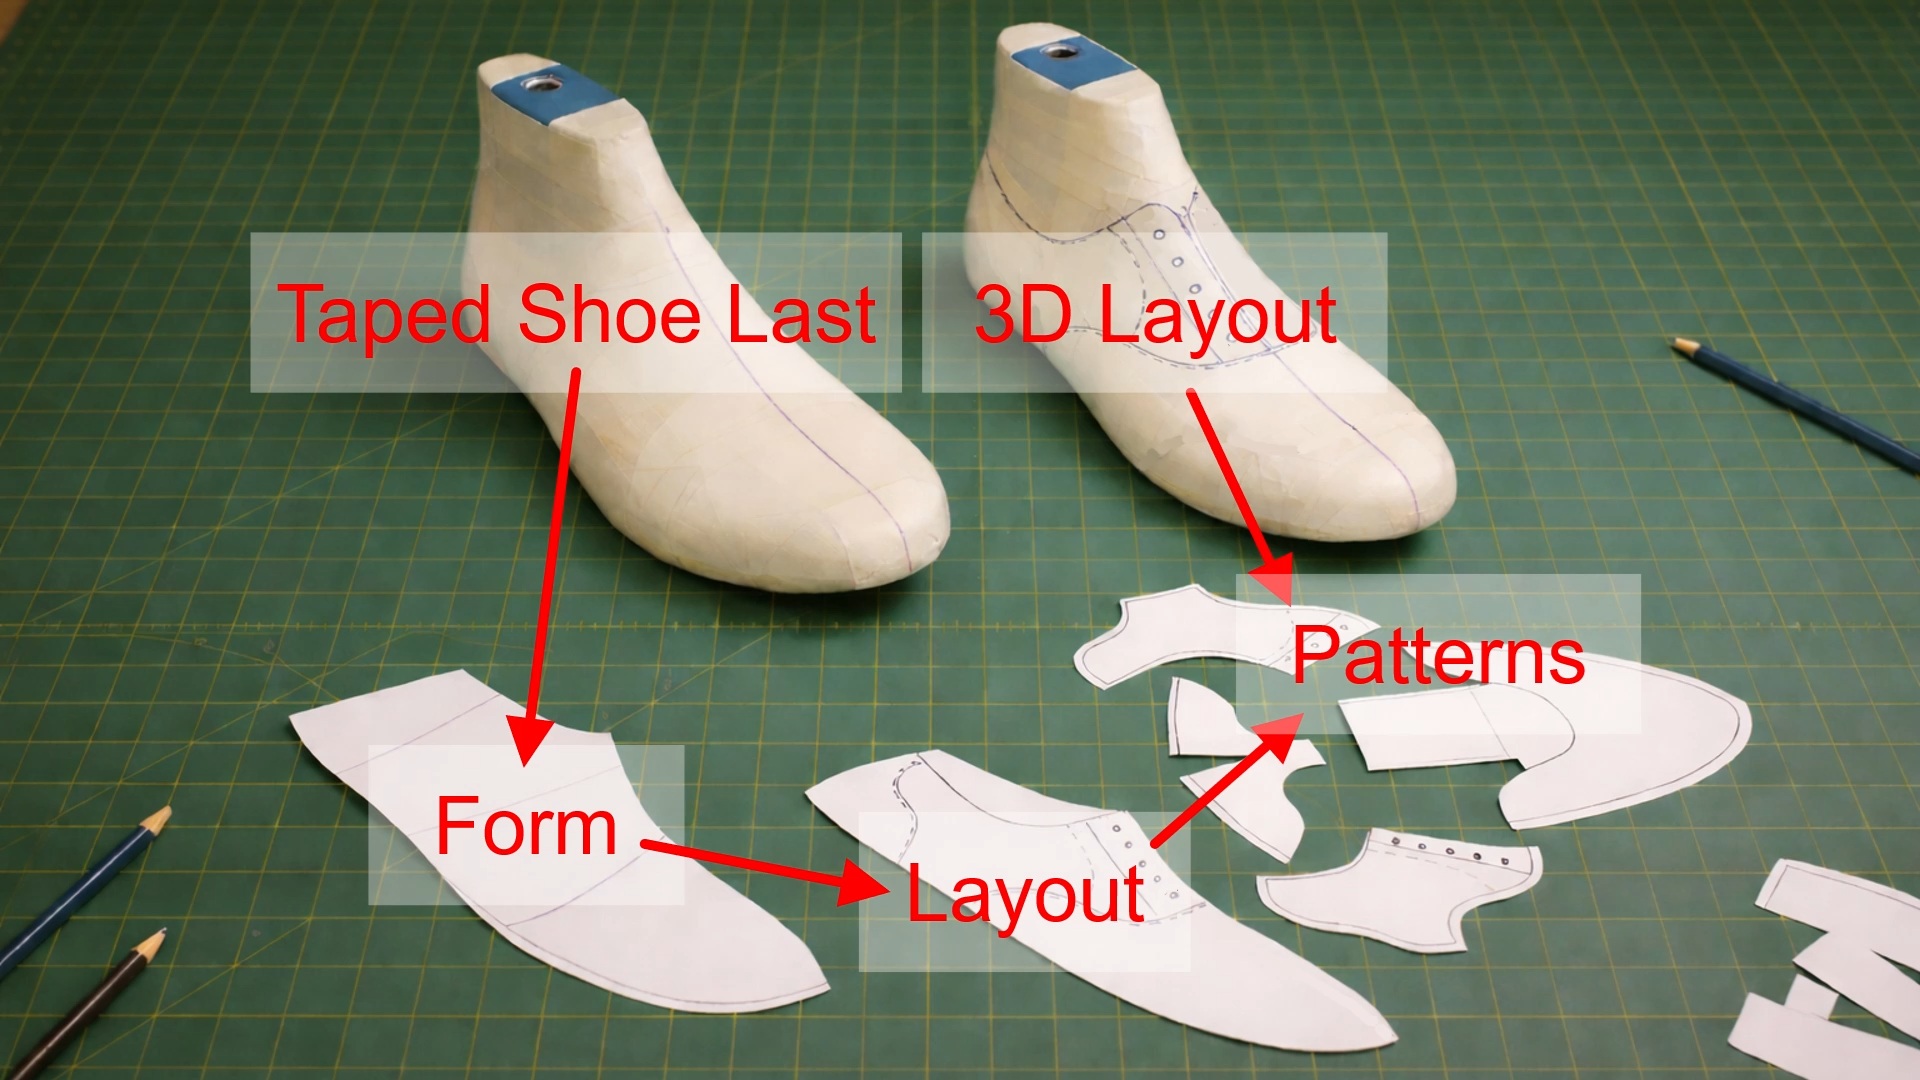
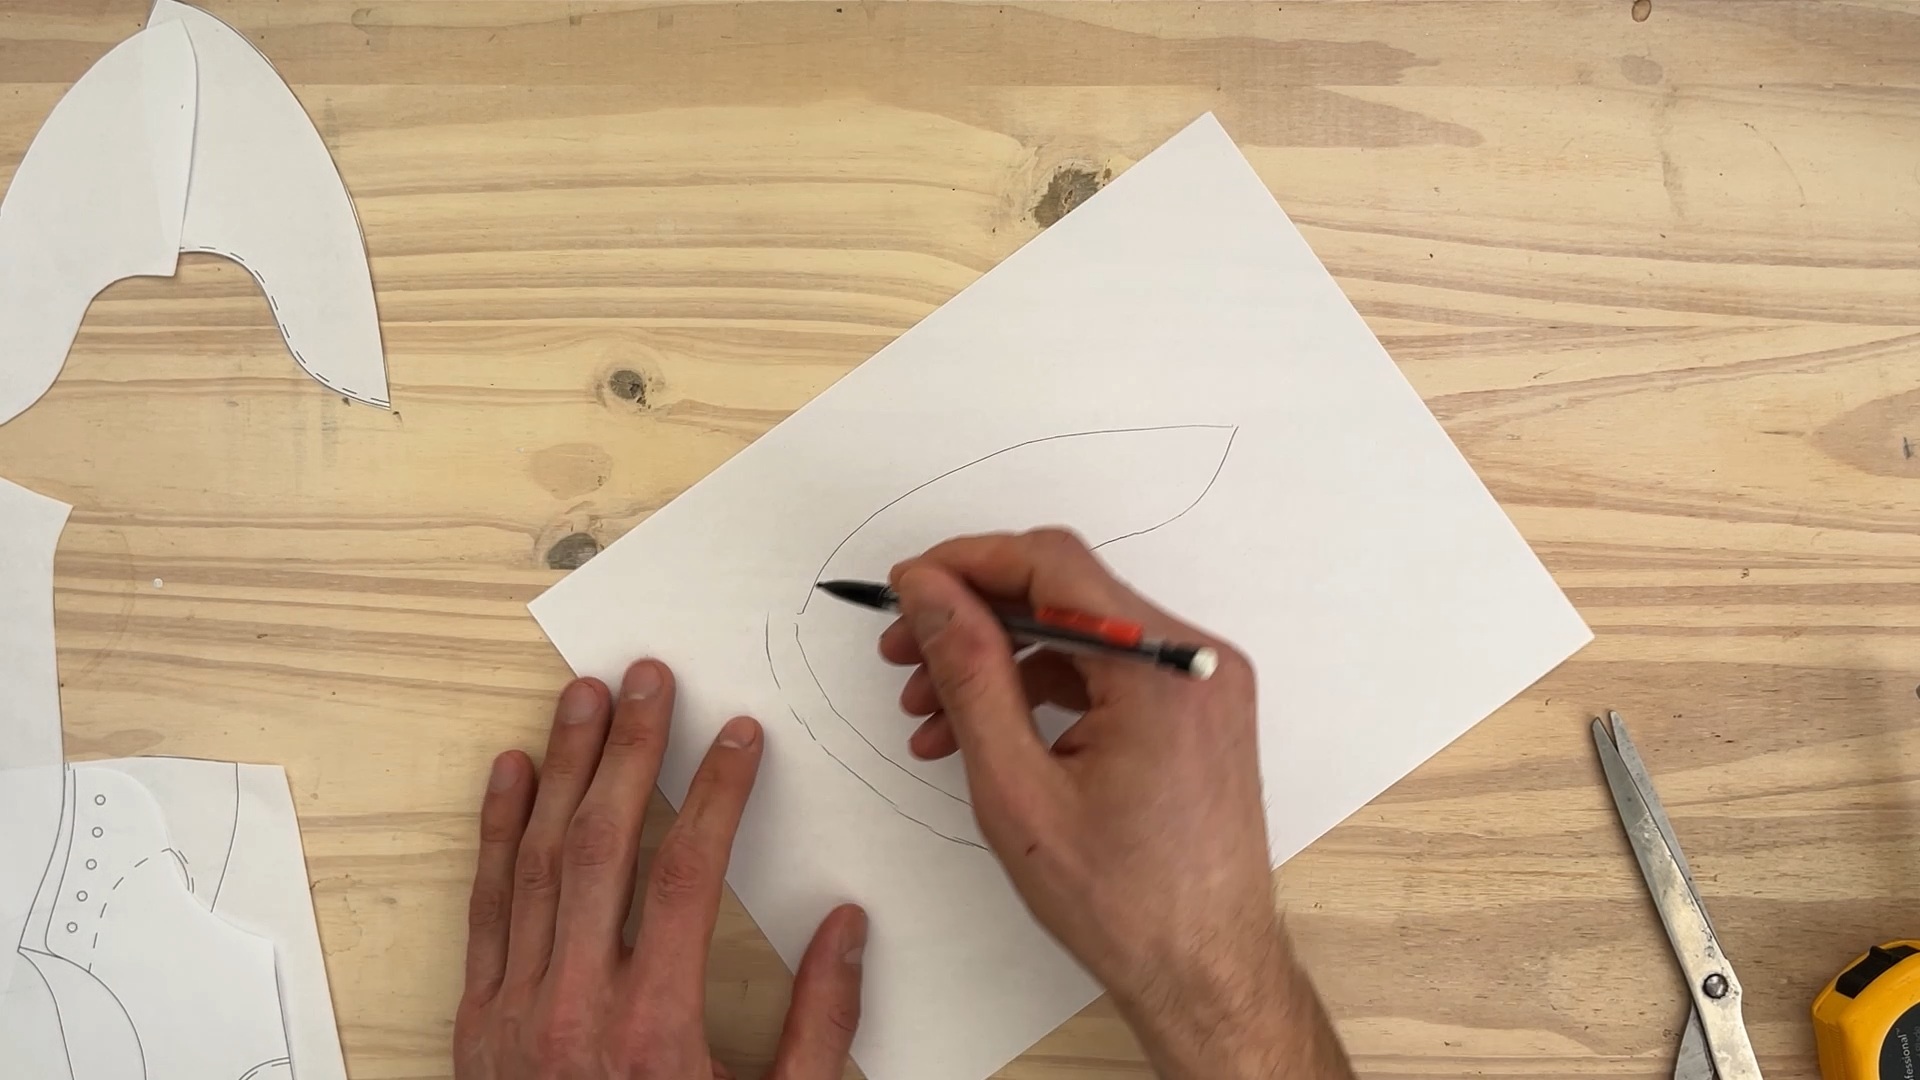
An alternative sequence is to draw the pattern curves directly on the taped shoe last and then cutting away, flattening, and adding allowances to the individual pattern pieces. The advantage of this approach is that it can be more intuitive as you immediately get a better understanding of what the finished shoe will look like as you draw. The downside is that drawing and cutting out pieces on a 3D surface can be a bit trickier, particularly when trying to achieve symmetry.
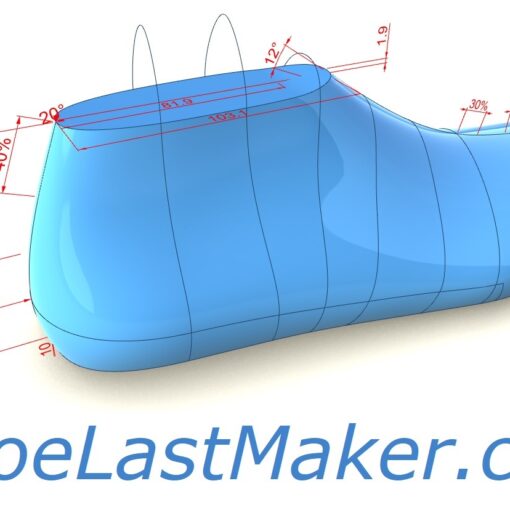
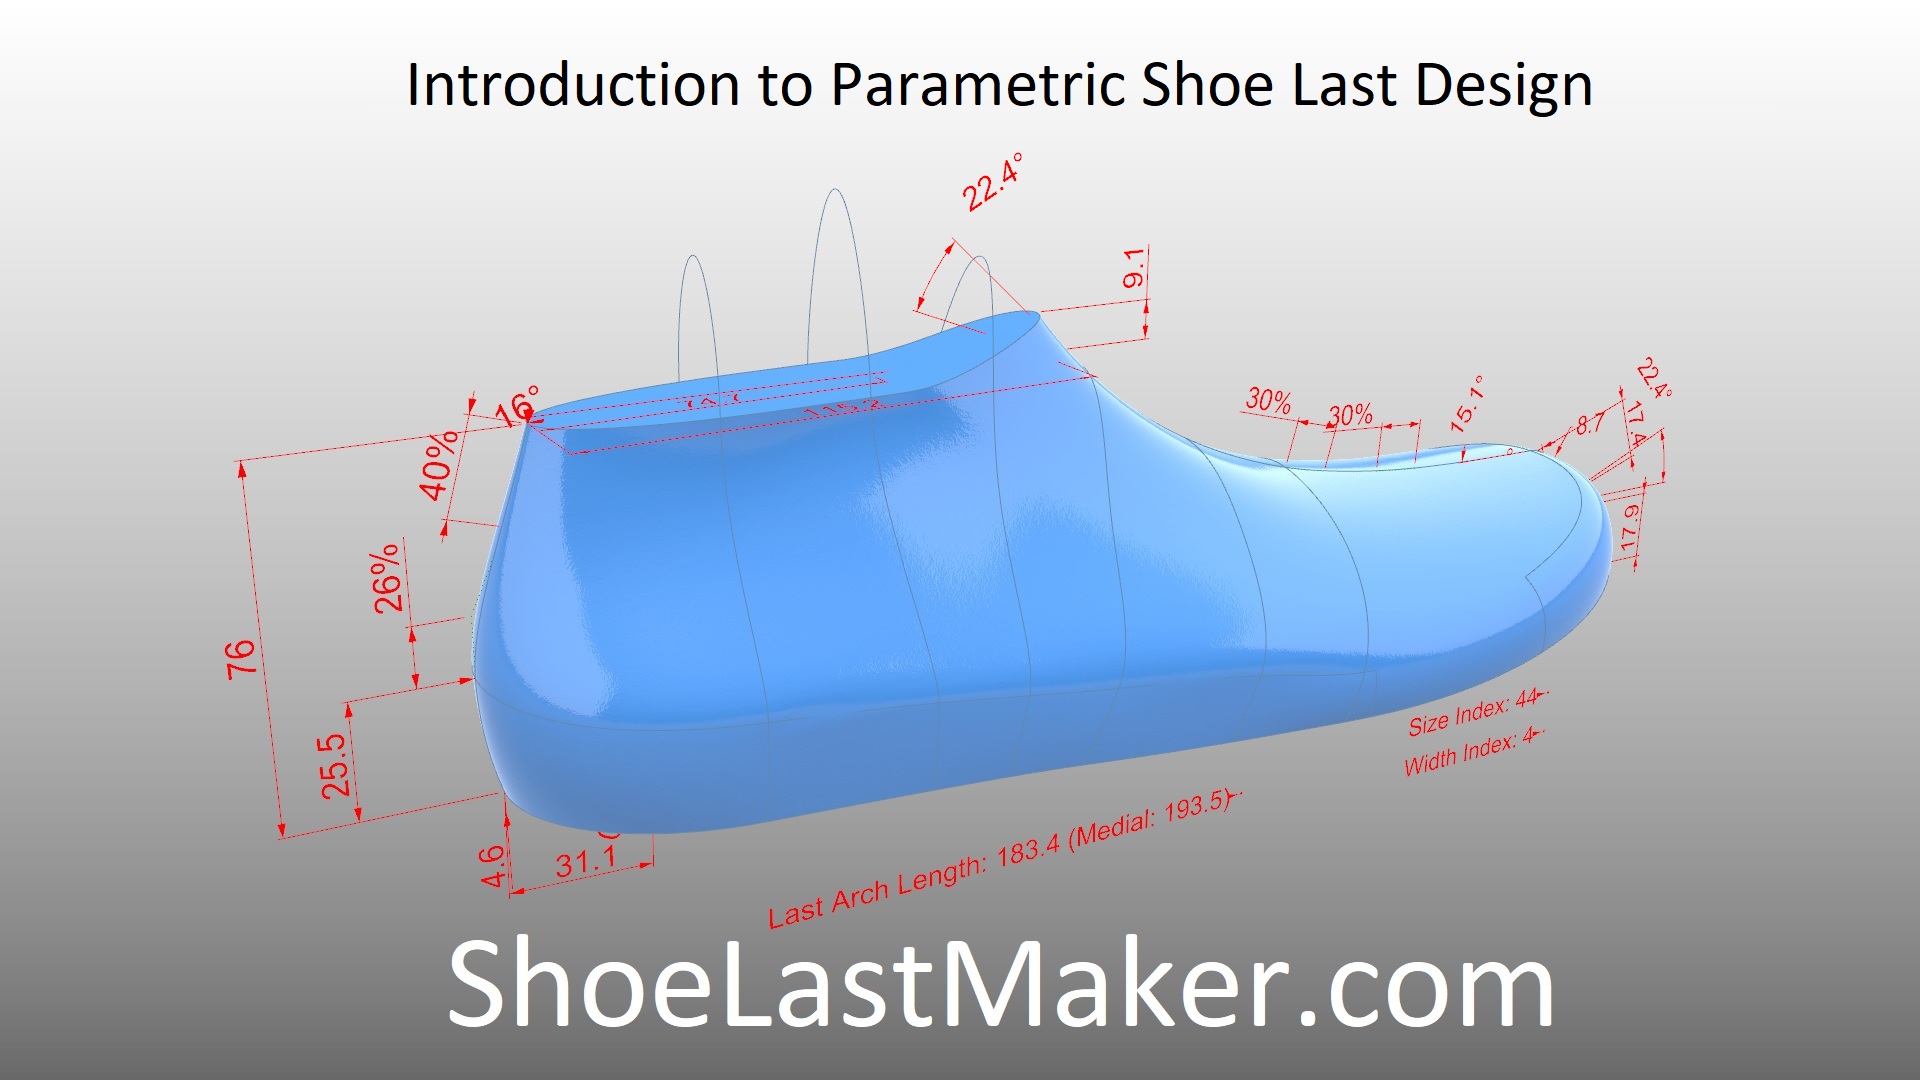
Regardless of the sequence, flattening must occur, and this can be challenging to do accurately given the complex organic shape of shoe lasts with their varying degrees of concave and convex curvatures. That’s where the computational methods used by 3DShoemaker can lend a hand, as follows.
2D Flattened Upper Forms
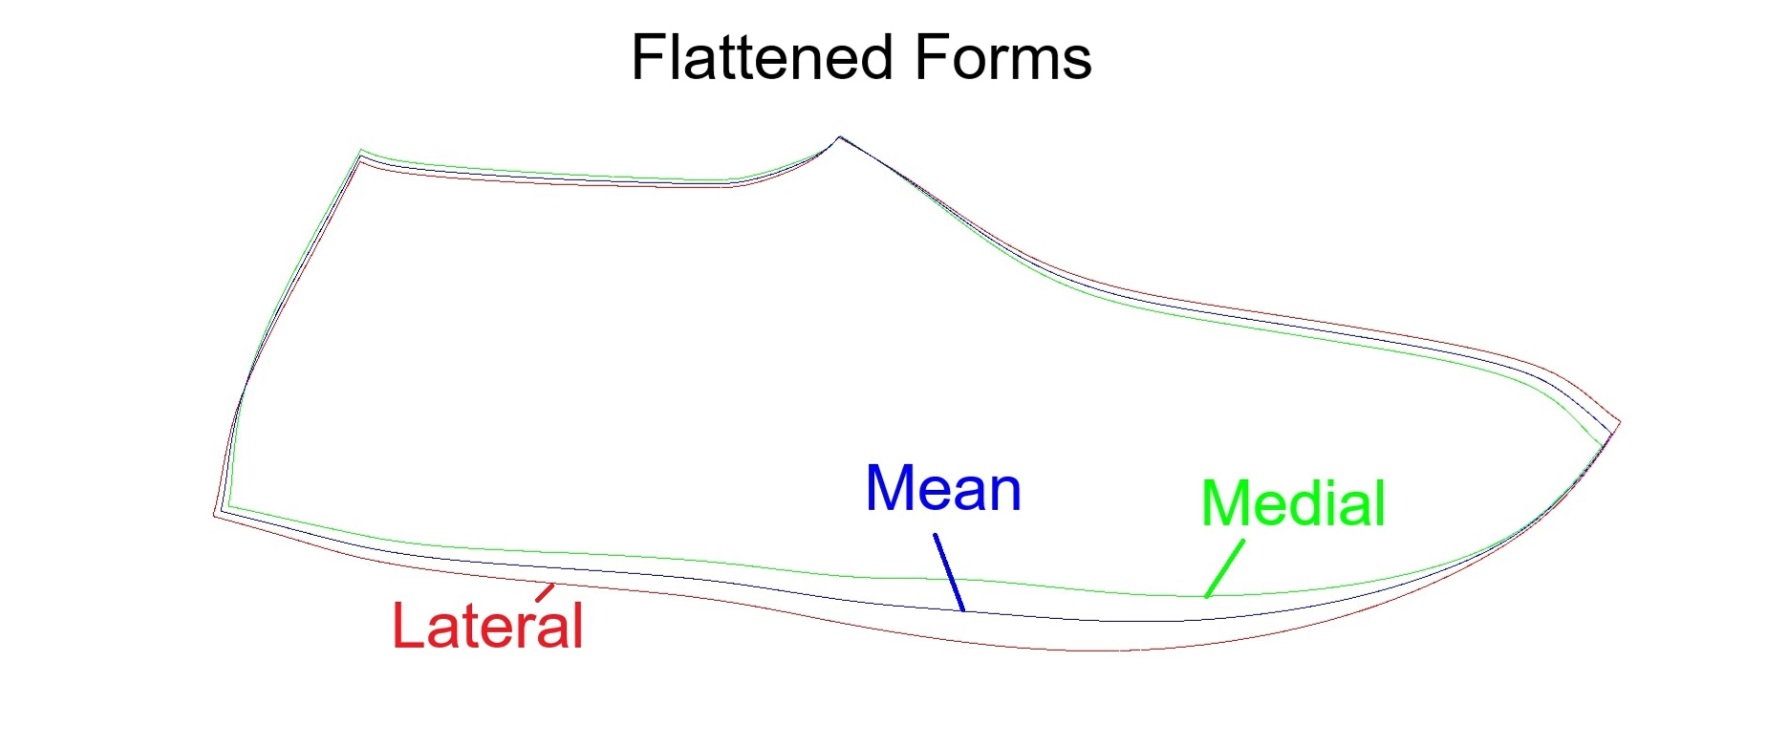
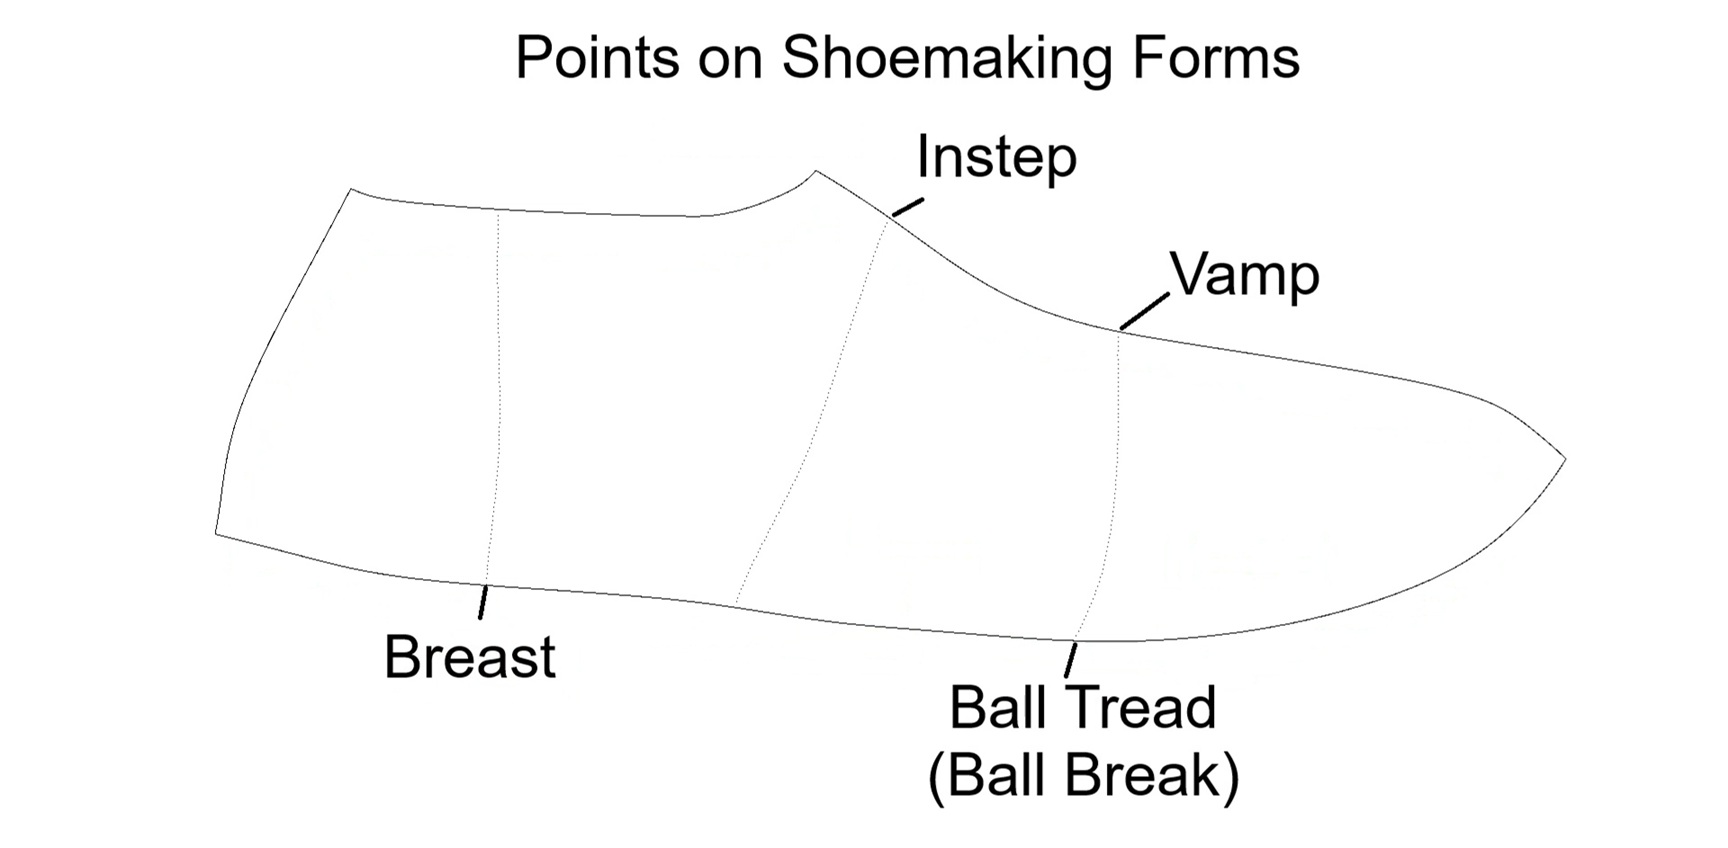
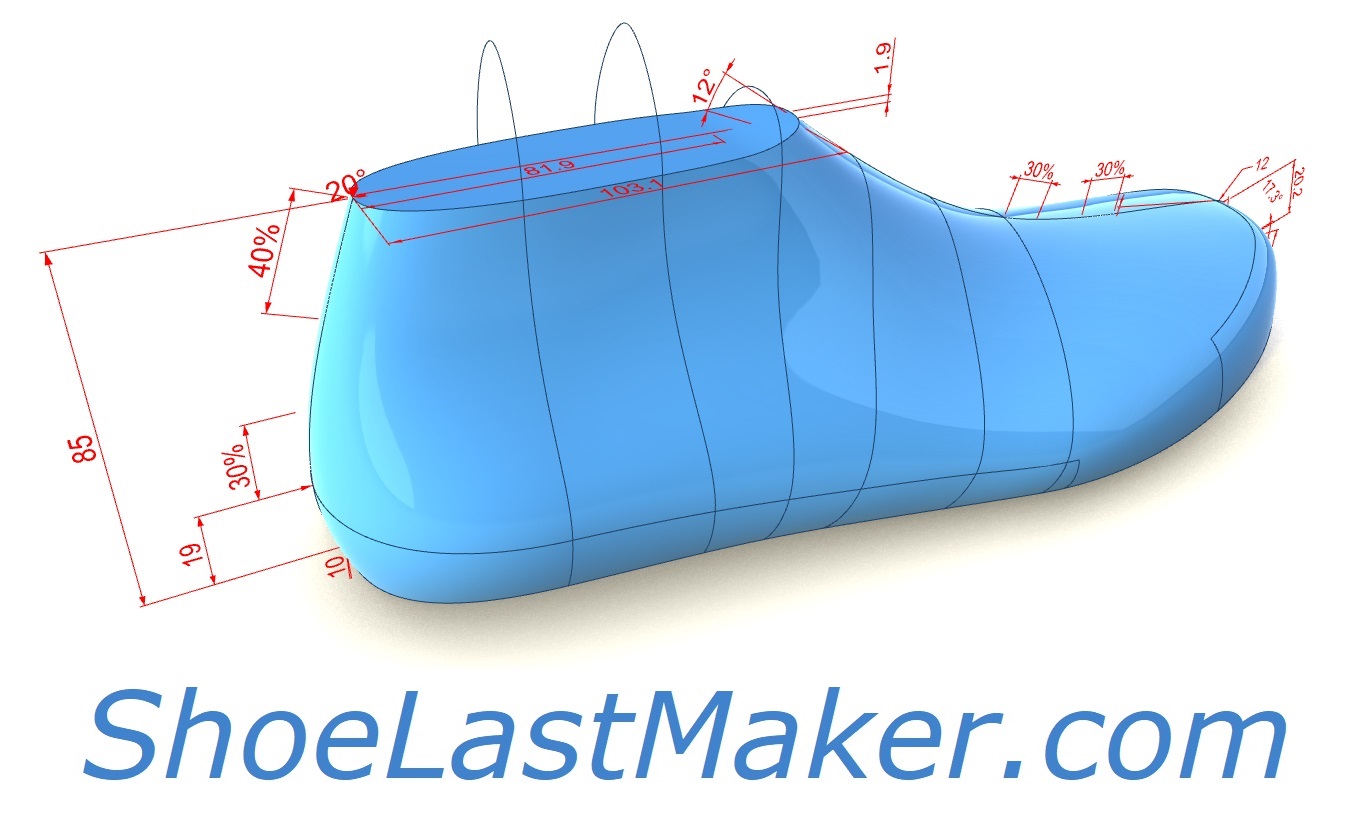
Flattened medial and lateral forms for all 3DShoemaker shoe lasts have actually been available for while now. What’s new for this update is what’s called the mean form. It is an average of the medial and lateral forms, which is far faster and more accurately achieved by CAD than by hand. The advantage of using a mean form rather than separate medial and lateral forms is that it simplifies pattern design and makes it easier to achieve symmetry. Another new feature in this latest update is the inclusion of the ball and instep girth curves transferred to the flattened forms, which are useful references when drawing pattern curves.
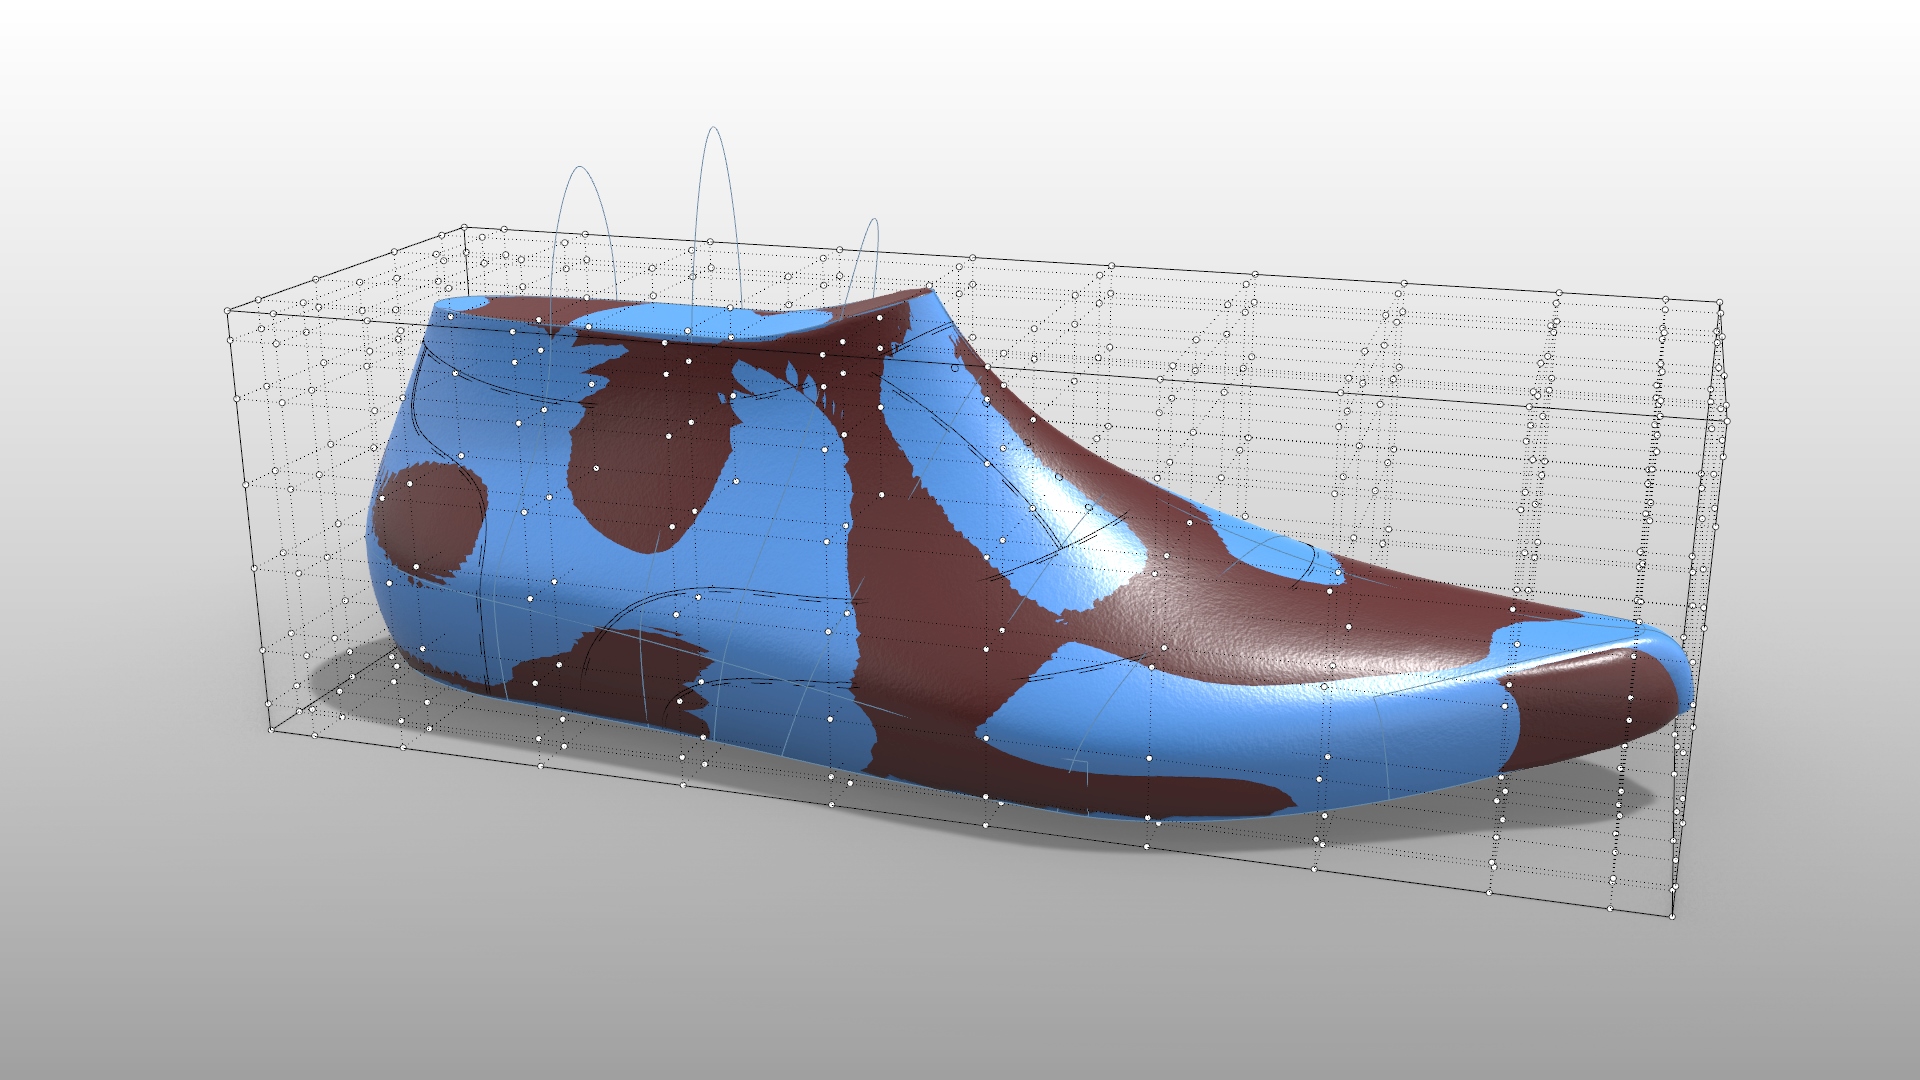
3D Upper Forms
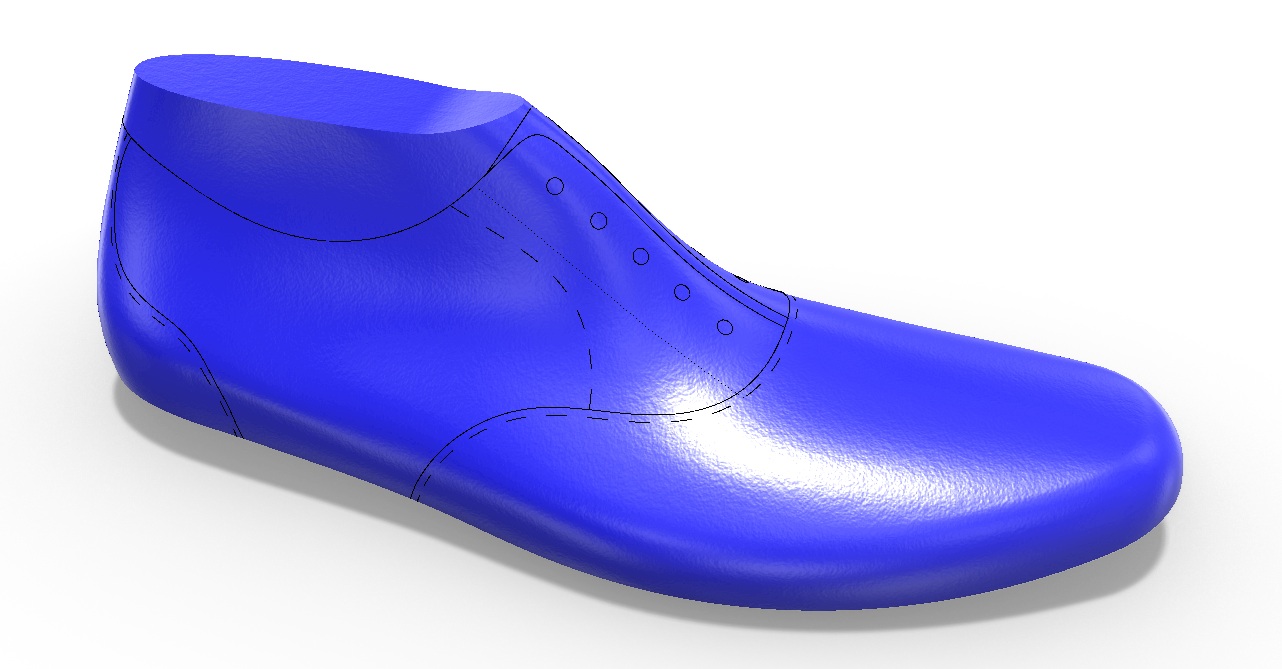
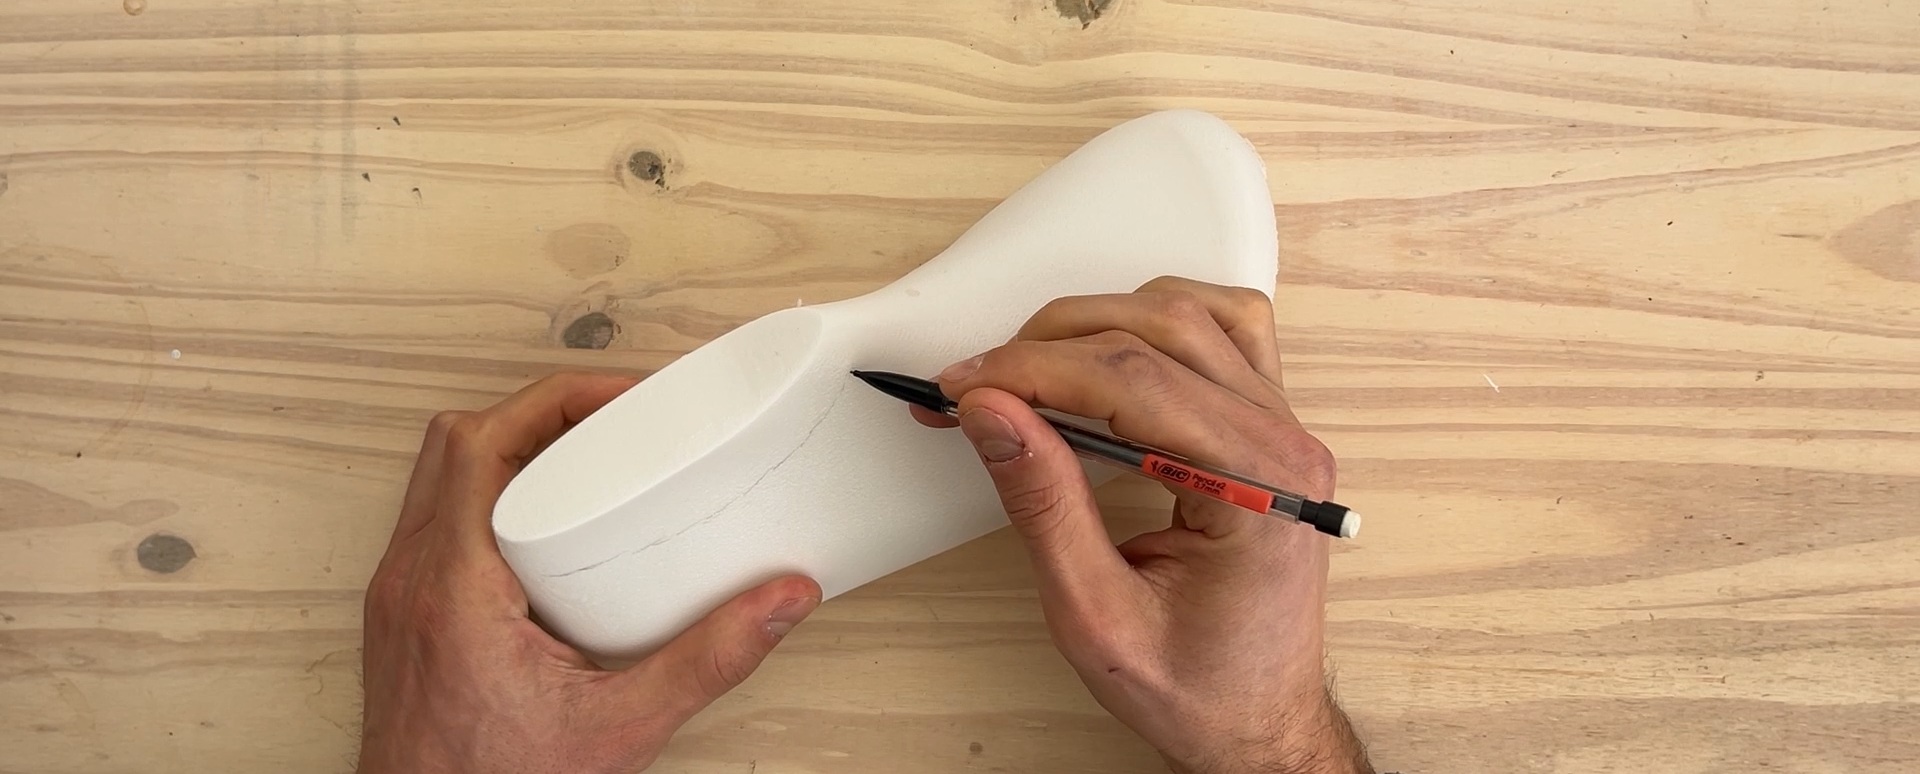
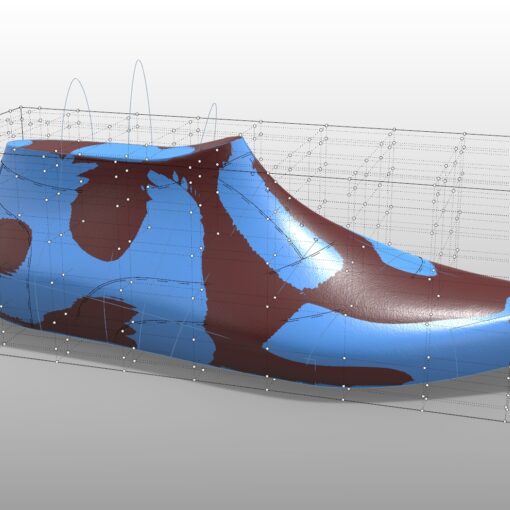
A more novel shoemaking tool is the newly available 3D Upper Form. It is a substitute for the taped shoe last shell that can be 3D printed, ideally with TPU filament. You can draw pattern curves on it the same as a taped shell, and then flattened as a single piece or multiple pieces. Applying heat, perhaps with an iron, helps with flattening. The obvious advantage is that it negates taping of the shoe last. But this alone really isn’t that much of an advantage. The less obvious but more interesting advantage comes with types of footwear that don’t require a shoe last, like some sandals. In this case, pattern design can be done without a physical shoe last ever existing. But I should point out that operations on the 3D printed upper form are destructive, so this approach could prove somewhat wasteful. Nevertheless, I’m interested to see what other people think of this novel shoemaking tool.
Flattened Layouts
Whether you draw your patterns in 2D or 3D, it is still one of the more challenging steps in shoemaking. So, to help even more, actual flattened layouts are being made available for common shoe styles, the first being an Oxford layout. As explained earlier, the layouts and their various section lines can be traced and allowances applied in order to arrive at the individual panels of the final shoemaking patterns.
Ordering And 2D/3D Printing Shoe Last Forms and Layouts for Shoemaking Patterns
Forms and layouts for pattern design can be ordered via the ‘Features’ section of the ordering page when available for a given shoe last on 3DShoemaker.com. By default 2D forms and layouts come as pdf files, though they can also be provided as dwg or stl files upon request. The 3D upper forms comes as stl files. For Physical Sample orders, as selected in the order type drop down, forms and layouts are provided as paper printouts. Another order type is Parametric Models which work with layouts as follows.
Shoe Last Forms and Layouts for Shoemaking Patterns in the 3DShoemaker Plugin for Rhino 3D
In the 3DShoemaker plugin for Rhino3D, I’ve previously demonstrated how pattern curves can be drawn, flattened forms and layouts created, and grading or morphing from master to custom shoe lasts can be done. So I won’t get into that here other than to point out that all of the new advancements I’ve covered so far in this post are of course now possible in the plugin too.
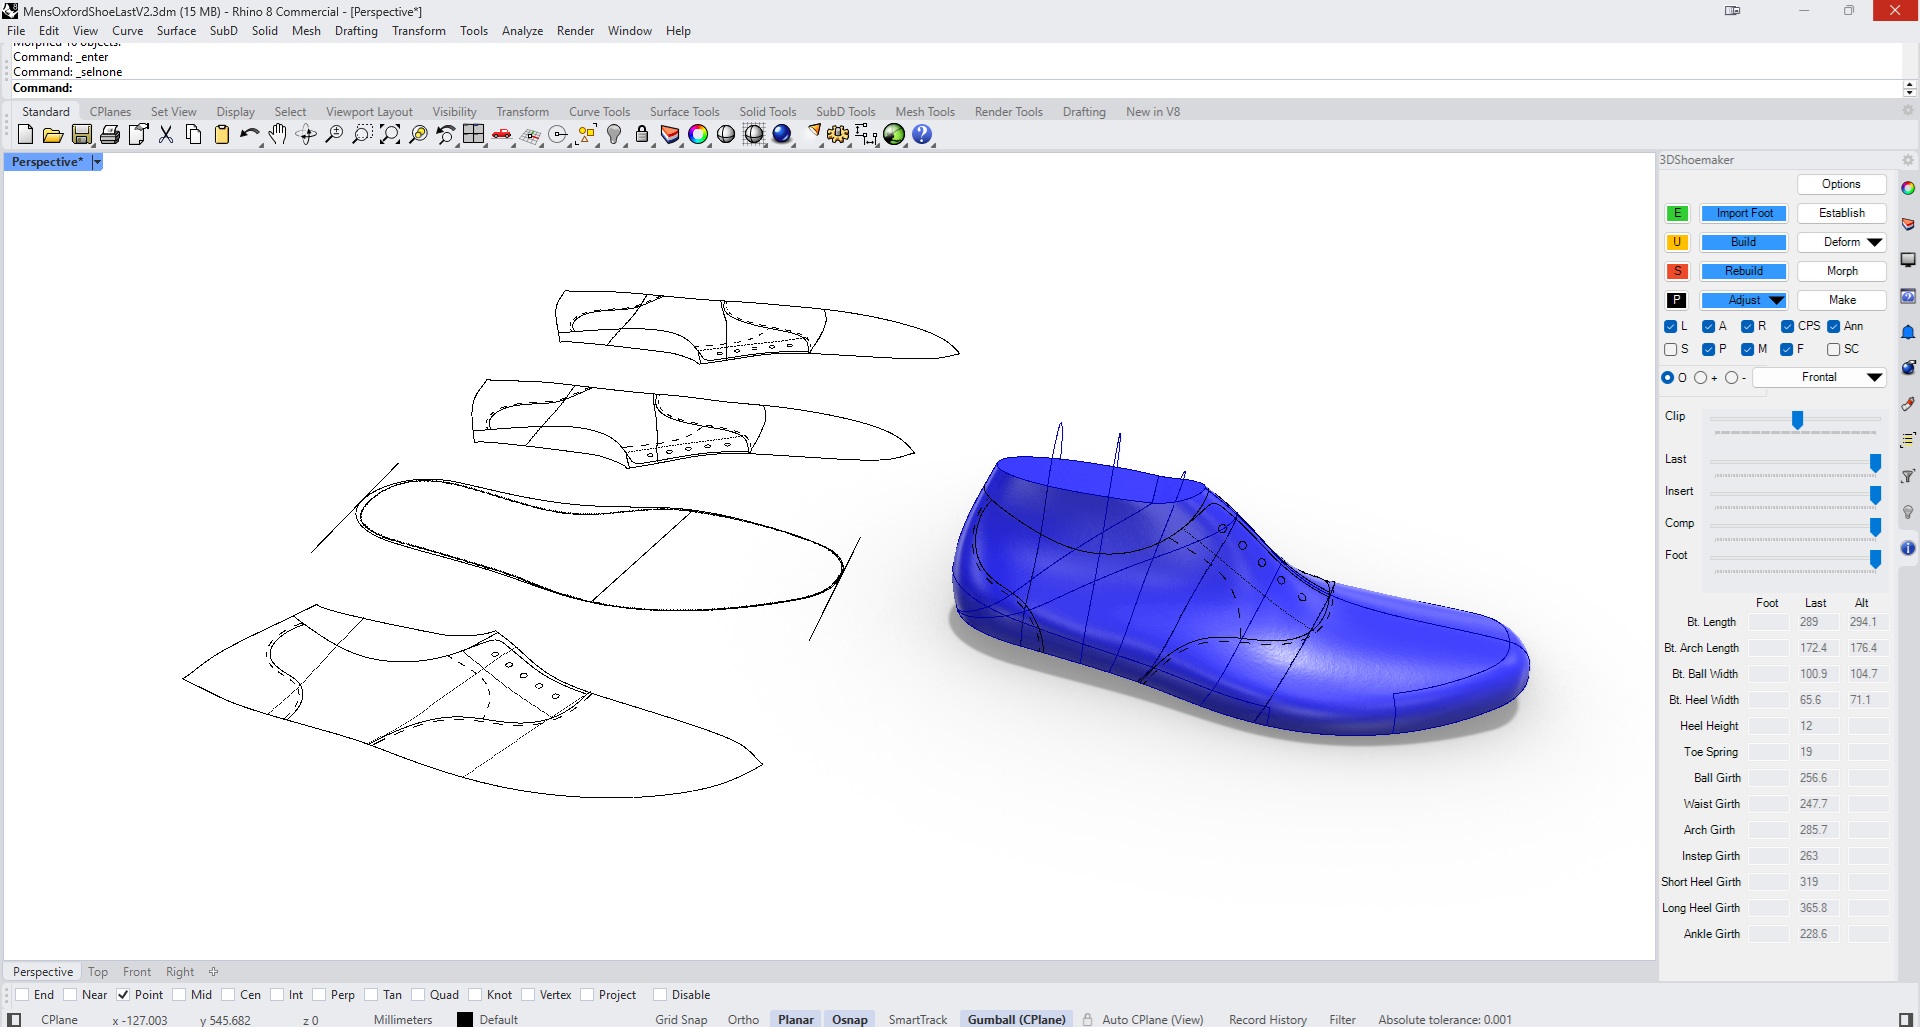
For the flattened forms, these get created by default same as before, though now with the new form types and the option for solid forms that get reference girth curves and layout curves cut away from the solid in a manner abiding to their dashed, dotted, or continuous line types. And, as per the built in Rhino function Squishback, adjusted curves can be brought back to the 3D shoe last form as designs are iterated on.
For the 3D Upper Form, that has it’s own tab. Also, you need to make sure to include a component body in the build via the component checkbox on the build form, choose to build the component body in the options/build tab, and set the wall thickness via Material Thicknesses.
Conclusion
No matter what level of shoemaker you are, I think this update will be a huge help along your shoemaking journey. That’s all for this 3DShoemaker post. Please do let me know what you think of this update in the comments.
